views
Preparing to Install
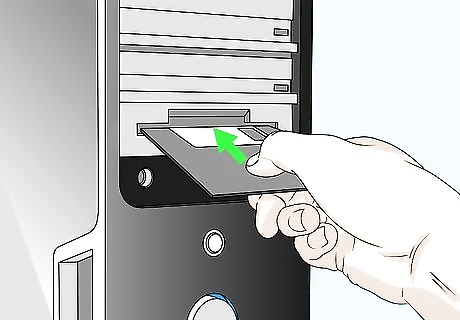
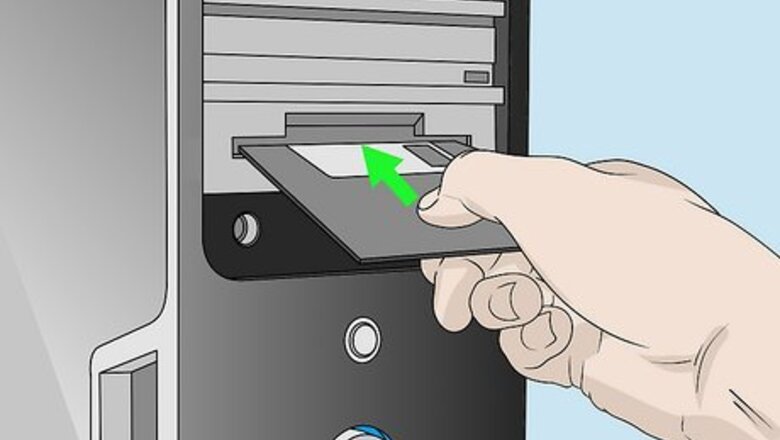
Before powering on the computer, place Disk 1 of MS-DOS into the computer.
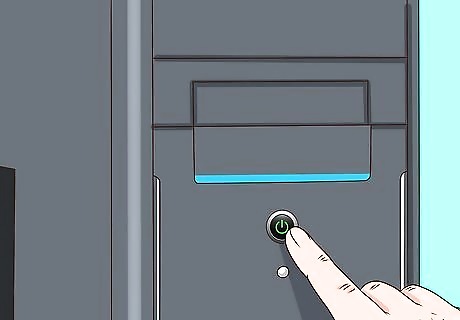
Start up your computer.
Installing Your Desired MS-DOS Version
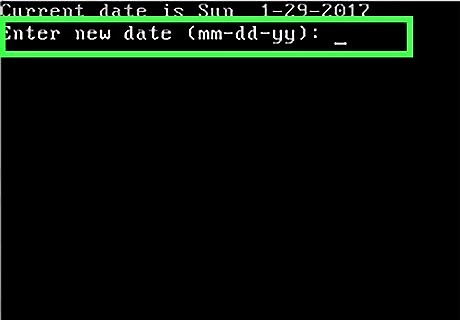
Type in the correct date (Months: Day: Year). For the year, make sure you use 4 digits or else the machine may assume an incorrect date. E.g. typing in 92 will result in the machine assuming it's 1992 rather than 2092. If the date displayed is correct, just press ↵ Enter and it will save that date.
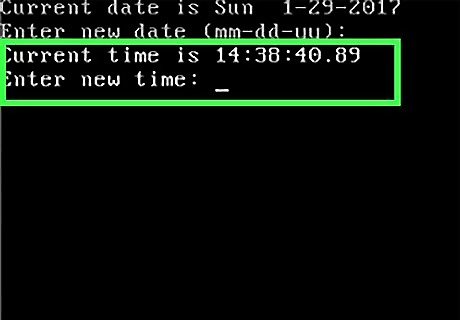
Type in the correct time (Hours: Minutes: Seconds: Milliseconds). If the correct time is displayed, just press ↵ Enter to save the correct time. You will need to type in the correct time using the 24 hour clock and not the 12 hour clock. E.g. Use 14 for 2 in the afternoon.
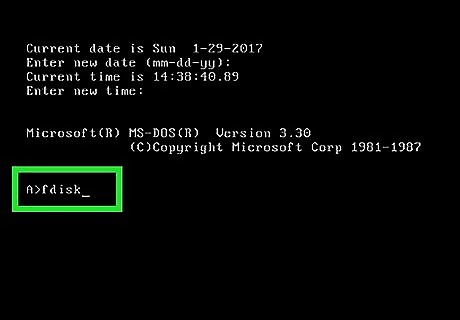
Type "fdisk" and press ↵ Enter. fdisk is a program used to make changes to the hard drive partitioning on the computer
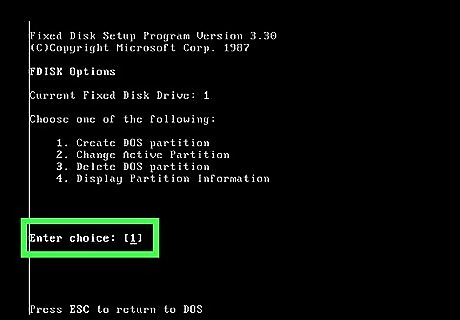
Type 1 on the keyboard to select option 1 is and press ↵ Enter.
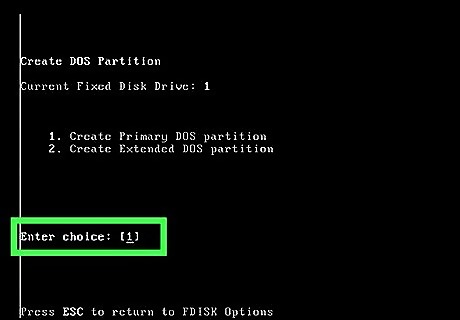
Type 1 on the keyboard to select option 1 and press ↵ Enter.
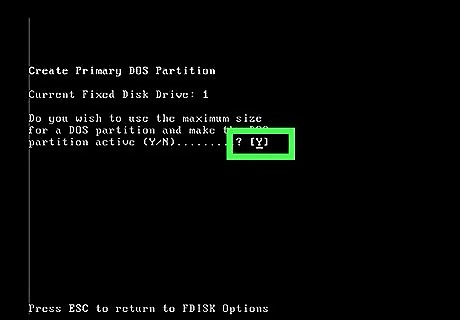
Type "Y" and press ↵ Enter.
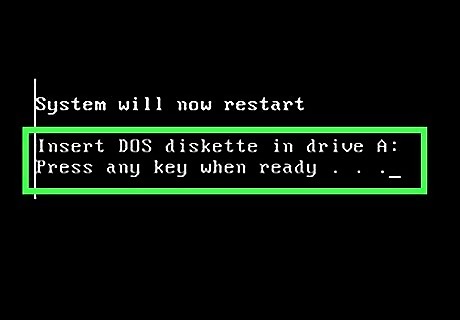
Press any key when you see this message to restart MS-DOS but do not remove the floppy disk.
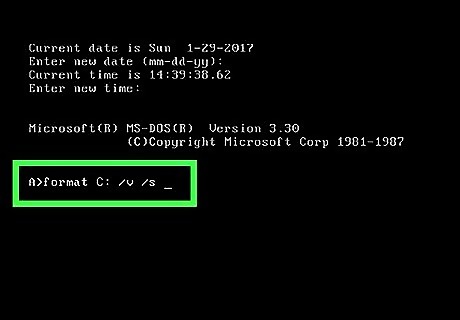
Type "Format C: /V /S" and press ↵ Enter. This command will format (delete) everything in the C: drive (where the computer files are normally stored) so please ensure there is nothing on the hard drive that you don't want deleting
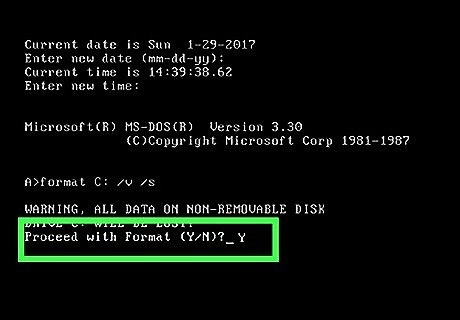
If you're absolutely sure that there is nothing worth keeping on the hard drive, Press Y then press ↵ Enter.
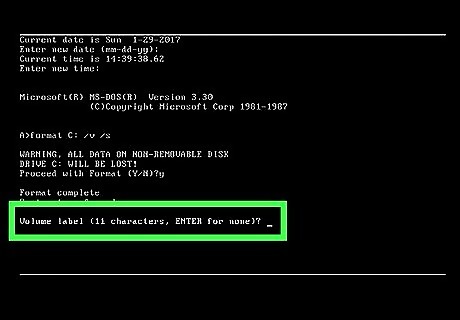
This bit is down to user preference, but you can type in a volume label or you can leave this bit blank by pressing ↵ Enter (as was done in this tutorial).
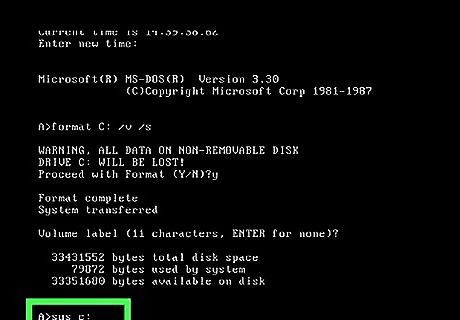
Type in "sys c:" and press ↵ Enter. What this does is transfers MS-DOS from the floppy disk to the C drive allowing the C drive to be bootable.
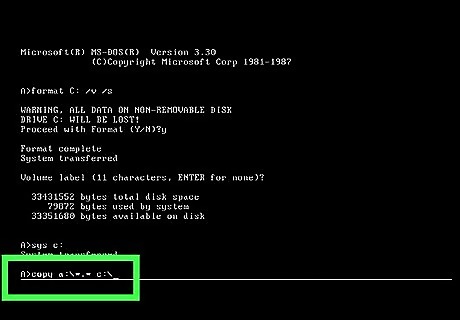
Type "Copy A:\*.* C:\" and press ↵ Enter. This copies everything from the floppy disk to the C drive.
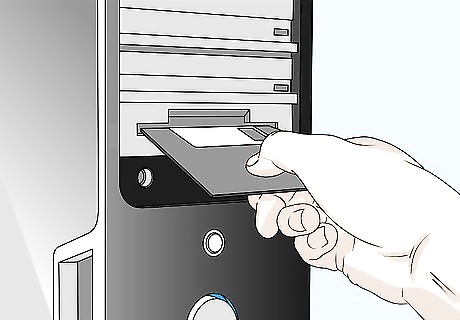
Remove the 1st floppy disk and Insert the 2nd MS-DOS installation disk.
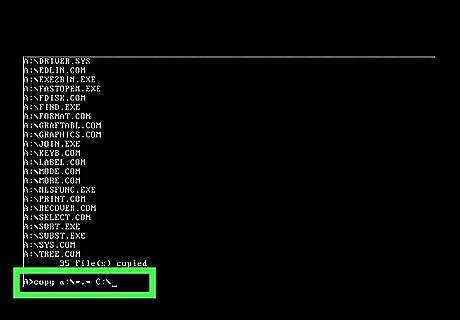
Type "Copy A:\*.* C:\" and press ↵ Enter.
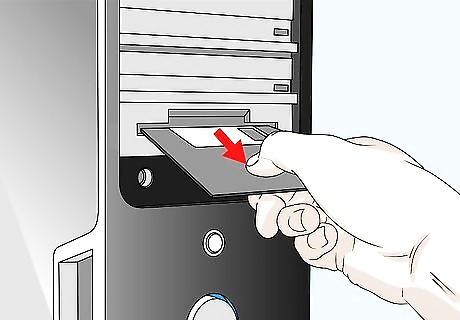
Remove the 2nd floppy disk and restart the computer to make sure it boots properly.
Installing Your Desired Windows 1.XX version to the Hard Drive
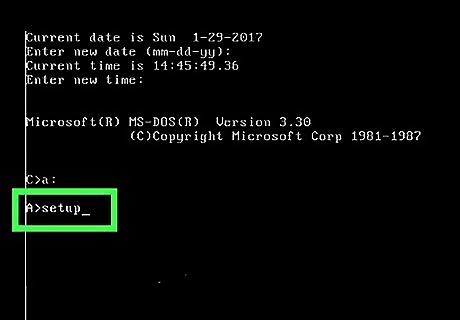
Insert the Windows 1.xx Setup floppy disk and type "A:" followed by "Setup".
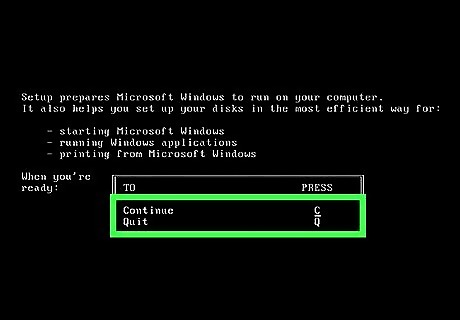
Press C to continue.
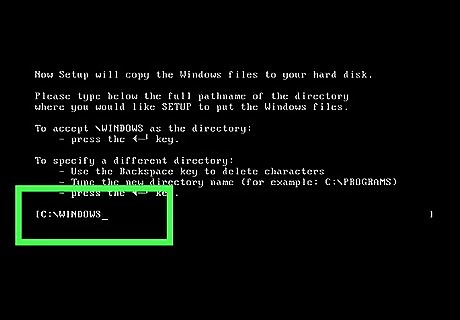
Choose where to install your version of Windows and press ↵ Enter. Normally, it is best to install it where Windows recommends.
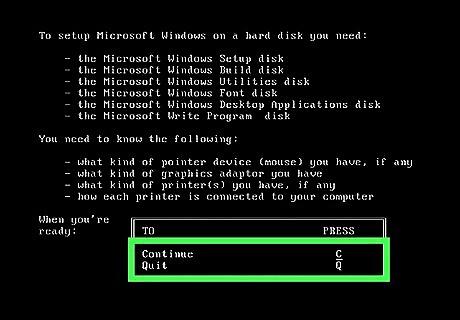
Press C to continue.
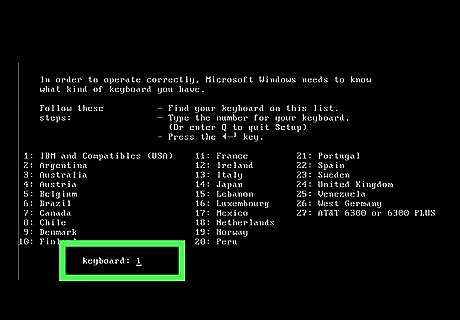
Select what type of keyboard you're using by typing in a number that corresponds with the keyboard option shown on screen and press ↵ Enter.
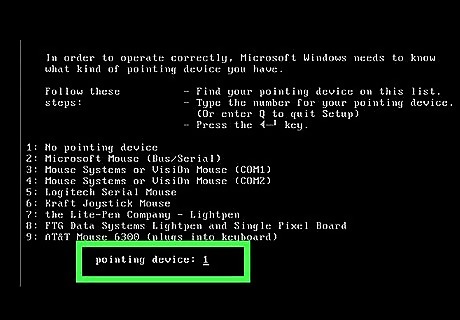
Select what type of mouse you're using by typing in a number that corresponds with the keyboard option shown on screen and press ↵ Enter. For this tutorial, no mouse was installed.
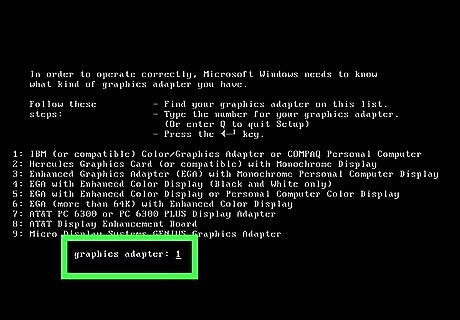
Select what type of graphics adapter you have by typing in a number that corresponds with the keyboard option shown on screen and press ↵ Enter.
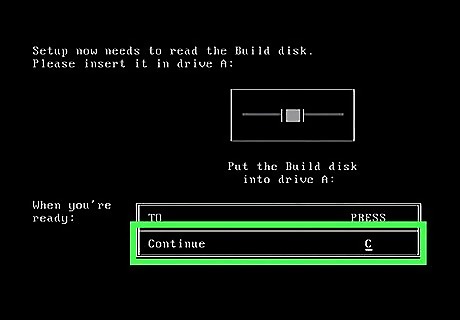
Insert the Build disk and press C to continue.
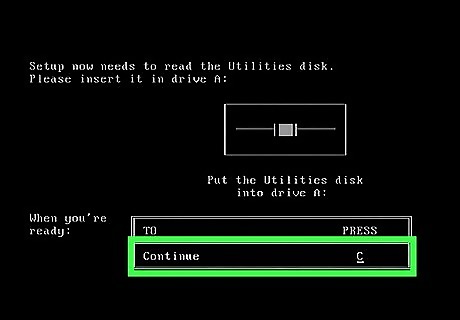
Insert the Utilities disk and press C to continue.
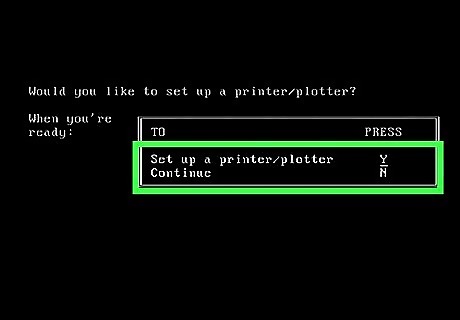
This is all down to user preference but press Y to install a printer otherwise press N. N was selected in this tutorial.
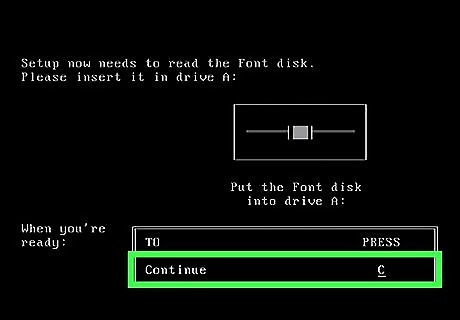
Insert the Font disk and press C to continue.
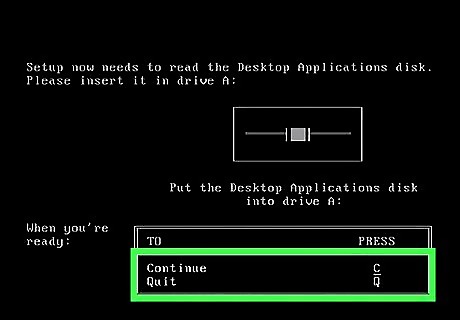
Insert the Apps disk and press C to continue.
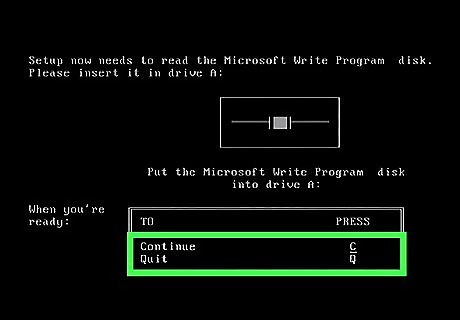
Insert the Write disk and press C to continue.
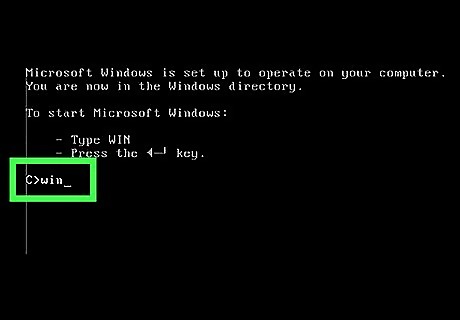
Type "WIN" and press ↵ Enter.
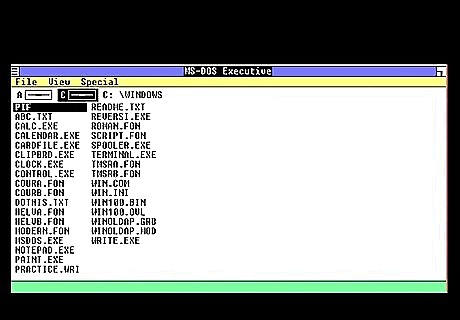
You have successfully installed Windows 1.xx.
Returning to MS-DOS
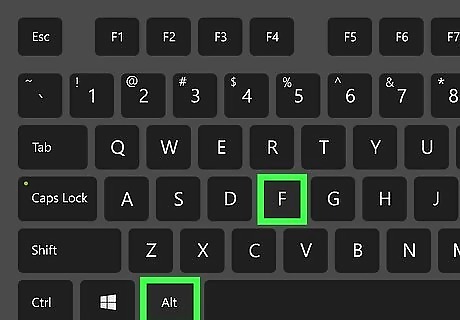
Press the following keys together: Alt F to open the {{ File menu.
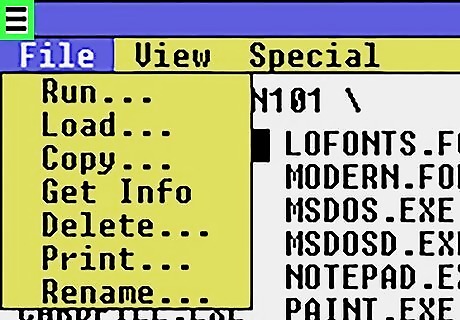
Press the left arrow key to select the miniature menu in the top left corner
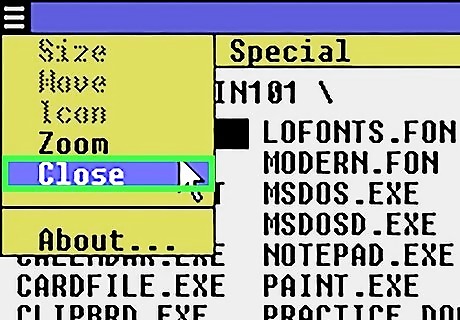
Press the down arrow key until Close is highlighted and press ↵ Enter.
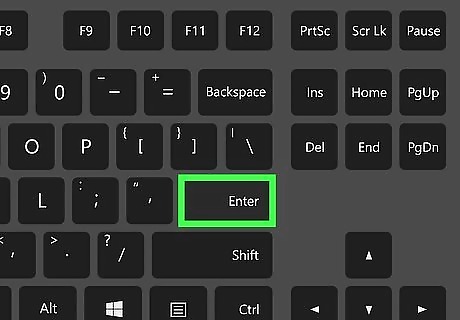
Press the ↵ Enter key again to return to MS-DOS
Shutting Down the Computer
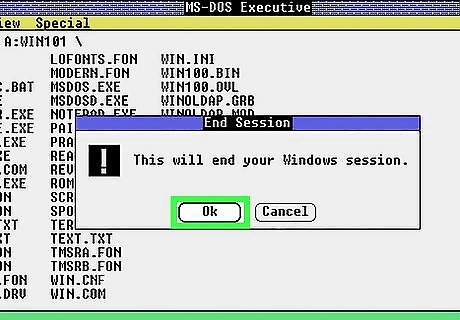
Follow the 'Returning to MS-DOS' method above. Following this method 1st will allow Windows to notify you if there are any unsaved files or installations still taking place
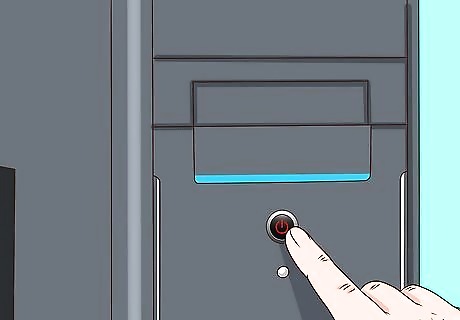
If you are running Windows 1.0x on actual hardware, simply press or hold the power button on the computer to switch off This is because there is no command or menu to switch the computer off.
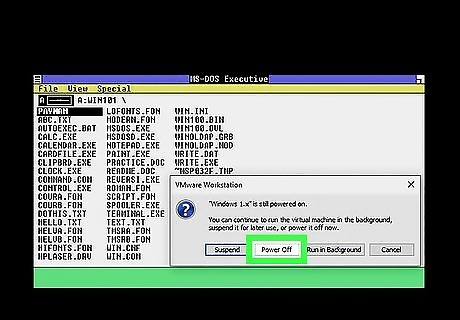
If done on a virtual machine, simply close down the virtual machine or use the shutdown button provided by the virtual machine





Comments
0 comment