views
Casting On and Getting Started
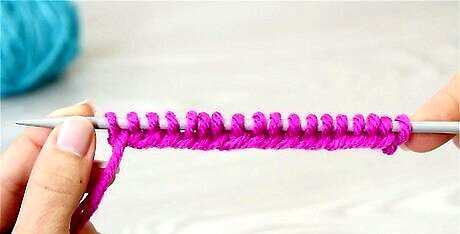
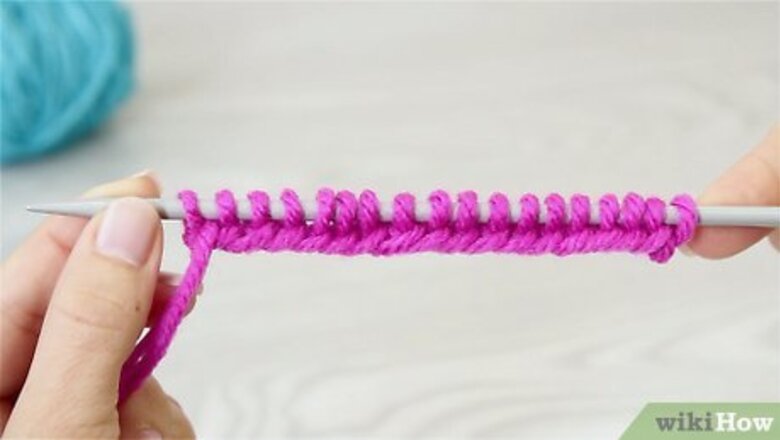
Cast on 18 stitches onto the left needle. Make sure that you use a needle that matches the gauge of your yarn. You can find the gauge on the back of the yarn's label.

Use the following pattern for the next four rows. At the end of each row, flip your knitting work, so that the needle with all the stitches is in your left hand, and the empty needle is in your right hand. Row 1: purl six stitches, knit six stitches, and then purl six stitches again. Row 2: knit six stitches, purl six stitches, and knit six stitches. Row 3: purl six stitches, knit six stitches, and then purl six stitches. Row 4: knit six stitches, purl six stitches, and knit six stitches.
Knitting the Cable Row

Purl the first six stitches. After you have finished the cast on and the initial four rows, you are ready to start your cable row. Start by purling the first six stitches. Be sure to give a slight tug after each one. This will help take some of the strain off of the cable stitches, and prevent any holes, tension issues, etc.
Slip the next three knit stitches off the knitting needle and onto a cable needle. Try to get a cable needle in the same size as your knitting needle, otherwise, your gauge might not turn out right. If you don't have a cable needle, you can use a double-pointed knitting needle, but using a cable needle is easier.
Move the cable needle to the front or back of your work. You'll create the cable by creating extra stitches, then bringing them to either the front or back of the work. That will twist the stitches around each other. Where you place the cable needle will determine which way the cable will twist: If you want your cable to twist to the left, leave the cable needle in front of your work. This is known as the front cable. If you want your cable twist to the right, place cable needle behind your knitting kneels; this is known as the back cable.
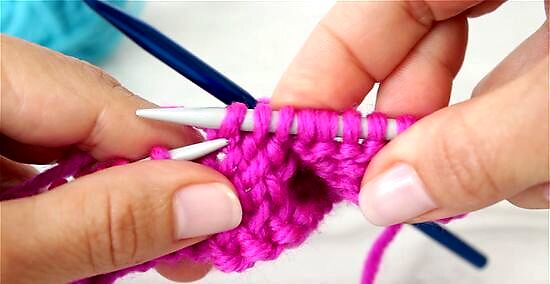
Knit the next three stitches off of your knitting needle. Leave those first three stitches on the cable needle. You will knit them in the next step; this will create the "twist."
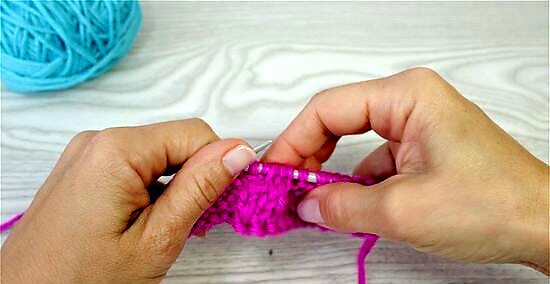
Knit the three stitches off of the cable needle. Avoid pulling too tightly. Instead, try to keep your cable needle as close to your project as possible. This will make it easier to knit later on.
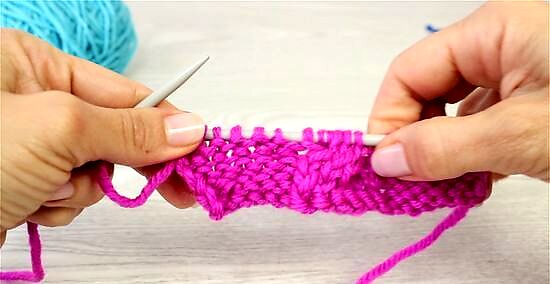
Purl the last six stitches, and flip your work. Put the cable needle off to the side, and purl the final stitches off of your knitting needle. Once you have finished, flip your work, so that the needle with all the stitches is in your left hand, and the empty needle is in your right hand.
Continuing the Pattern

Use the following pattern for the next three rows. You will not be using the cable during these three rows. This will create the curved part of the cable, and is known as the "working rows" Row 1: knit six stitches, purl six stitches, and knit six stitches. Row 2: purl six stitches, knit six stitches, and then purl six stitches. Row 3: knit six stitches, purl six stitches, and knit six stitches.

Repeat a cable row. Purl six stitches and insert the cable into the next three stitches. Knit three stitches off of the knitting needle, then knit the stitches off of the cable. Finish off with six more purl stitches.

Repeat the three "working rows." After each set of three working rows, do a cable row. Remember to place the cable needle on the same side each time (front or back).
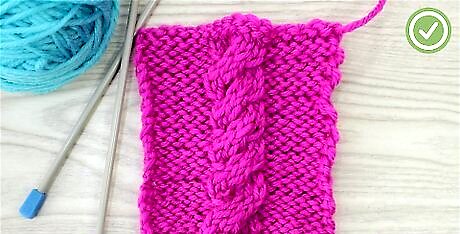
Finished.



Comments
0 comment