views
Creating the Base Mould of Your Head
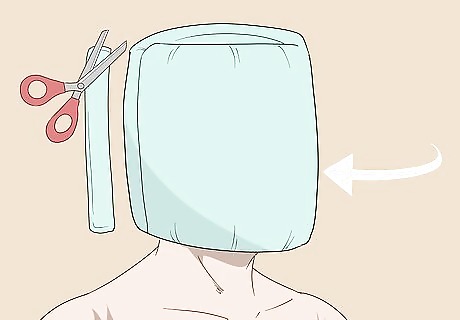
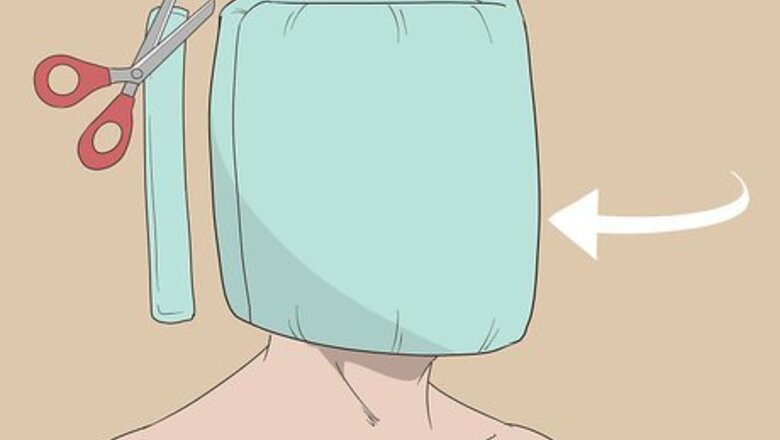
Wrap foam around your head loosely and cut away any excess. Wrap 1 inch (2.5 cm) thick foam around your head to get a sense of how wide the mould will be. Aim to make it fit so that you can slip it on and off without catching your ears or nose. Mark where the foam meets in the back of your head, then cut away any excess foam so the edges meet together. You can find foam on Amazon here. You will end up with a piece of foam as tall as your head that will be rolled into a tube.
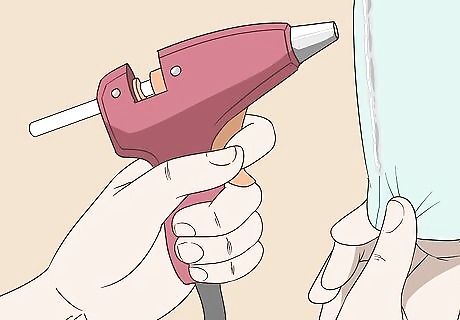
Glue the edges together with a hot glue gun. Take the sides of the foam and glue them together to create a tube. Do a little bit at a time to allow the glue to cool until you have a straight, secure seam. Hold the edges together during this process to fully stick each side of the foam to the other. After this, you should have a tall tube that slides snugly over you with a bit of foam extending above your head. Be careful around hot glue and ask someone to help you if you are worried about hurting yourself.
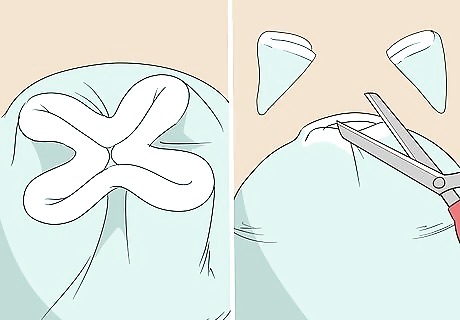
Round the top of the head by folding the top foam together and snipping off the excess. Press the front and back of the top part of the foam tube into the center of the tube and glue them together. Then, fold in the right side, and fold in the left side. Cut away excess foam and glue the parts you folded down together to form a rounded top. Cut away bumps and extra foam as much as you can, as this will only make the fursuit head look bumpy and uneven on top.
Planning the Features
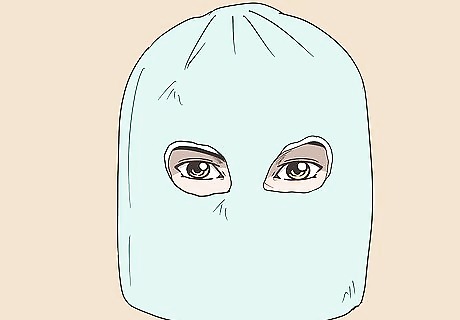
Draw eye holes on the front of the foam tube. The front of the tube is where the seam is, so turn this towards you and draw eyes on either side of the seam. Then, use scissors or a razor knife to cut the eyes out a little smaller than your outline. Don't worry about getting them perfect, you can always cut the eyes a bit larger later on. This gives you an idea of where the rest of the features will go, as you can place the muzzle and ears relative to the eyes. Wear the tube and make a dot where your eyes are located to cut more accurately-located eye holes. If you can't see through the foam, poke the foam gently to feel where your eyes are located.
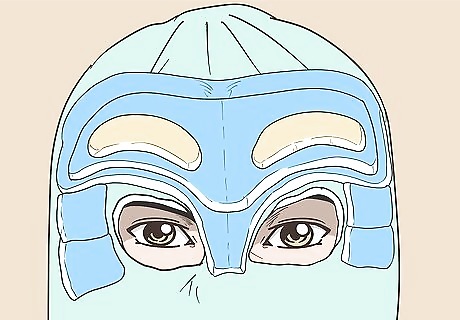
Layer foam on top of the base to make eyebrow ridges and bulk up the face. Measure how large you want your eyebrow ridges to be above the eye holes and draw the shape into another piece of foam. Then, cut it out, and attach it to the eyebrow ridge area above the eyes with hot glue. Add 2 more layers of increasingly smaller size foam to create a rounded brow. Use a long piece of shaped foam first for the base layer of the eyebrow ridge, then cut smaller shapes to round out the brow. This allows you to develop a thick brow above the eyes that juts out slightly from the forehead. Eyebrow ridges are great for showing emotion on your fursuit head. Angle them in such a way that your character portrays its feelings through its eyes!
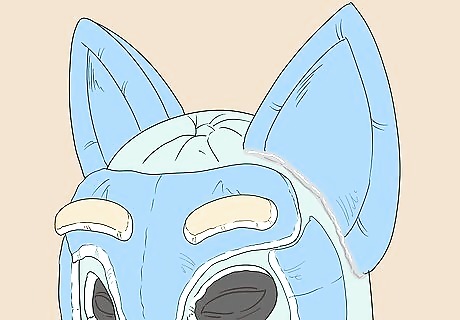
Add ears by cutting out conical foam shapes and attach them to the head. Most real-life animal ears are conical in shape, meaning they are not flat and pointed but have a curve. Once you've placed the ears in the right place for your animal, cut out ear holes to allow for ventilation in the headpiece. Cut out a conical shape from foam by making a triangle with a rounded base, then bend the shape onto the back-middle area of the head and assess where you need to cut to make it fit your character's animal. Glue down the bottom of the ears with hot glue. Look at the animal you want to portray and figure out how they show their emotions through their ears. For example, an alert dog's ears are perked up in the middle of its head, while a tired dog will have drooping ears on each side of its head. Consider looking at a template online to find the best approach for cutting out convincing ears.
Forming a Muzzle
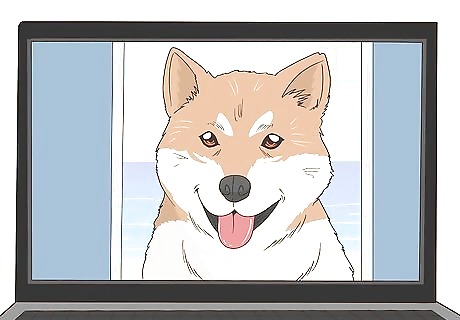
Look at reference photos of your animal to determine its muzzle shape. A cat has a short muzzle, while a wolf or a dog has a long one. Even though your fursuit head will likely be cartoony, it's best to try to get an accurate idea of your animal's appearance to translate it correctly to the foam head.
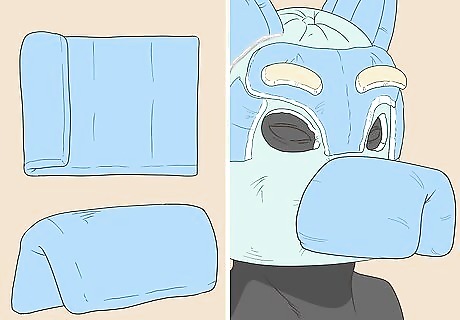
Make a long muzzle by folding a piece of foam in half and indenting the front. Cut a piece of foam about 6–12 inches (15–30 cm) long, depending on the size of your animal's snout. Then, fold it in half, and push the front of the folded foam in to create the philtrum — the vertical groove below an animal's nose. When you have finished forming the muzzle, hot glue it together and hold it tight with sewing pins as it cools. Then, glue the end without the philtrum to the foam head. Layer pieces of foam around the part of the muzzle that connects to the head to blend it in naturally.
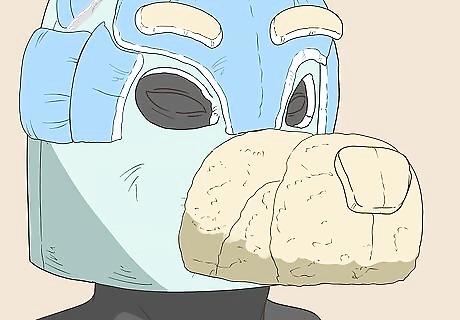
Make a short muzzle by layering foam in the shape of the snout. Study the shape of your animal's muzzle, and then cut out circular shapes to layer on top of each other. Smooth out the edges with scissors and keep glueing on more foam until the snout begins to take 3D shape. Then, attach it to the face on the mouth area. If you have very thick foam available (around 2–4 inches (5.1–10.2 cm) thick), it is easier to carve out the entire shape of the muzzle at once and attach it.
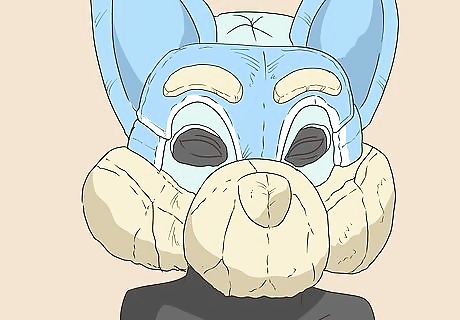
Layer foam on at the seam between the muzzle and the face to create cheeks. The muzzle will abruptly transition from snout to face, so use foam to smooth out the seam and make the muzzle seamlessly blend in. Form cheeks on either side of the muzzle with foam for the best option to hide this seam. Don't make the cheeks poke out too far from the head as the fur you add later on will add a lot of depth to the head.
Coloring and Furring the Head
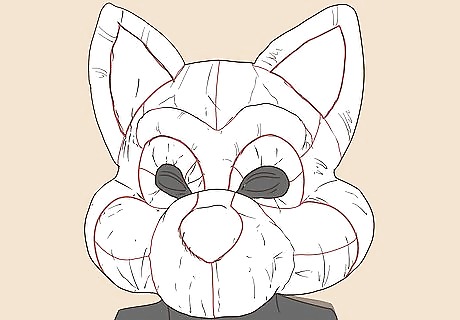
Wrap the head in plastic wrap and cover it with duct tape, marking sections off. After finishing the foam head base, tightly wrap the head in plastic wrap then cover the plastic wrap with duct tape to form a duct tape shell. Then, section off each part of the head with a marker and label each section with its location on the head, for example, the back and front of the ears, the sides of the muzzle, the forehead and cheeks, etc. Plastic wrap and duct tape make it simple to measure fur later on, as you can remove it from the base mask to cut the fur to the right size. Mark the direction of fur as well as the type of fur on the duct tape. Use a small arrow to indicate which way the fur will flow off of the head so you can apply it correctly later on.
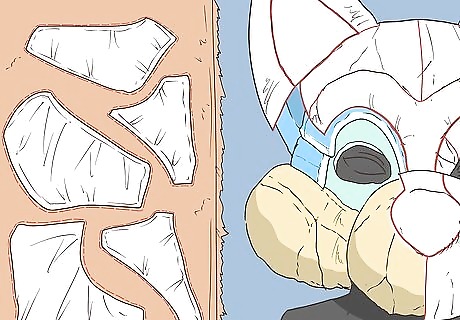
Cut away each section of duct tape, then measure it against your fur. Carefully cut away each section of the duct tape on the head, then flatten it out against your chosen color of fur. You may need to cut along folds to make it lay flat. Make an outline of each piece against the fur, as if you are tracing your hand. Don't worry if you have to cut a piece of duct tape to get it to lay flat — as long as the fur is cut to the flattened shape, it will seamlessly fold back into place on your foam base. Mark the underside of each outlined piece of fur with its location on the head so you remember where to apply each piece later on.
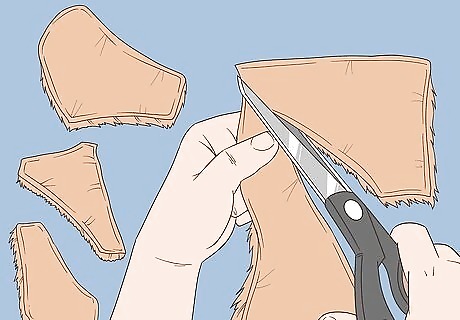
Cut out the fur and set the pieces to the side. Try to conserve as much fur as you can by keeping the outlines close together. Then, cut out the outlines, and set them to the side. It's important to remember to leave seam allowance, or else the fur may not fit on the foam base. Don't pile the fur, keep them separated from each other so you can easily put them back together on the foam head in the right place. You can find fur on Amazon here. Use fabric scissors or an X-ACTO knife to get accurate cuts.
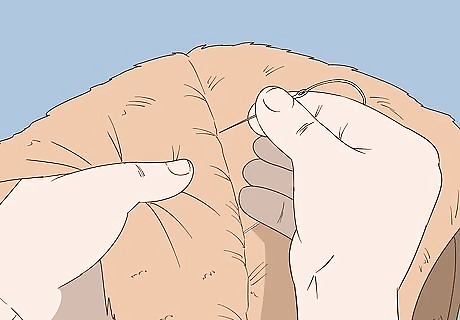
Lay the fur on your foam head, then begin sewing the edges together. Lay the fur on the foam head to see if you have cut everything accurately. Remove two pieces of adjacent fur at a time and sew their corresponding edges together. Continue sewing adjacent pieces together until all of the fur is sewn, forming what might resemble a furry mask. If you cut folds in the duct tape to make them lay flat, sew these cuts back together in your fur to return the flattened shape to its original, 3D form.
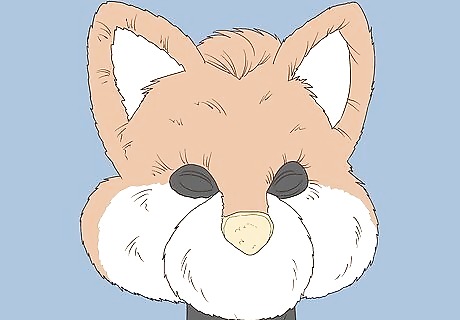
Glue the fur mask onto the foam base, starting with the muzzle and working back. Heat up your hot glue gun as you lay fur over the foam head. Make a thick layer of hot glue on the tip of the muzzle, then put the nose into the muzzle hole in the mask. Let it dry, then continue adding hot glue around the front of the face and pushing the fur into place. This may take a long time to get right, so put on some music or a show in the background. The ears can be tricky if the mask is already glued to the eyebrow ridge — apply hot glue all around the edges of the ears and eyebrow ridge at the same time, then slot the foam ears into the ear holes of the fur mask and press down on both the ears and eyebrow ridge. It's best to do the muzzle first, then the cheeks and side of the face, then the eyebrow ridge and ears, and finish with the back of the head.
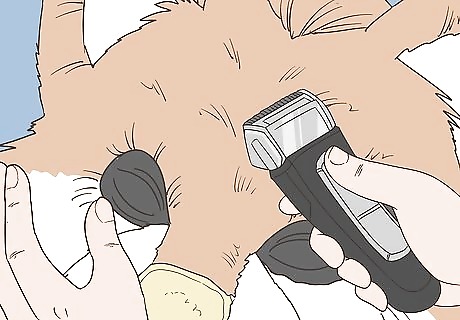
Shave away excess fur with an electric razor to your desired fur length. Get an electric razor and shave down the fur from its original, long length. If you want your character to be a bit raggedy, don't shave it all the way down, but if your character is meant to look clean and cropped, shave very close to where the fur attaches to the foam base. Always shave away less than you think at first, as you can shave more later on if it's still too long, but you can't add fur back once it's cut away!
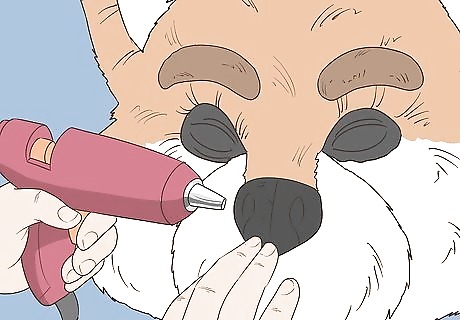
Glue felt to the nose, eyebrows, and inside the muzzle for definition. Cut out the shape of the eyebrows, the nose, and the mouth of your muzzle in appropriately colored felt — the nose might be black or red, the eyebrows should be a slightly darker color than the facial fur, and the mouth may be a mix of a black bottom with a red felt tongue in the middle. Apply hot glue to the back of each piece and stick it down in its appropriate spot! You can also sew these features to the fur mask before glueing it down, which can make them more secure and less likely to fall off. Also, you will need to make the eyes. Simply paint on some fabric mesh!






Comments
0 comment