views
Preparing the Object
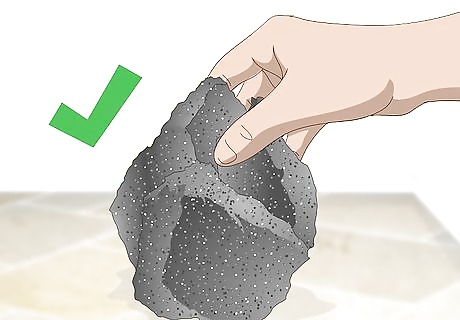
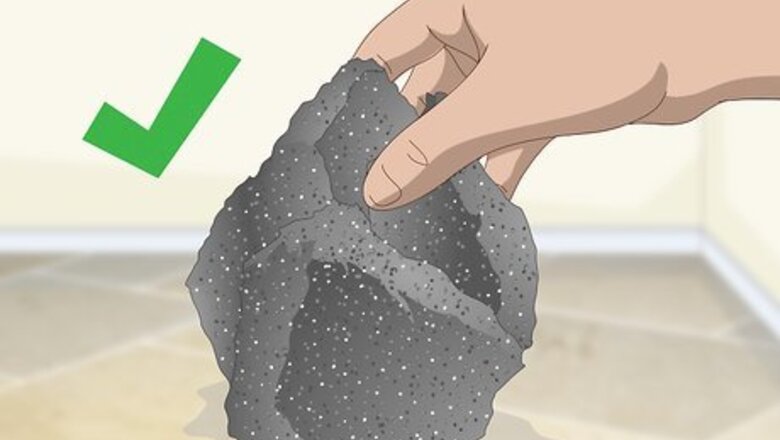
Choose an item from which to make your mold. You can cast a latex mold over almost anything. Some people mold rocks, plants, and masks. The one caveat here is that you cannot apply the latex over someone’s skin. The latex will seal the skin from the air and cause damage to the skin.
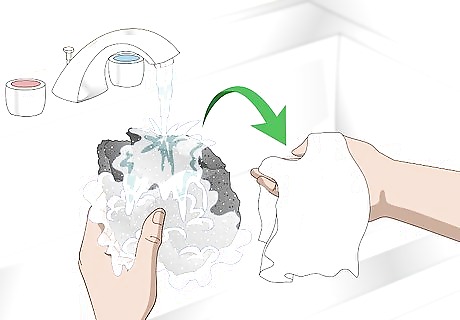
Clean and dry the item you wish to duplicate. Dirt, dust, and other contaminants can interfere with your mold. Clean the item with an appropriate cleaner such as soap and water (this may vary from item to item). Before creating the mold, make sure that you dry the object or allow it time to air dry.
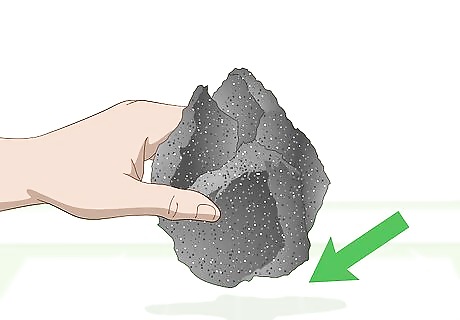
Set the item on a surface to act as a flange. Choose a flat, wide work surface. This will allow you to apply your mold beyond the edge of the object you wish to capture and form an outer flange. This flange will be useful when you are filling your mold in the future.
Coating with latex
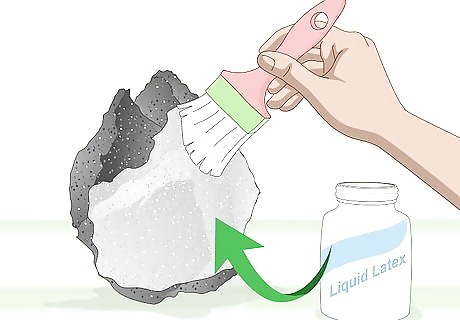
Brush on a thin layer of liquid latex. Go a couple centimeters past the items edge to create a flange. This first layer will be the mold surface so ensure that there are no air bubbles. Allow this layer to dry for about 30 minutes.
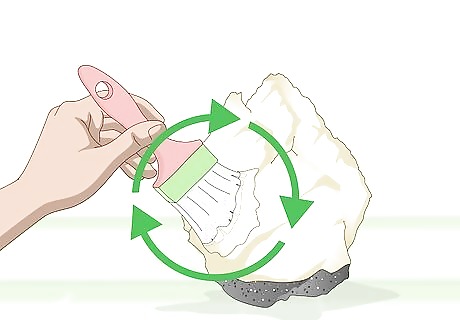
Brush on more layers of latex. Allow each layer to dry before applying the next. More layers of latex will yield a stronger mold. For very small items, four or five layers may be sufficient. Larger items may need ten or more layers. Do not allow the latex to dry overnight between layers. This will cure the mold and cause subsequent layers not to bond properly.
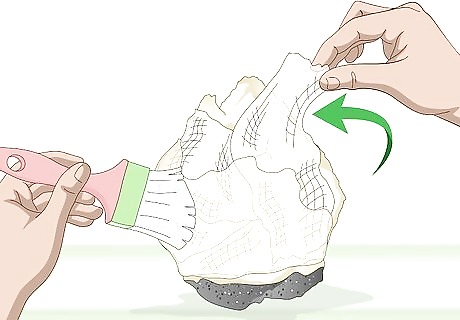
Add reinforcing material. If you are molding a larger item, you may need some extra materials to produce a sturdy mold. Loosely woven fabric such as gauze works well. Wet it with latex and apply to areas that are likely to stretch out of shape when the mold is filled with casting medium. Avoid reinforcing areas that will need to stretch to facilitate the item's release from the mold. The mold is likely to stretch and deform near the bottom of the mold (which is likely the top of the object). This is because it has to support most of the weight of your casting material.
Finishing Your Mold
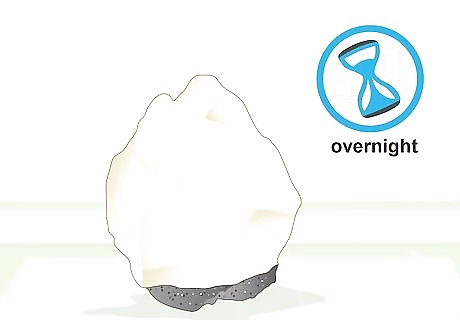
Allow the mold to dry overnight or longer once complete. This process is called curing. Only cure the mold once you have added all of the layers necessary. When cured, the latex will be unable to bond with subsequent layers. It will also be more resilient to environmental things (water, air, etc.).
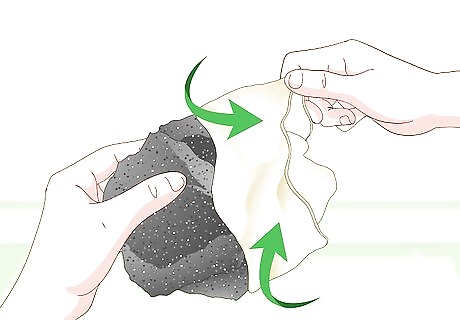
Peel off the mold. The latex should be very durable and can be peeled right back inside-out. Then just pop it back to it's original shape. If you have an intricate object, you may have to pull and stretch some parts of the mold to release it. Be careful not to tear the mold or break your original object when separating the two.
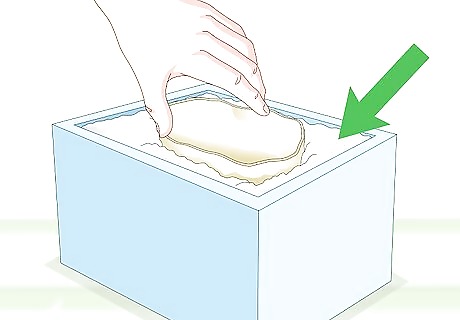
Build a support stand for the mold. For most items, it is best to support the mold just under the flange so that it is suspended. Larger items may require extra support such as a wooden box to keep it in the proper shape when filled. You can also use a medium like sand to reinforce the mold all over. By placing your mold in sand, the weight of the casting material is supported evenly by the sand. This holds the mold in place and prevents stretching and deforming. Be careful not to get sand into your resin or plaster.
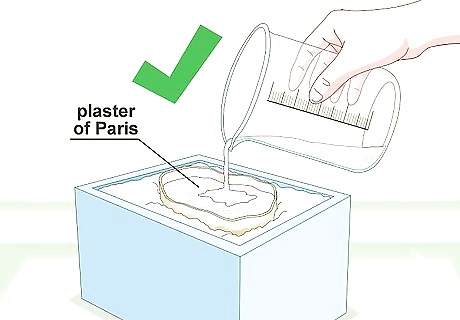
Cast your item using any casting medium. Plaster of Paris is probably the easiest. It can be painted later. That said, polyester resin or similar polymers will reproduce very fine details in your item. Choose your casting medium to fit your needs.


Comments
0 comment