views
X
Research source
You can even make your own Ndebele choker with just a few special materials, such as some gold ribbon, black fabric, and glue. Try making your own Ndebele choker to embrace your inner queen!
Measuring and Cutting the Materials
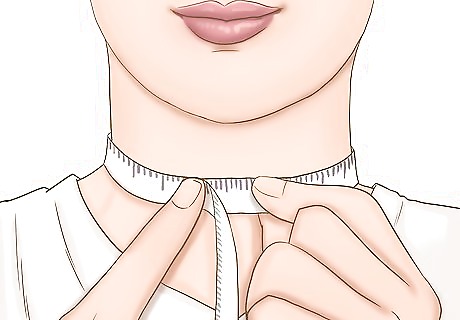
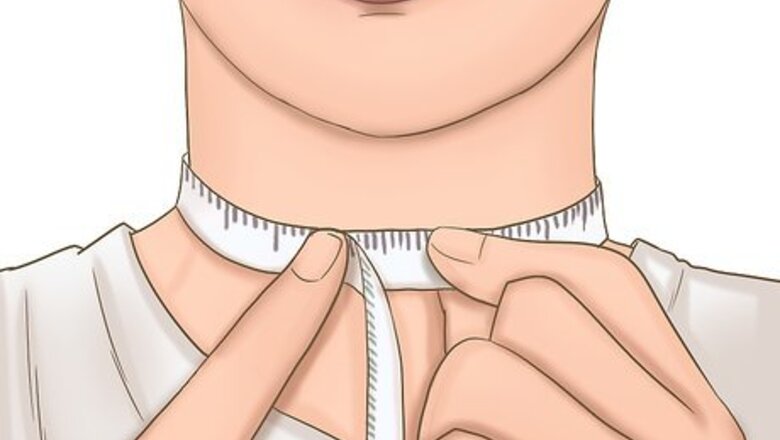
Measure to find your neck circumference and length. Use a measuring tape to measure around the center of your neck, or wherever you want to wear the choker. You can also wear the choker lower on your neck if you prefer. Then, measure from the top of your neck (just under your jawline) to the bottom of your neck (just above your collarbone). Make sure to write these measurements down.
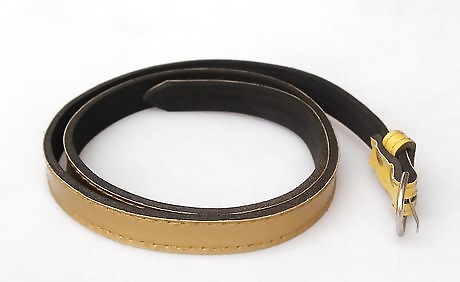
Find a thin metallic belt or ribbon. Usually, Ndebele chokers are made from gold rings, but you don't need to use metal rings to create a Ndebele choker. You can get the same look by repurposing an old belt or by using some gold ribbon to create the appearance of gold rings. Choose a belt or ribbon that appeals to you. Make sure that the belt is long enough to fit around your neck at least 3 times or use multiple belts. Otherwise, you won't have enough material to create your choker. Also, cut off the portion of the belt that has holes punched in it or that has a buckle attached to it. If you use ribbon, get enough ribbon to fit around your neck at least 3 times. Opt for ribbon or a belt that is about 0.5 to 1 inch (1.3 to 2.5 cm) wide.
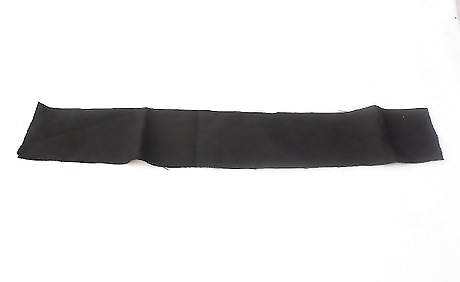
Cut a piece of black fabric large enough to fit around your neck loosely. Choose a fabric that will not fray, such as felt. This will be the base for the belt or ribbon pieces. Cut the fabric width the same as the neck length measurement and 4 inches (10 cm) longer than the neck circumference. For example, if your neck width is 3 inches (7.6 cm) and your neck circumference is 13 inches (33 cm), then you would cut the fabric to 3 by 17 inches (7.6 by 43.2 cm).
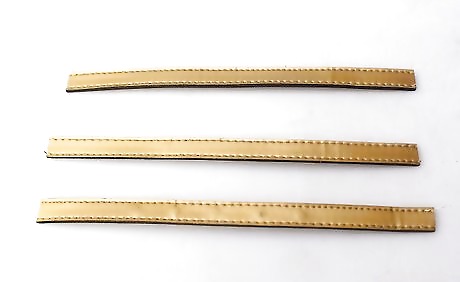
Divide the belt or ribbon into equally sized strips. Cut 3 or more pieces of the belt or ribbon to the same length as your neck circumference. You will probably only have room for 4 or 5 strips, but you can use as many as you can fit onto the fabric, and you can cut the excess black fabric if you do not have enough strips to cover it. To check and see if you have the right number of strips to cover your fabric, lay them out side-by-side on the piece of black fabric you cut. To ensure that all of the strips are the same length, you can cut 1 strip and then cut the others so that they are the same length as the first 1.
Assembling the Choker
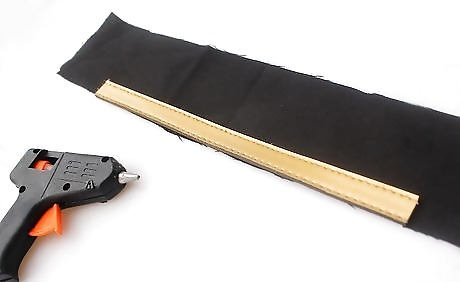
Glue a strip of belt or ribbon onto the fabric. Apply a line of fabric or hot glue (works best if using belt strips) to the bottom long edge of the black fabric. Then, place the first strip of belt or ribbon over the top of the glue and press it down from end to end. The long edge of the first strip should be flush with the long edge of the black fabric. Center the ribbon strips on the black fabric. If you are using hot glue, make sure to give the hot glue gun enough time to heat up. This takes about 5 to 10 minutes. Then, you will need to work quickly by applying the strips to the hot glue right away or the glue will harden before you can attach the strips. Use caution when handling the hot glue gun because the glue will burn you if it gets on your skin.
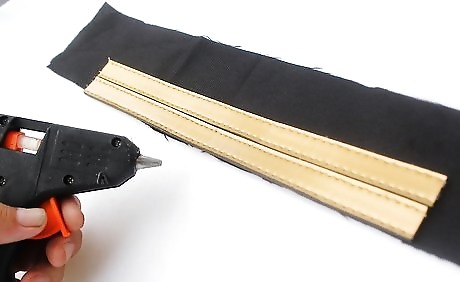
Add another strip of belt or ribbon just above the first strip. Apply a line of glue next to the first strip you placed and then press another strip of ribbon or belt onto the glue. Press the belt or ribbon piece down firmly from end to end. The strips should be right next to each other, but not overlapping.
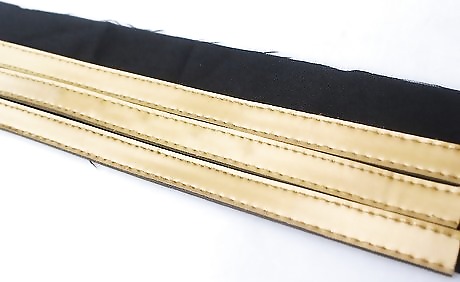
Keep adding strips until the fabric is covered. Continue to apply glue, then apply a strip over the glue, and repeat. Do this until you have covered the width of your fabric with gold strips. If you do not have enough strips to cover the fabric, you can cut off the excess fabric when you have used all the strips you have.
Adding the Velcro Closure
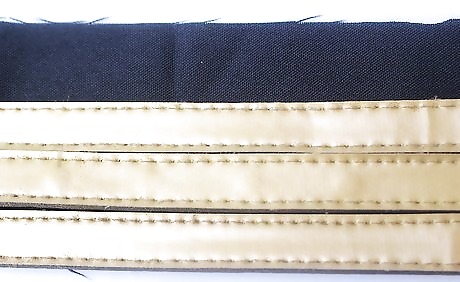
Fold over the excess fabric on the end and glue it into place. Take the excess fabric that extends past the gold strips and fold it over 1 time. Fold the fabric in towards the gold strips so that the edge of the fabric is flush with the ends of the gold strips. Apply some glue between the folded fabric and press it down to secure it. Repeat this on the other end of the fabric piece.
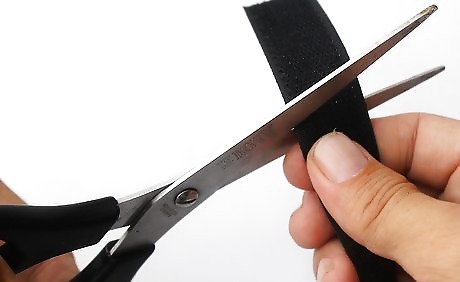
Measure and cut the Velcro. The Velcro needs to be the same size as the folded fabric that you just glued down. Measure the length and width of this area and then cut your Velcro to these dimensions. For example, if your folded fabric is 4 by 2 inches (10.2 by 5.1 cm), then cut a piece of Velcro that is 4 by 2 inches (10.2 by 5.1 cm). Make sure to cut the Velcro while it is pressed together so that both pieces will be the same size. Opt for black Velcro so that it will blend in well.
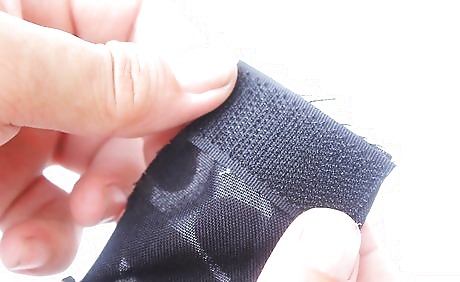
Place some glue on the folded fabric and press 1 side of the Velcro onto it. Separate the 2 pieces of Velcro so you can glue them on 1 at a time. Apply glue to the folded fabric and then press the back side of the Velcro onto the glue. Press down firmly to ensure that it is attached. Repeat this with the other piece of Velcro on the other end of the folded fabric, but place this piece on the opposite side or the Velcro pieces will not fit together properly. If desired, you may sew the Velcro into place. To do this, sew a straight stitch along the outer edges using a sewing machine or needle and thread. You could also try some self-adhesive Velcro, but it may not be strong enough to adhere to the fabric.
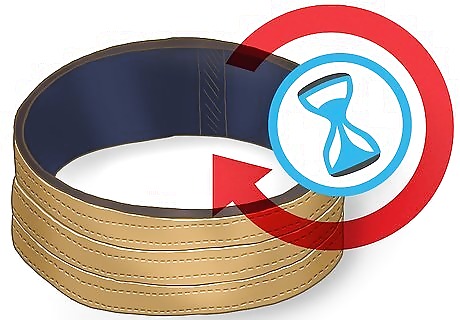
Let the glue dry and try on your choker! After you have attached the Velcro, let the glue dry completely before wearing the choker. For hot glue, this will only take a few minutes. For fabric glue, you should let the glue dry overnight to ensure that the Velcro and strips are secure. When you are certain it is dry, try on your choker and enjoy!



Comments
0 comment