views
Creating the Hat
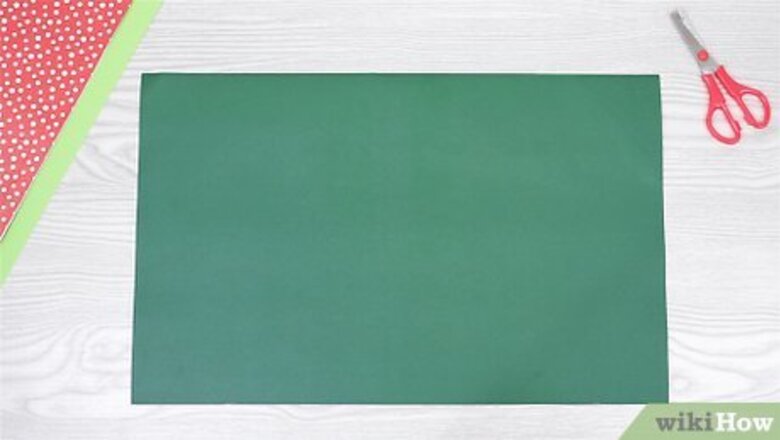
Choose a large sheet of green construction paper. Find a sheet of construction paper in a forest green color at a craft store and select a large size. Generally, a sheet measuring 18 by 12 inches (46 by 30 cm) should be large enough to fit the average head. If you want the hat to fit perfectly, you may want to measure circumference of the hat-wearer’s head first. Cut down a sheet of paper so that it’s 12 inches (30 cm) wide and its length matches the wearer’s head circumference.
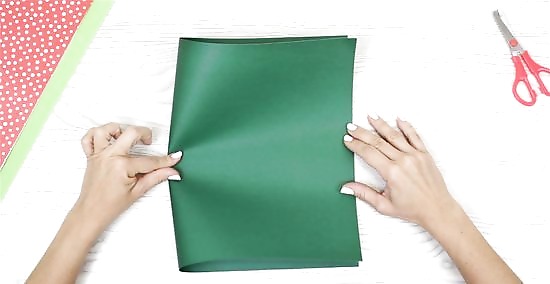
Fold the paper in half lengthwise. Crease the fold so the paper lays flat. When folded, the new dimensions should be 9 by 12 inches (23 by 30 cm). Place the folded paper in front of you so that the fold is on the right.
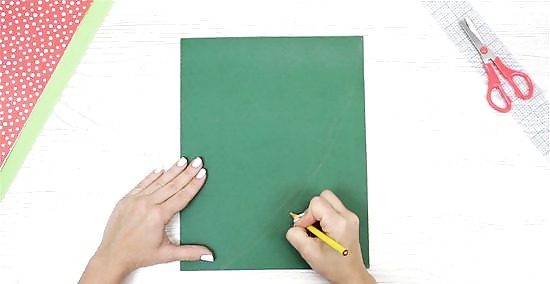
Draw a curved line from the top right corner to the bottom left. To make your line easier to draw, start by making a small pencil mark along the left edge, 2 inches (5.1 cm) from the bottom of the edge. Then lightly sketch a curved line starting from the top right corner to the mark you made on the left edge. This will make the edges easier to fold later on. Your curved line should slightly curve out toward the upper left corner, rather than curve inward toward the bottom right corner.
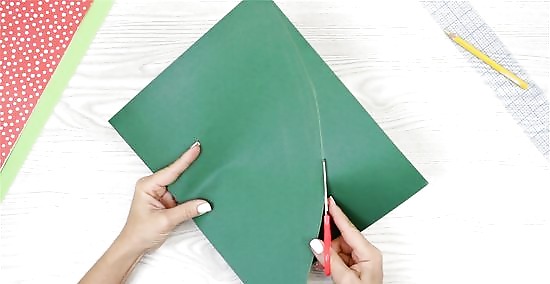
Cut along the curved line. Use scissors to carefully cut along the curved line. Make sure to cut just below the pencil line so no pencil marks appear on the final hat. Keep the paper folded carefully while you cut to make the sides symmetrical.
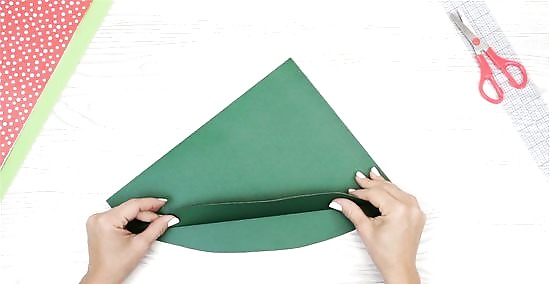
Fold up the curved edges to make the hat brim. Fold the curved edges up, forming a flat edge on each side. The fold should make a straight line from the upper right-hand corner, where your curved line started, down to the bottom left corner. This will form the folded brim of your hat. At this point, your folded piece of paper should resemble a triangle. Fold the curved edges identically on both sides so that the bottom edges match up.
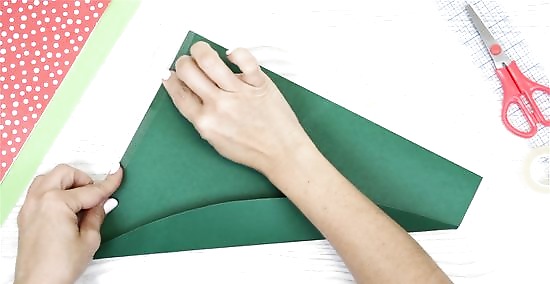
Tape or glue the back edges of the hat together. If you use tape, hold both sides of the hat’s back fold closed. Press a piece of tape over both and smooth either side. If you use glue, open up the top fold of the hat and apply glue along one edge, from bottom to peak. Press the two edges together and allow the glue to dry. This will create the flat back of the hat.
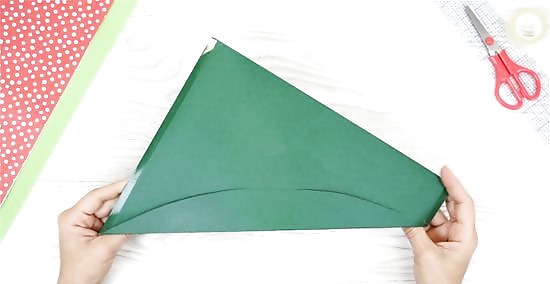
Open up the bottom of the hat. Your hat should now look like a triangle with a longer, pointed front and a pointy top. Open up the hat by spreading the brim edges so the bottom is slightly open. At this point, your hat is ready to wear! You can either wear it like this or add a feather for a final touch.
Making the Feather
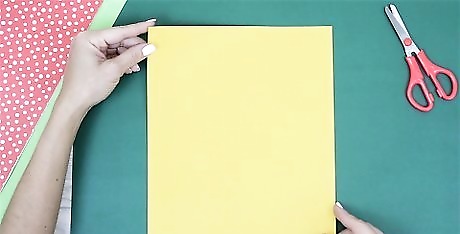
Select a sheet of construction paper in a different color. Choose another color, like red or yellow, to create the feather. Since the feather shape will be much smaller, you’ll only need an 8.5 by 11 inches (22 by 28 cm) sheet of construction paper.
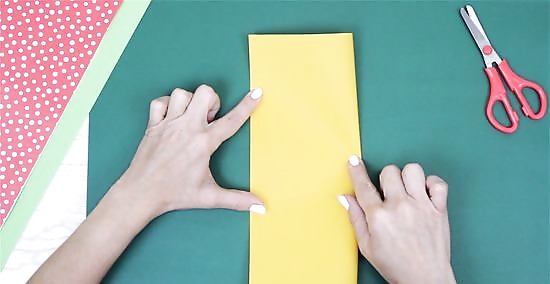
Fold the paper in half lengthwise. The new dimensions should 5.5 by 8.5 inches (14 by 22 cm). Position the folded paper in front of you so the folded side is on the right.
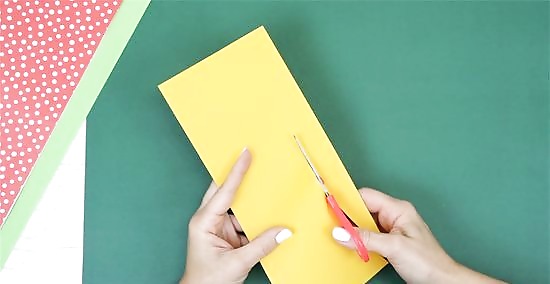
Cut out a long curved shape for the feather’s base. Leave a notch about 1 inch (2.5 cm) long at the bottom right corner (where the fold is) to act as the stem. From there, cut out a long half-teardrop shape to create the basic shape of your feather. The point should end at the very top right corner of the folded paper. Make the feather as long or short as you would like. Remember that the longer the feather is, the more likely it is to droop.
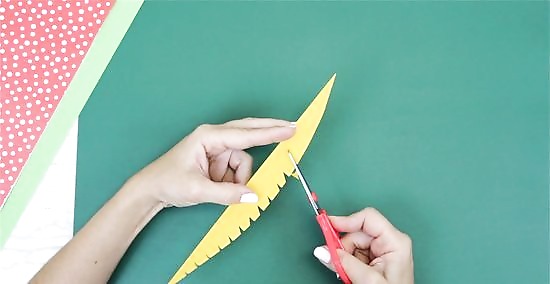
Cut a fringe along the outside curve. Keeping the paper folded in half, cut .25 inches (0.64 cm) slits into the curved edge. The slits should look like lines cut into the paper, not pieces cut out. Space the slits about .5 inches (1.3 cm) apart along the entirety of that outer curved edge. Make sure to only cut along the open curved edge. Do not cut into the stem or the folded spine. You could also cut triangles into the fringe to make a more varied, jagged edge.
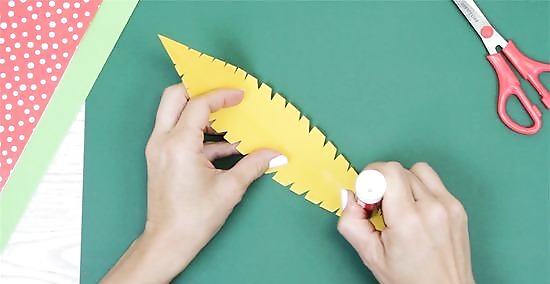
Unfold the feather and place a little glue on the stem. On the side that was previously folded inward, place some craft glue along the stem. This will secure the feather to the hat.
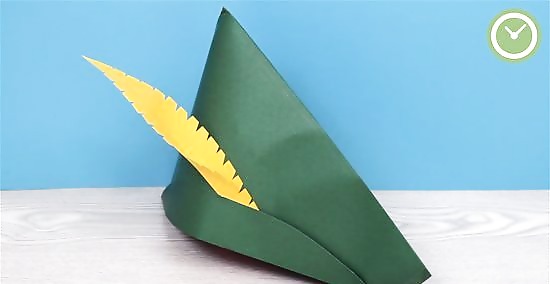
Glue the finished feather inside the brim of the hat. Open up one brim of your hat and place the stem inside, somewhere around the middle. Tilt the feather so it extends toward the back of the hat or slightly past the back of the hat. Press the brim closed again and hold it in place until the glue dries.




Comments
0 comment