
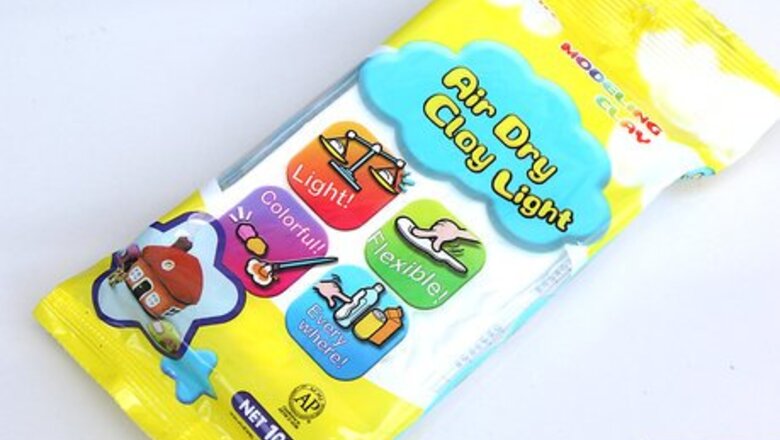
Get the supplies. All supplies necessary to make the pot are listed at the end of this article.
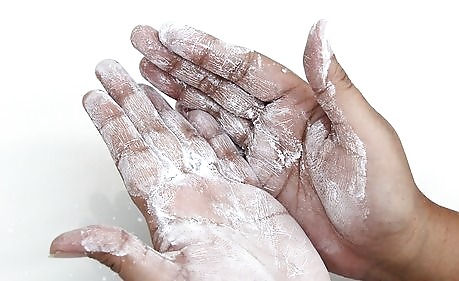
Apply and spread talcum powder to your hands. Talcum powder prevents the clay from sticking to your hands.
Get the amount of clay you need. Take the amount of clay you need. Try not to take excess, for it is air-drying.
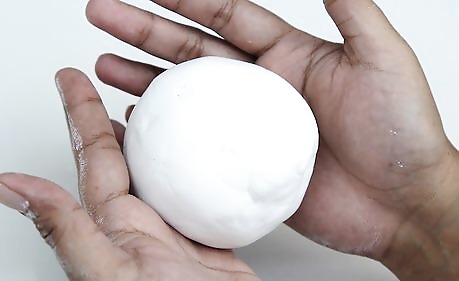
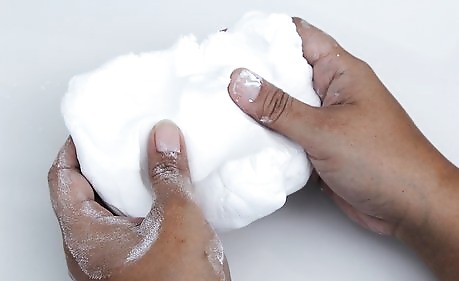
Roll the clay into a ball. Using your palm, roll the clay into an even ball. See that its surface is smooth.
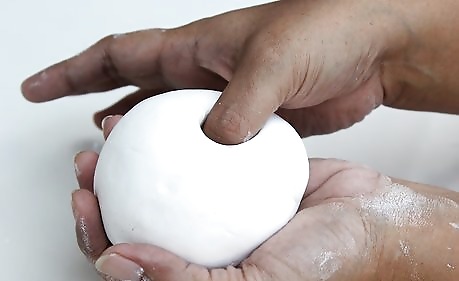
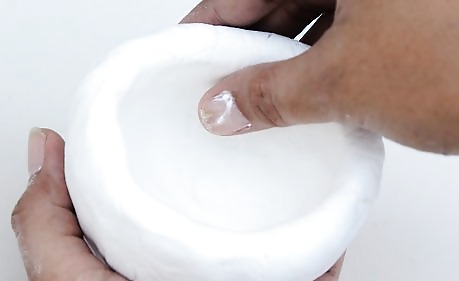
Begin with a pinch pot. Push your thumb into the center of the ball of clay, creating a small hole.
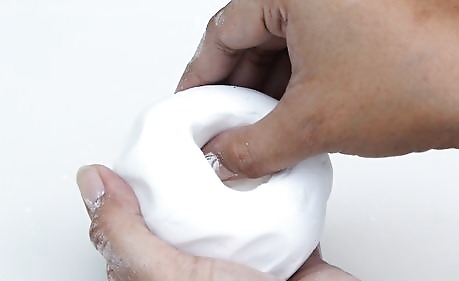
Start building up the sides of the pot. As you pinch in deeper into the hole, Pinch up around the hole to create walls for the pot.
Maintain the thickness. Make sure the walls and base are all of an even thickness throughout. It is not going to look so good if the sides are of varying thickness.
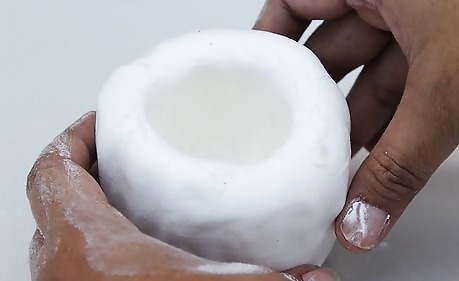
Keep building the walls and pinching the hole till you reach your desired height. Have an appropriate height with respect to the width of the pot.
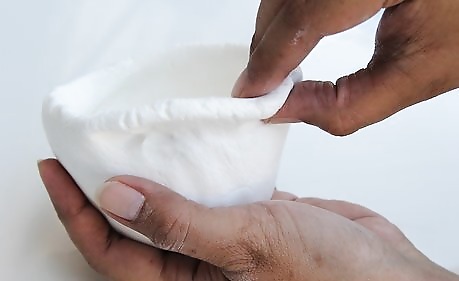
Curve the neck of the pot. Put your index and middle fingers into the pot, and using your thumb press the neck of the pot inwards to create a curvy neck. Balance it using the fingers inside.
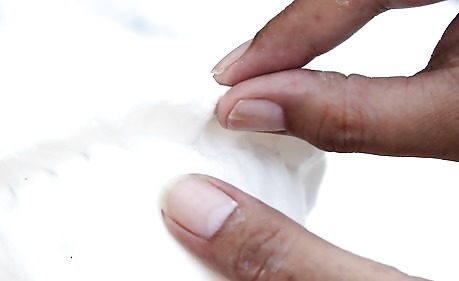
Squeeze the topmost part of the pot outwards. Pinch it out so that it points outside to create a wavy edge.
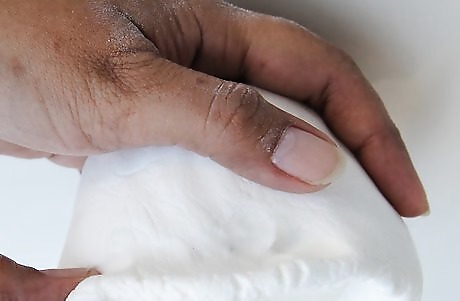
Turn the pot around and smooth the edges. Use a modelling tool if necessary. Don't leave out any rough edges around the pot.
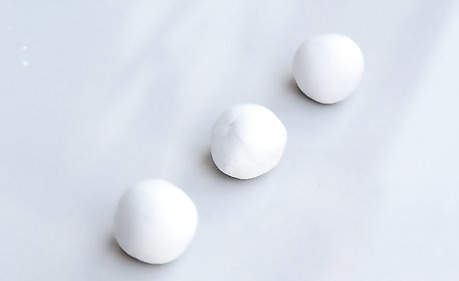
Take three tiny balls of clay. Keep the pot aside. Take three small fresh balls of clay. This is to make the bottom for the pot so that it can stand.
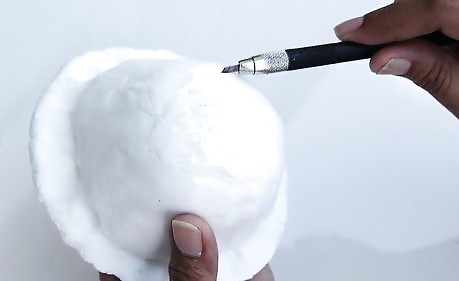
Roughen the bottom part of the pot (Optional). Score and moisten the surface to be joined. Take the pot and roughen the bottom in order to attach the balls of clay. Roughening will make the attaching easier.

Attach the balls in a triangular shape. Secure the pieces to the roughened part. Press it firm, but not too hard, for it can misshape the pot. Smooth around the joins with a modelling tool.
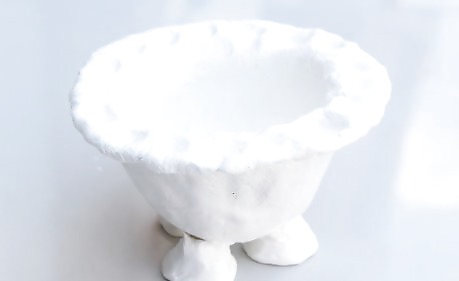
Leave it aside for about one day. The modelling part is done. I'm not sure about the time needed for it to dry, but you can always check.
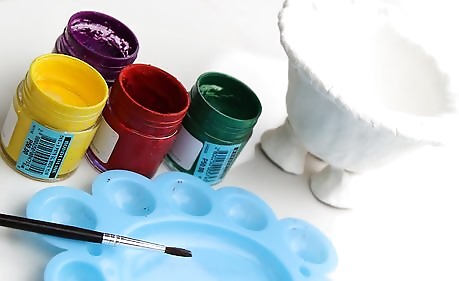
Gather your paints. Once the pot has dried, get your paints. It's time to add some beauty. Try out metallic, pearl, or pearl metallic paints. They are the best for painting pots and things like that. Use colors gold, bronze or something in the that shade. There are many commercial products available at craft supply shops. You can use fine brushes or auto detailing brushes. You can even use pre-printed transfers.
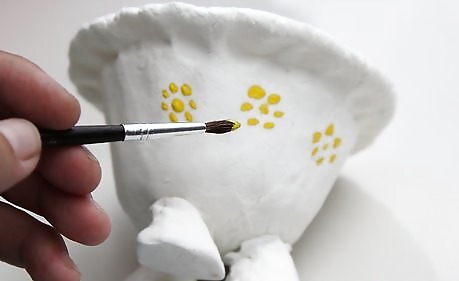
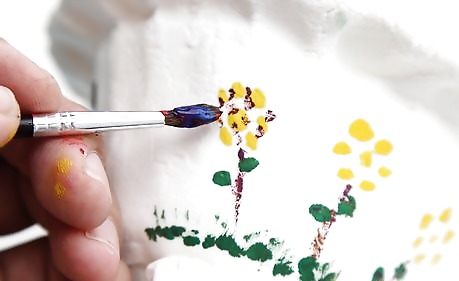
Start painting. It's your creativity. Splatter your colours.

Add your own decorations. Make some 3D figures to attach in the front. It will look more beautiful if you do so. Add some flowers, butterflies, designs, or even try making your own name out of clay and attach it! You can call it a personalized pot. Get a 3D Glitter Glue pen and decorate it with beautiful designs. Put stickers. Make it a candle stand. It would be beautiful to see a light glowing inside it.
Anything would be fine. Just don't add too much decoration or get it spoilt.
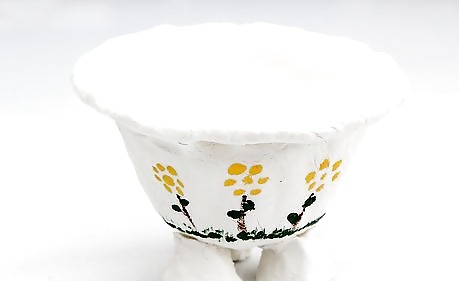
Finished. It would be perfect to gift it to someone, you can say it's handmade. Or maybe it's just another great showcase model. Try filling it with small flowers for extreme beauty!


Comments
0 comment