
Making the Body

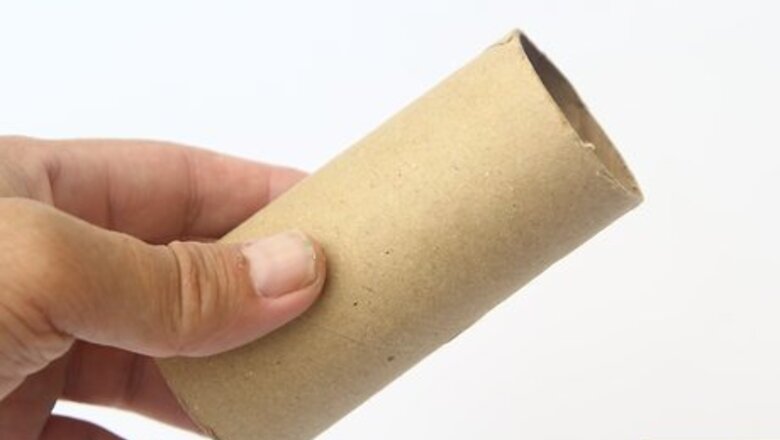
Get an empty paper towel tube and pull off any paper towel stuck to it. If you want a smaller rocket, you can trim length off of the paper towel tube with a pair of scissors. Alternatively, use an empty toilet paper tube to construct a shorter mini rocket.
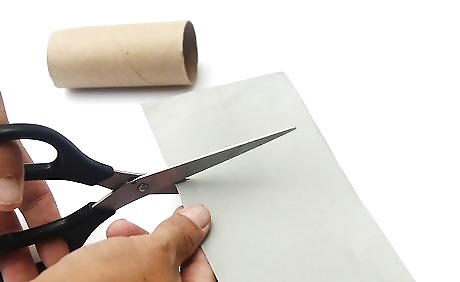
Cut a sheet of paper to cover the paper towel tube with. The paper needs to be the same height as the tube, and wide enough to wrap around it with a ½-inch (1.27-centimeter) overlap. You can use any color you want, but white is the most traditional.

Wrap the paper around the roll, then secure the edge. Glue or tape the edge of the paper to the tube first. Next, wrap the paper around the tube. Tape or glue down the other end as well. Double-sided tape will work better here than regular tape. Make sure that the tube is centered on the paper and there are no bits sticking out.

Cut three 1-inch (2.54-centimeter) slits into the base of the tube. You will be using these slits to add the fins later on. Make sure that the slits are the same distance apart.
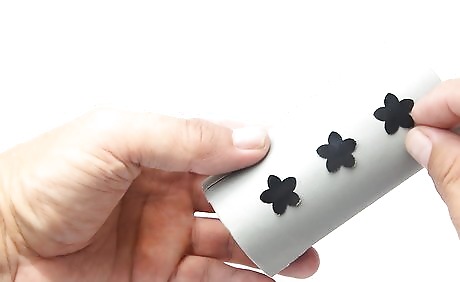
Add some windows. You will need a set of three windows running down the side of the rocket in a straight line. The windows can be circles, ovals, or rounded squares/rectangles. Yellow, black, or blue windows will work the best. Here are some ideas on how to make them: Draw the windows on with markers, then color them in. Paint the windows on with acrylic, tempera, or poster paint. Cut the windows out of paper, then glue them onto the rocket. Have an adult cut holes into the rocket with a craft blade. These windows won't be colored.
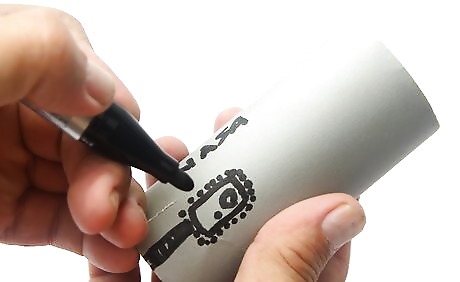
Decorate the rocket further, if desired. You can leave the body of your rocket as-is, or you can decorate it further with stickers, glitter glue, etc. Be careful not to decorate over the slits, however! Here are some ideas to get you started: Write NASA on the side. You can use markers, paint, or letter stickers. Draw the NASA symbol on the side. You can also print it out, cut it, then glue it on. Decorate the rocket with glitter glue. Draw some stars, moons, zigzags, and spirals. Decorate the rocket with space-theme stickers. Use stars, moons, planets, and aliens!
Creating the Cone
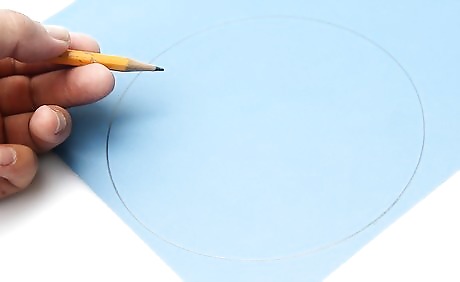
Trace a circle onto a sheet of cardstock or construction paper. Use a small drinking glass or a compass to make the circle. If you are using a standard paper towel tube, a 4-inch (10.16-centimeter) circle ill be just the right size. You can make the cone any color you want, but red or orange are the most popular colors.
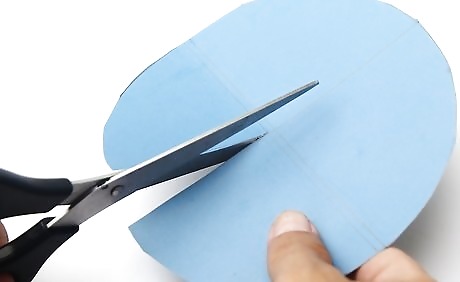
Cut the circle out, then cut a slit into the middle. If you are having troubles figuring out here to cut the slit, use a ruler and a pencil to draw an X across the circle. Cut along one of the X's arms towards the middle.

Roll the circle into a cone shape, then secure it. Overlap the two edges of the slit until the circle turns into a cone. It needs to be big enough to sit on top of the tube without falling through. Tape or glue the cone together. A glue stick or double-sided tape will work the best here. Don't use hot glue; it is too bulky for this step.

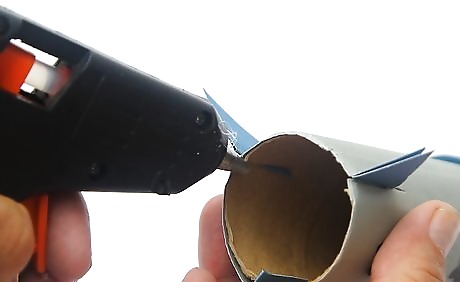
Hot glue the cone to the top of the toilet paper roll. Draw a ring of hot glue along the rim of the paper towel tube. Place the cone on top and press it into the glue. Work quickly; hot glue sets up fast. You can use regular tacky glue, but you'll have to wait for it to dry. Make sure that you are gluing the cone to the end that does not have the slits.
Adding the Fins
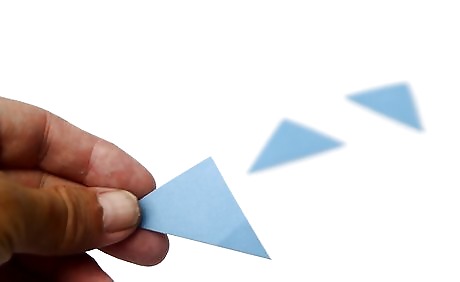
Cut three triangles out of paper. Draw and cut a triangle out of a sheet of cardstock or construction paper. Use this triangle to trace two more triangles. Cut those out too. Make the triangles 1 inch (2.54 centimeters) tall and 2 inches (5.08 centimeters) wide. You can make the triangles any color you want, but yellow is the most traditional. Red or orange would also work, however.

Fold the triangles in half lengthwise to make a crease. Run your fingernail across the folded edge to make a sharp crease, then unfold the triangles. This will allow you to insert the triangles into the base of the rocket.

Insert the triangles into the slits. Slide a triangle into a slit on the bottom of your rocket. Make sure that the folded part is inside the slit, so that half of the triangle is sticking out, and the other half is inside the rocket. Do this for the other triangles too.
Glue or take down the triangles inside the rocket. If you were to look inside your rocket, you'd notice little flaps created by the fins. Tape or glue these flaps against the inside of the rocket.

Add some tissue paper or cellophane flames to the bottom of the rocket, if desired. Cut squares out of red, orange, and yellow tissue paper or tissue paper. Stack them together, then place them over the bottom of the rocket. Use your finger to push the stack into the rocket partway. The tissue paper/cellophane will flare out like flames. If the flames keep falling out, draw a line of hot glue around the inside rim of the rocket, then push the flames against it.

Finished.


Comments
0 comment