views
Creating a Potted Plant Shower Caddy Garden
Gather suitable pots for your shower caddy garden. You'll need pots that can fit in your shower caddy. If you have a caddy with multiple tiers, you can use each of these to hold plants. However, middle tiers may have less space and require especially small pots. Plain terra cotta pots might look out of place in your shower caddy garden. With a little bit of primer, paint, and a paintbrush, you can add neat designs. You may want to verify that your pots fit in your caddy by arranging them in it while they're still empty.
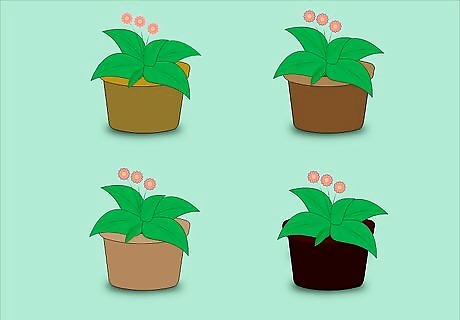
Pot your plants. Remove your plant from its original container. Loosen the root ball gently with your fingers to stimulate the roots so the plant is ready for its new pot. Fill the pot ¼ of the way with soil, add the plant, then fill the rest of the pot with soil. The plants you have chosen for your shower caddy garden may have specific soil requirements. However, generally, regular potting soil should be sufficient. Use your fingers to press down on the soil to ensure there are no air pockets. These can be harmful to the health of the plant. Some popular ideas for plants to use in your shower caddy garden include aloe vera, bamboo, begonias, ferns, cast iron plants, dracaena, ivies, philodendron, and more.
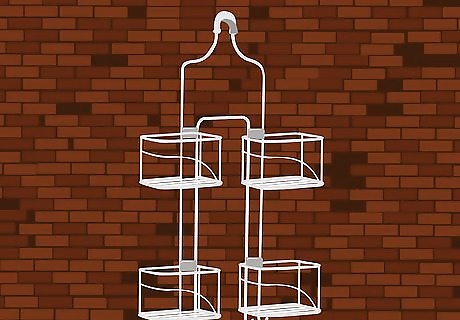
Hang your caddy in sufficient light. Your plants likely came with a tag that has care instructions on it. On these instructions, you should find a description of the kind of light your plants need. Place the caddy garden where it receives enough light. If your plants didn't come with care information, look this up online with a keyword search for the plant name. If you don't know the name of the plant(s) you've used, snap a picture with your cell phone and ask a master gardener or knowledgeable employee for help identifying it at your local nursery, florist, or home and garden center.
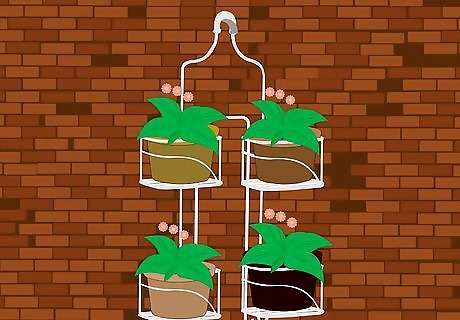
Arrange your potted plants in the shower caddy. Once your caddy is securely hung, arrange your potted plants in it. Taller plants should go on the highest shelf, which generally has the most space for vertical growth. For the most visually pleasing shower caddy garden, you may want to hide or disguise your pots with sphagnum moss or paper mulch. Line the sides of your caddy so the pots are hidden behind it. You may want to use a heavy duty wall hanger or a specially designed, heavy weight suction cup to hang your caddy. Your potted plants may be too heavy for the fastener the caddy came with.
Creating an Air Plant Garden
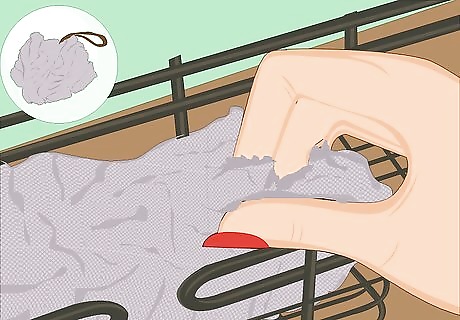
Layer a tier of your caddy with loofah mesh. Use a pair of scissors to cut the loofah so that it can be opened up to line the inside of a caddy tier. If you plan on using multiple tiers, you may need more than one loofah. The lining of loofah mesh will hold the orchid bark inside the caddy. This will prevent it from falling out of the caddy and spreading around your home. You can use other materials in place of a loofah to line your caddy tiers. However, plants that receive most of their nutrients from the air, like orchids, need to be able to breathe. A mesh material is preferred.
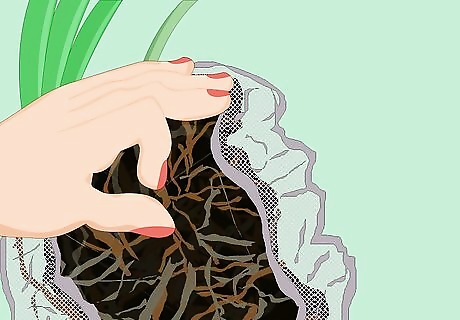
Cover the roots of your orchid in the loofah netting. Cut another segment of mesh from your loofah. Take the orchid from its pot carefully and wrap it in the mesh. Wrap it gently but firmly. A firm wrapping will help the orchid stay in place.
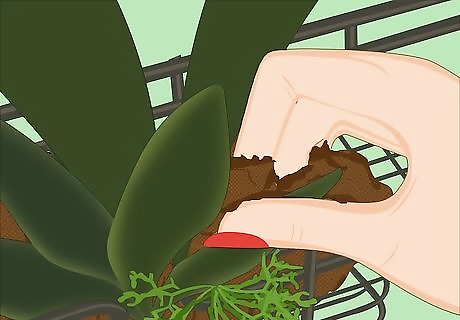
Insert the orchid in the shower caddy. In most cases, you should be able to tuck the loofah enmeshed orchid into a corner of the caddy. It should be stable and upright. If not, insert a small pole in the caddy and use a piece of twine to attach the plant to the pole and stabilize it.
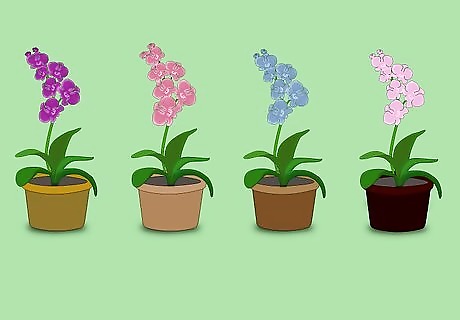
Add more plants to your shower caddy, if desired. At this stage, feel free to add more plants that receive most of their nutrition from the air to your caddy in the same fashion as your orchid. Some varieties you might try include mosses, bromeliads, rhipsalis, and more.

Fill your shower caddy with orchid bark. You may need to use your hands to hold the loofah lining in place, but once you start filling it with bark, the bark should help stabilize the loofah material. If the plants or loofah material are loose, use wire or twine to attach them to the caddy. In most cases, after some time passes, the plants will become established in the shower caddy garden and will need less support. When this happens, feel free to remove the ties/pole.
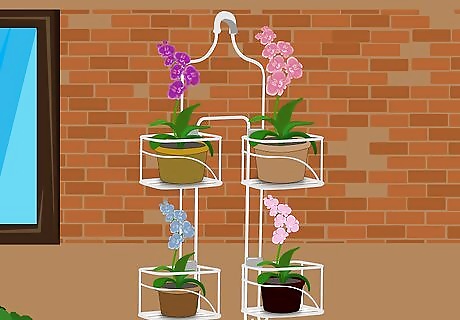
Hang your caddy and enjoy your air plant garden. Generally, plants like orchids do best in a well-lit place. Soap and shampoo can also be unhealthy for these sensitive plants, so be strategic in the placement of your caddy. For the first few weeks, you should water your caddy every other day. After that, you should be able to decrease the frequency of watering to once or twice a week.
Lining a Caddy to Create Basket Planters

Layer the bottom of caddy tiers. This will only work for caddies that have at least one basket tier. Use sphagnum moss to line the bottom and sides of the basket(s). Then use a cutting tool, like shears, sturdy scissors, or a utility knife to cut the moss to fit the shape of the basket. You might find that sphagnum moss clashes with the existing decor of the place you plan to hang your caddy. In this case, consider using black paper mulch instead.
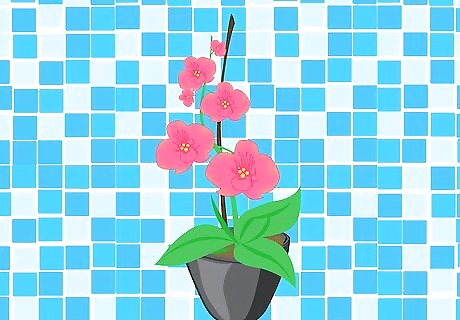
Add potting soil and plants to the caddy. Fill the lined caddy ¼ of the way with potting soil and then arrange your plants in the basket. Taller plants should go in upper baskets, where there is more vertical room for growth. Then fill in the remainder of the planter with soil. Some plants may have specific soil requirements. Check plant care instructions to ensure you are using the correct soil.
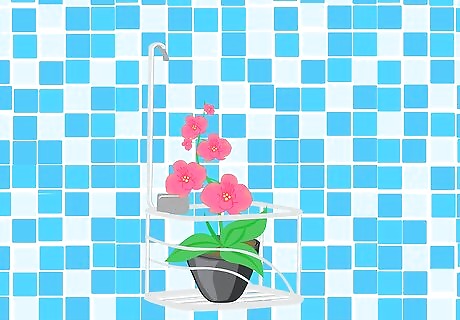
Hang the caddy and enjoy. Because the entire basket of the caddy will be filled with soil and plants, it will likely be quite heavy. Due to this, your caddy may require special wall hangers or fasteners able to hold the heavy weight. Place your caddy in a place where your plants will receive the amount of light necessary for ideal growth. This information should be on the plant care instructions.


Comments
0 comment