views
- Start making a signup sheet by inserting a table into a blank Word document.
- Add enough columns in your table to include key info such as name, email, phone number, age, etc.
- Click the "Home" tab, then select "Numbering" under the "Paragraph" section to add numbers to the table.
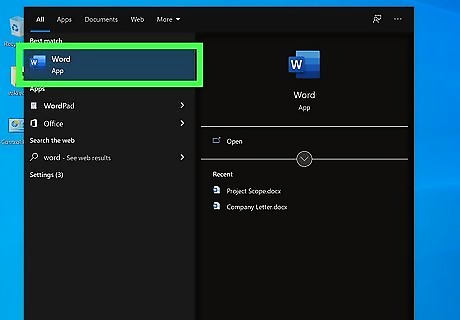
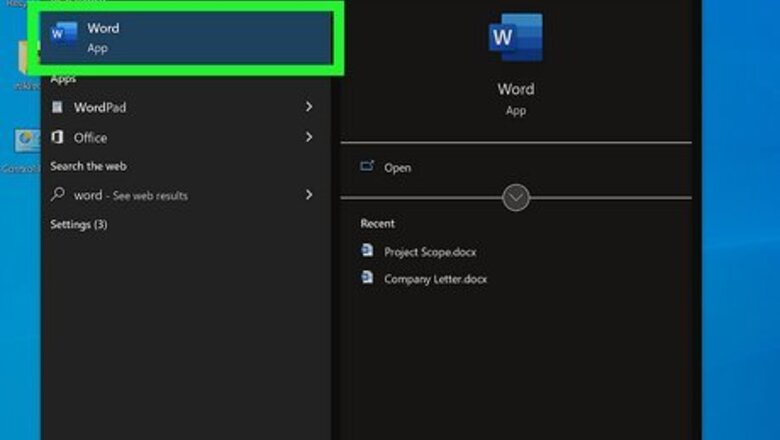
Open Microsoft Word on your laptop. If you use a Windows PC, you can open Word by typing it into the search bar then clicking on the icon. If you use a Mac, you can download Microsoft Word from the Mac App Store.
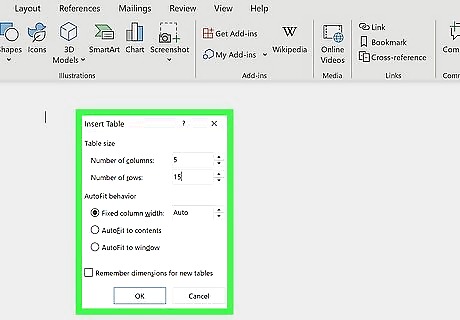
Insert your table. On the menu above your blank document, click “Insert,” then click “Table.” A grid will appear, and you can use your cursor to specify the dimensions of your table. For example, if you expect ten people to sign up and want to collect their names and emails, select two boxes across and eleven down. If you’d like to number the sign-ups, you can also add an additional box across. If you have a lot of fields, consider setting up your sheet in landscape to give yourself more space. You can always edit the number of rows or columns on your table, so don’t worry about having a perfect estimate.
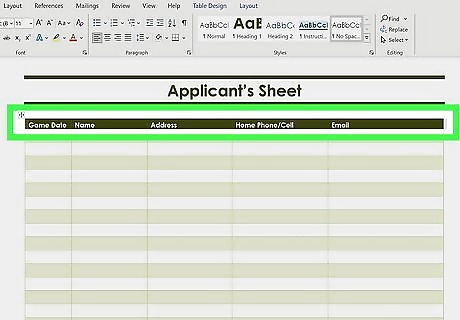
Write in the fields you want to include. In the top row of cells, specify the information that you want people to fill out. Depending on the aim of your sign up sheet, this information might include name, email, phone number, or age. Additionally, asking for signatures can be a good way to confirm that people consent to being contacted using the contact information they provide. To add numbers, highlight the cells you want to number then click the "Home" tab. In the "Paragraph" section, select "Numbering."
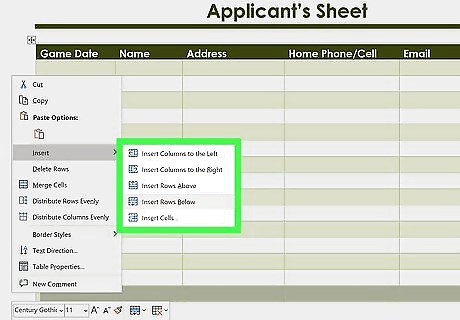
Adjust your sheet layout. To change layout elements in your sheet, click “Layout” at the far right of the top menu. You can add rows to your table by selecting any cell then click “insert below.” To add columns, select a cell then click “Insert Left” or “Insert Right.” You can also adjust the size of the table cells using the “Table Row Height” and “Table Column Width” tools. Just select the row or column of cells you want to modify, then click the up or down arrow in the tools to change their size.
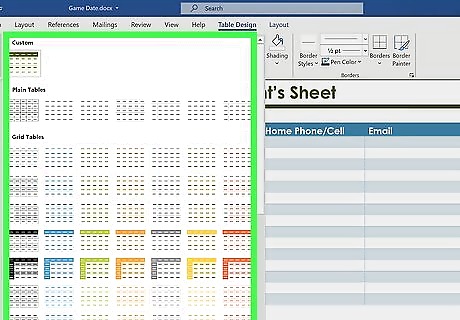
Customize your table design. Now that your sign-up sheet layout is clean and functional, you can customize its aesthetic. Click “Table Design,” the second tab to the right in the top menu. Use the “Borders” tool to adjust the thickness and color of your sheet’s outline. Want to add some color? With the shading tool, you can shade in the top row to make your sign-up fields stand out or give each column a different color.




Comments
0 comment