views
If you want to make a paper gun that shoots, see the wikiHow article on How to Make a Paper Gun That Shoots.
Creating a Colt Double Barrel
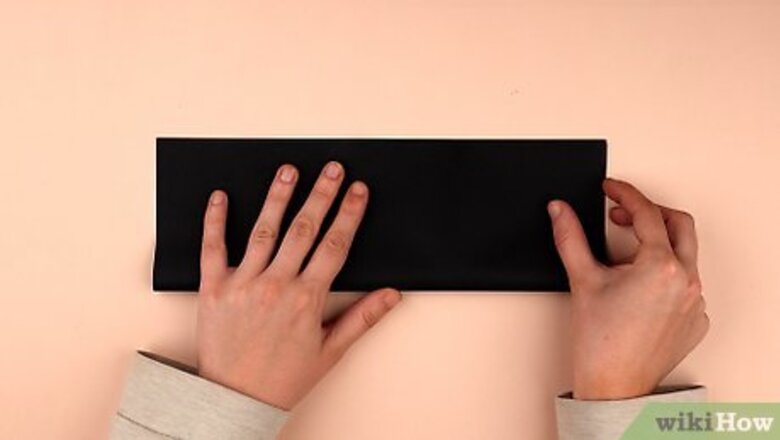
Get two pieces of paper and fold one of them from the bottom to the top. Smooth the fold to get the paper as flat as possible.
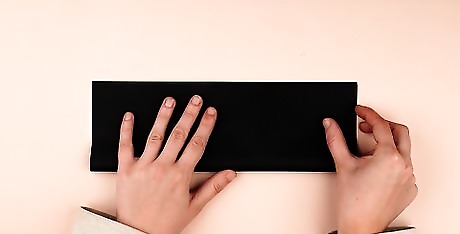
Fold the paper in half again. Go the same direction as the previous fold. Take the top edge of the paper and bring it to the bottom. Smooth the fold again.
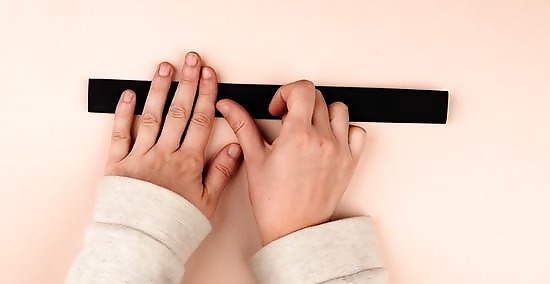
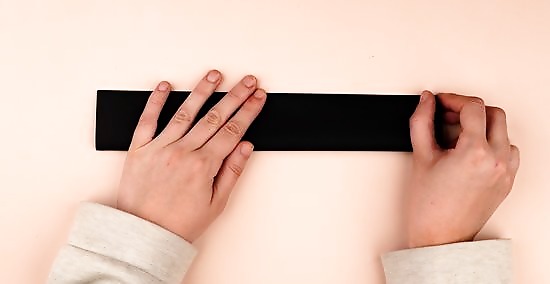
Fold the paper in half one more time. Continue folding in the same direction. You should end up with a long strip of folded paper.
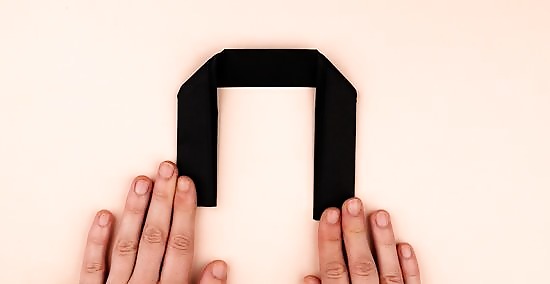
Fold both ends of the long strip down. Starting about 1/3 of the way from each end of the strip, fold each end of the long strip down at a 90 degree angle. You should end up with a shape that looks like the letter 'n.'
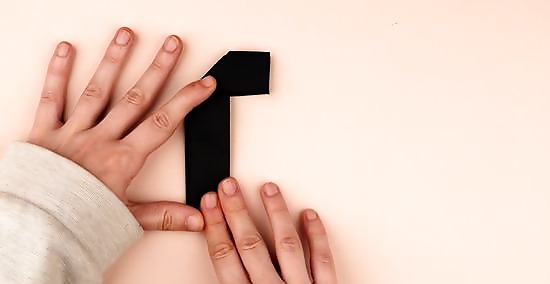
Fold the piece in half so the two end segments are aligned. You should now have a piece that resembles a 'r' shape. This piece will become a handle for your gun.
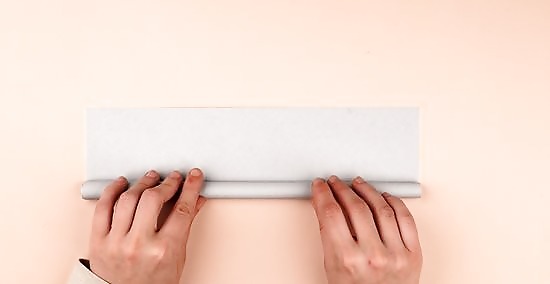
Roll the other sheet from the top to the bottom. Create a long, tight cylindrical shape. You want the tube to be relatively tight to produce a realistic looking barrel. By rolling the paper you create the look of the Colt handguns. Pinch the middle of length of the tube and fold the piece in half so the round openings at the ends are even.
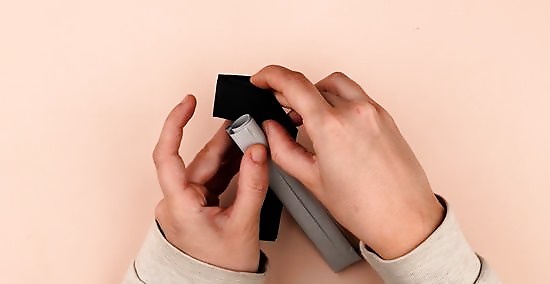
Slide the ends of the second sheet through the first sheet. Hold the handle at the base of the longer segment. Take one folded side of the barrel and slide it over the bottom segment of the handle and under the top segment. Take the other folded side of the barrel and slide it over the bottom of the handle and under the top segment.
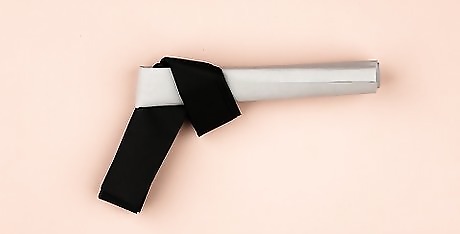
Pull the slack by tightening the loops around the barrel. You don't want it so tight that it ruins the shape of your double barrels. You just want to adjust the gun to the proper shape.
Making a Pistol with a Slide
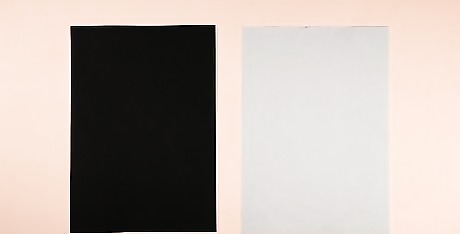
Get two pieces of standard printer paper. Lay them down so that the long side of the paper is facing you. You may want find a flat surface on which to work to make folding your papers easier.
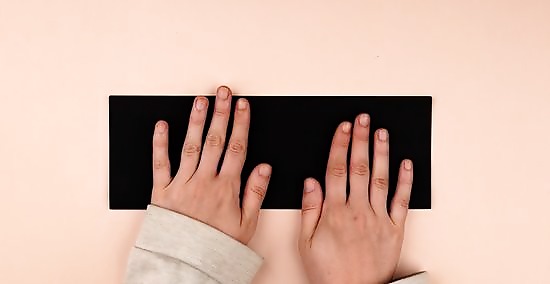
Fold the paper from the bottom to the top. This will make the shorter side of your paper half the length. Smooth the fold to get the paper as flat as possible. Try to keep the edges as closely aligned as possible to create the best origami.
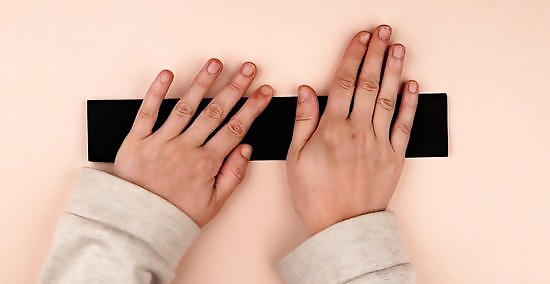
Fold the paper in half again. Go the same direction as the previous fold. Take the top edge of the paper and bring it to the bottom. Smooth the fold so the paper stays flat.
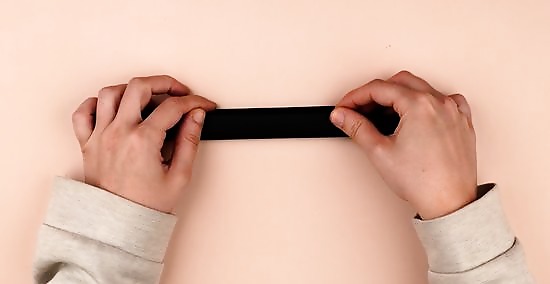
Fold the paper in half one more time. Continue folding in the same direction. You should end up with a long strip of folded paper. Place the first sheet down so the long side of the paper is facing you and retrieve the other sheet of paper.
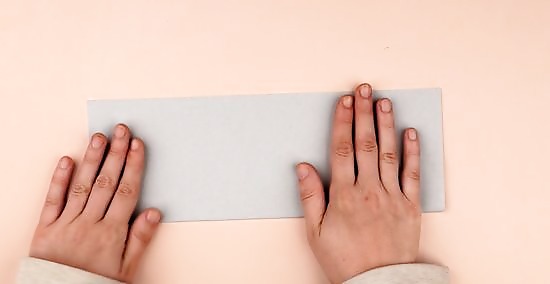
Repeat the same steps for the second sheet. Make the same folds in the previous steps so that you end up with two long folded paper strips. One of the strips will be used to form the barrel and the other piece will create the handle.
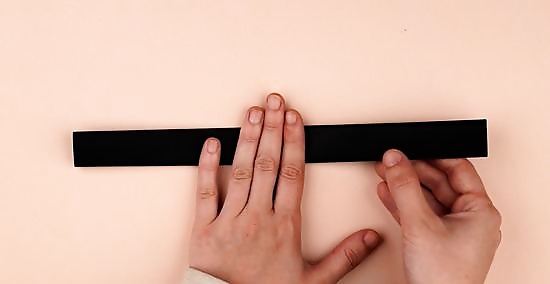
Fold one of the strips of paper in half horizontally. Go from left to right. This will make the longer side of your paper half the length that it was.
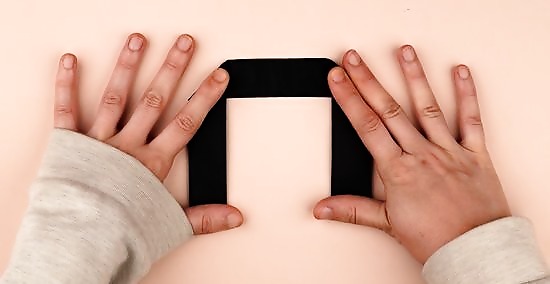
Fold the ends of the folded strip down. Fold both ends of the strip down at slightly less than a 90 degree angle. When you're done, the paper should somewhat resemble the number seven.
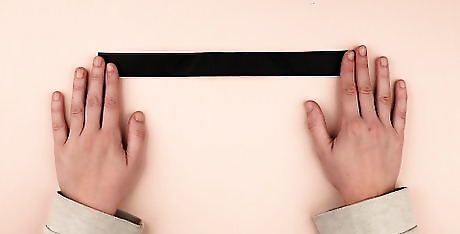
Open the folded strip. Undo the last two folds so you have a long strip again. You should be able to see the crease marks from your previous folds. There will be one in the center, and another on each side, halfway to the edge of the paper.
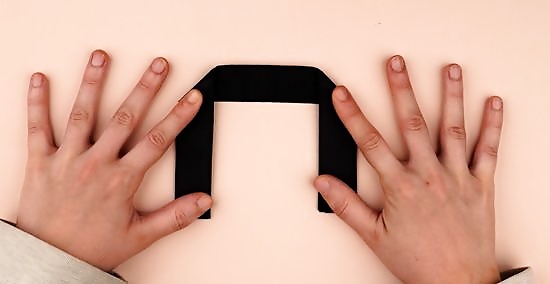
Fold each end of the strip down. Fold the ends of the strip along the previous fold lines. You will end up with a crease in the center and a strip at each end that is folded downward. It should almost look like a shirt collar at this point.
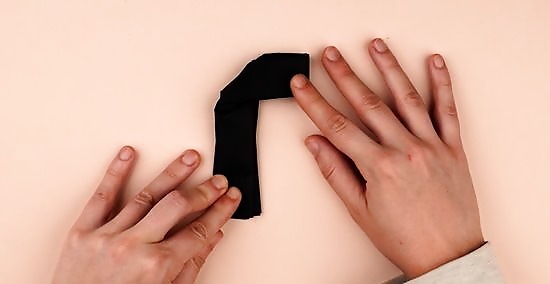
Fold the piece in half so the two end segments are aligned. Take the left side and fold it along the center crease so that it is aligned with the right side. You should once again have a piece that resembles a 7 shape. You should now see a loop-like opening where you will be able to slide the other piece of paper. This will form the handle of your paper gun.
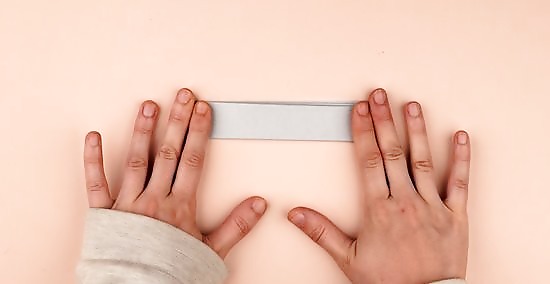
Fold the other long strip of paper horizontally. Go from left to right. This will make this piece half as long. This piece will form the barrel of your paper gun once you insert it through the opening of the handle.
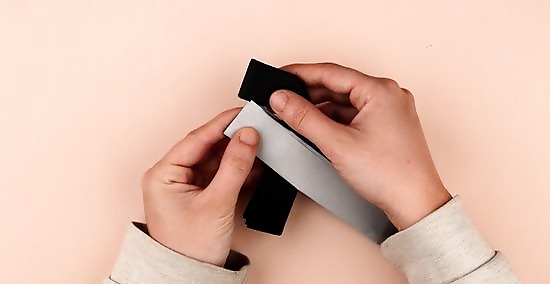
Slide the ends of the barrel sheet through the handle sheet. Hold the handle piece by the open end at the base with the loops facing away from you. Take one folded side of the barrel piece and slide it over the bottom segment of the handle and under the top segment. Take the other folded side of the barrel and slide it over the bottom of the handle and under the top segment as well.
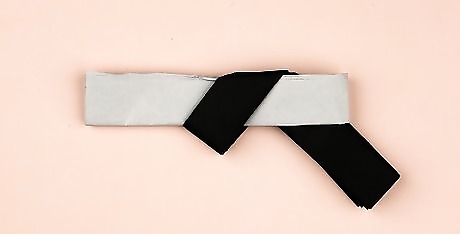
Pull the the barrel sheet through the loops of the handle. This will help adjust the gun to the proper shape. Don’t make it too tight or the slide won’t function. You don’t want your gun to jam.







Comments
0 comment