views
Using Cornstarch and Vinegar
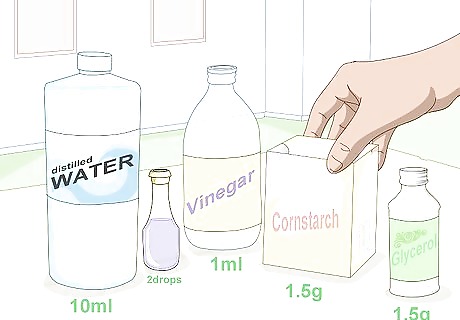
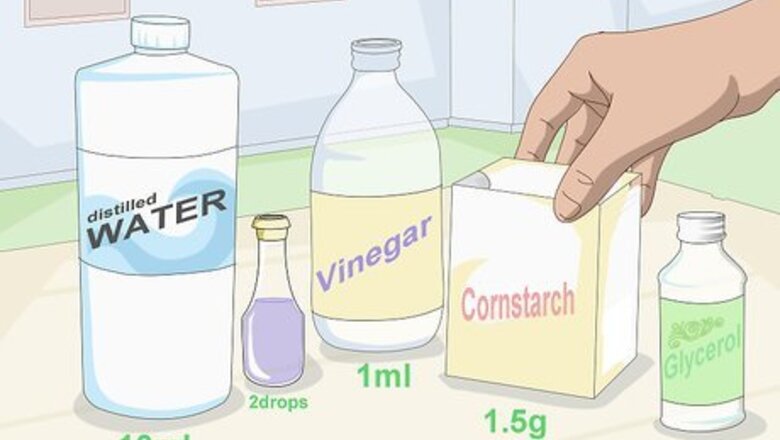
Gather the necessary materials. To make this type of bioplastic, you will need cornstarch, distilled water, glycerol, white vinegar, a stove, a saucepan, a silicone spatula, and food coloring (if desired). These items should be readily available at the grocery store or online. Glycerol is also called glycerine, so try searching for that if you’re having trouble finding glycerol. The following amounts of each ingredient are needed to make the bioplastic: 10ml distilled water 0.5-1.5g glycerol 1.5g cornstarch 1ml of white vinegar 1-2 drops food coloring Adult supervision is recommended.
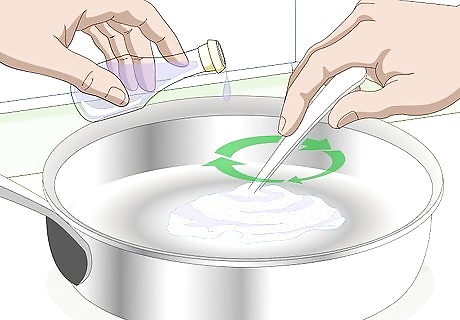
Combine all of the ingredients and stir together. Add all of the ingredients to the saucepan and stir to combine with the spatula. Stir until you get rid of most of the lumps in the mixture. At this stage, the mixture will be a milky white color and quite watery. If you add the wrong amounts of ingredients, just dispose of the mixture and start again.
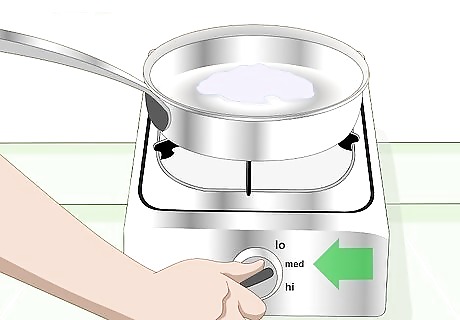
Heat on medium-low. Place the saucepan on the stove and set the heat to medium-low. Stir continuously as the mixture heats. Bring it to a gentle boil. As the mixture heats, it will become more translucent and begin to thicken. Remove the mixture from the heat when it becomes clear and thick. Total heating time will be around 10-15 minutes. Lumps may begin to form if the mixture gets overheated. Add one-two drops of food coloring at this stage, if you would like to color the plastic.
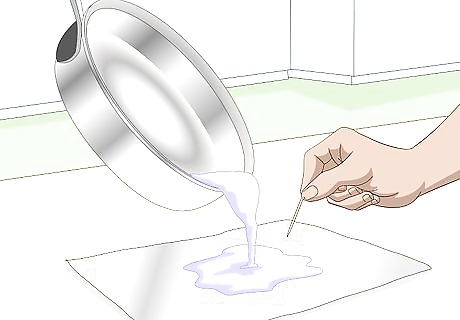
Pour the mixture onto foil or parchment paper. Spread the heated mixture onto a piece of foil or parchment paper to let it cool. If you would like to mold the plastic into a shape, it must be done while it is still warm. See the last method for details on molding the plastic. Remove any bubbles that you see by poking them with a toothpick.
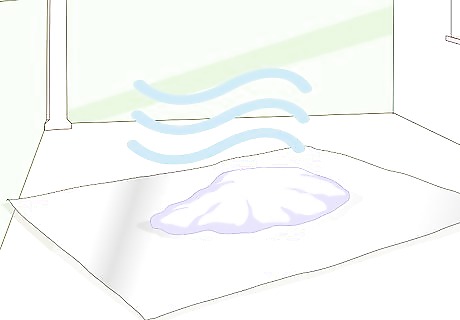
Allow the plastic to dry for at least two days. It will take time for the plastic to dry and harden. As it cools, it will begin to dry out. Depending on the thickness of the plastic, it can take longer for it to dry. If you make one small thick piece it will take longer to dry than a thinner larger piece. Leave the plastic in a cool, dry place for this process. Check the plastic after two days to see if it has fully hardened.
Using Gelatin or Agar
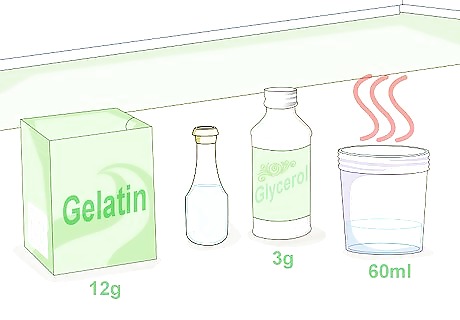
Gather the necessary materials. To make this type of bioplastic, you will need gelatin or agar powder, glycerol, hot water, a saucepan, a stove, a spatula, and a candy thermometer. These ingredients should be readily available at your local grocery store. Remember, glycerol is also known as glycerine, so look for that if you can’t find glycerol. You will need the following amounts of each ingredient: 3g (½ tsp) glycerol 12g (4 tsp) gelatin or agar 60ml (¼ cup) hot water Food coloring (optional) Agar is a substance derived from algae that can be used in place of gelatin to make the bioplastic vegan friendly
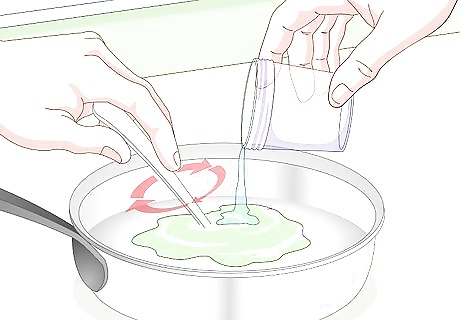
Stir together all of the ingredients. Combine all of the ingredients in the saucepan and stir until there are no clumps left. You may need to use a whisk to disperse all of the clumps. Place the saucepan on the stove and start heating the mixture on medium-high heat. If you want to color your plastic, you can add a few drops of food coloring at this step.
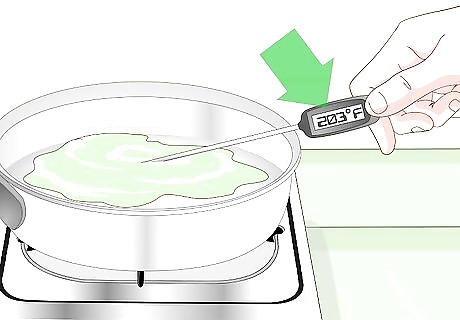
Heat the mixture to 95°C (203°F) or until it begins to froth. Put the candy thermometer into the mixture and monitor the temperature until it reaches approximately 95°C (203°F) or begins to froth. If the mixture begins to froth before it reaches temperature, that is okay. Remove it from the heat when it either reaches temperature or starts frothing. Continue to stir the mixture while it is heating up.
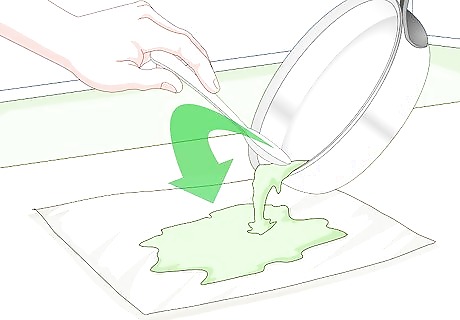
Pour the plastic onto a smooth surface covered with foil or parchment paper. After you remove the pan from the heat source, you will need to remove any excessive froth. Spoon it out before pouring the plastic out of the pan. Stir everything to remove all clumps from the plastic. If you just want to make plastic for fun, pour the mixture out onto a smooth surface. Make sure the surface is covered with foil or parchment paper so the plastic can be removed easily. If you want to mold the plastic into a specific shape, you will need to do it during this step. Refer to the last method on molding for more details and help.
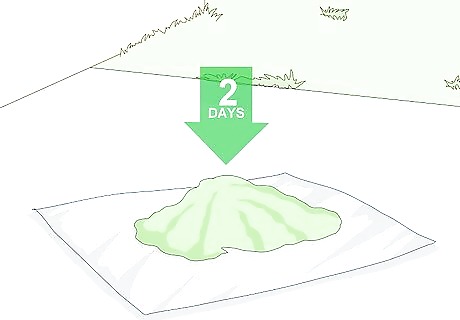
Leave the plastic to harden for at least two days. The amount of time it will take the plastic to harden is dependent upon how thick the piece is. Generally, it will take at least two days for it to fully dry out and harden. You can make this process go a little faster by using a blow dryer on the plastic. It’s easiest to leave the plastic undisturbed for a few days so it can dry on its own. Once the plastic hardens, it can no longer be molded or shaped. If you want to shape it, you must do it while it is still warm and moldable.
Molding the Bioplastic
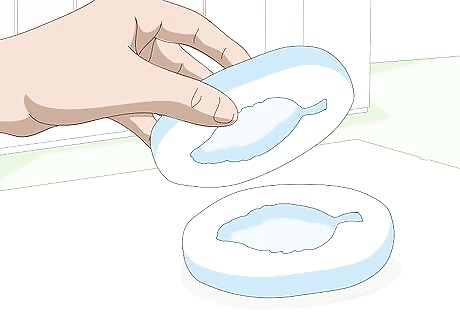
Make a mold for the plastic. A mold is the negative of a shape that you would like to make. You can make a cast of an object you would like to reproduce by sculpting two pieces of clay around the object. When the clay dries, remove the two pieces. If you fill each half with the liquid plastic and then put the halves together, you can make a copy of that object. You can also use a cookie cutter to cut shapes out of the plastic while it is still warm. An alternative to making your own mold, is to purchase a mold at a craft or hobby shop.
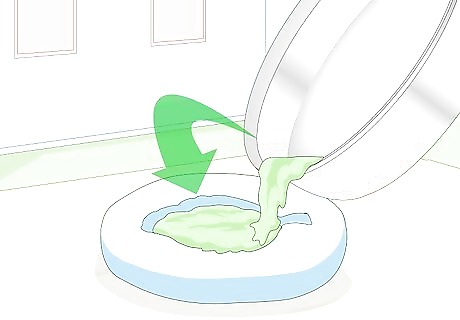
Pour the hot plastic into the mold. Once you have a mold, you can use it to make more objects. While the plastic is still hot, pour it into the mold. Make sure that the plastic gets into the entire mold and try pop bubbles by lightly tapping the mold on the counter. To make the object easier to remove when it dries, coat the mold with a non-stick spray before pouring the plastic in.

Let the plastic dry for at least two days. The plastic will take a few days to dry and fully harden. The amount of time it takes to dry is dependent upon the thickness of the object. If the object is very thick, it can take longer than two days to fully harden. After two days, check the plastic. If it still appears to be wet, let it sit for another day and check it again. Continue to do this until the plastic is fully dry.
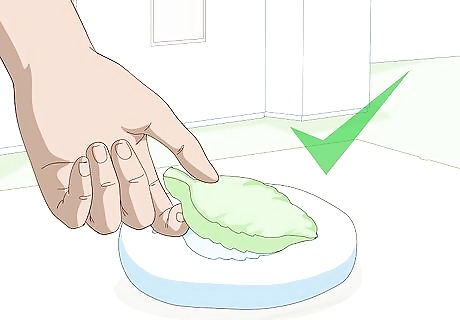
Remove your plastic from the mold. After waiting a few days, the plastic will be fully hardened and dry. At this point, you can remove the plastic from the mold. You have now made your own plastic version of whatever object you chose to mold. You can reuse this mold to make as many plastic versions of the object as you like.


Comments
0 comment