
views
Using Magazine Cuttings

Find small, good quality images without any text or writing on them. The images should be sharp and clear, not blurry or pixelated. The image should be no larger than the palm of your hand. It can be its own, contained image, or part of a larger picture. This method will also work on other types of paper as well, such as printed images, photographs, scrapbook paper, or even wrapping paper.
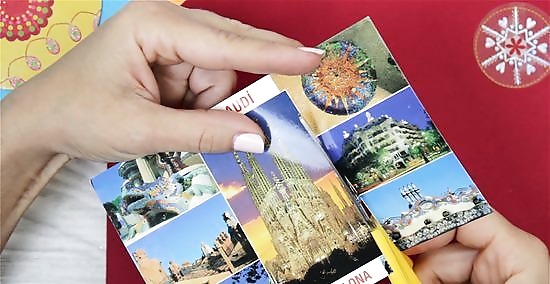
Cut the image out using a pair of scissors. If the image is already in a box, then cut out the entire box. If the image is part of a larger image, then cut out just the shape.

Paste the cut out image onto a sheet of cardstock. Place the image a sheet of scrap paper, image-side down. Cover the entire back of the image with glue. Then, flip the picture over and press it against a sheet of cardstock. Smooth the image out to get rid of any bubbles or wrinkles. The best type of glue for this would be a glue stick. You can also use rubber cement or spray adhesive. If you are using liquid glue, apply a thin layer of white or clear-drying glue using a paint brush.
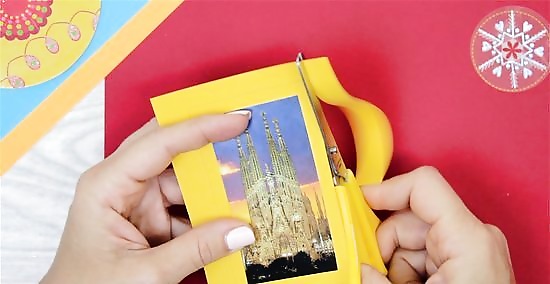
Cut out the pasted image. If your image has an irregular shape, such as a rolling pin, you can follow the original shape. You can also cut a new shape around it, such as a square or circle. The original color of the cardstock will be part of your gift tag design. If your image is square-shaped, consider cutting it out using a pair of zigzag scissors.

Write your message on the back of the gift tag. You can use the standard "To... From..." message, or create your own. You can also use personalized names, such as: "Beloved Wife," "Doting Date," "Beautiful Daughter," or "Wonderful Son." If it is near a holiday or special occasion, you can write the appropriate greeting instead, such as "Happy Holidays" or "Happy Birthday."
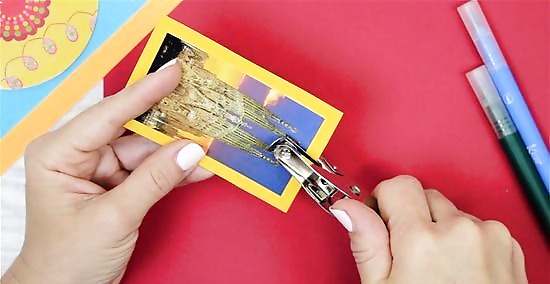
Punch a hole through the top of the gift tag. Be careful so that you don't punch through your message.
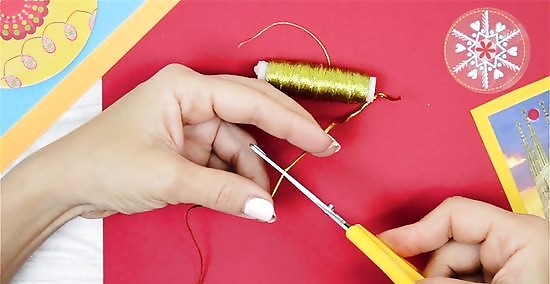
Cut a piece of string about twice the length of your finger. You can use just about any type of string, including twine, ribbon, yard, or metallic thread.
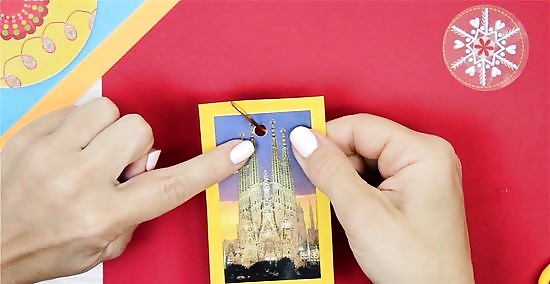
Thread the string through the tag. Fold the piece of string in half. Poke the folded end through the punched hole in the tag, creating a small loop. Slip the two loose ends of the string through the loop, and tug on them gently to tighten the knot.
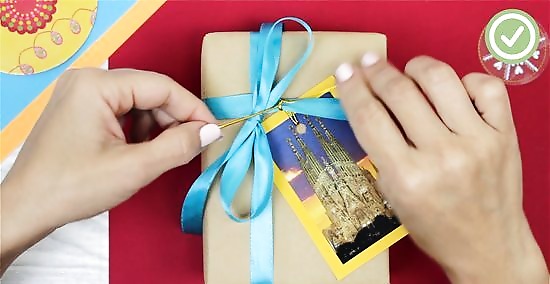
Attach the tag to your gift. Simply tie the two loose ends of the string around the handle of a gift bag. Consider sticking self-adhesive labels to the back of your gift tag instead. This will make the back of the gift tag fancier.
Using Greeting Cards
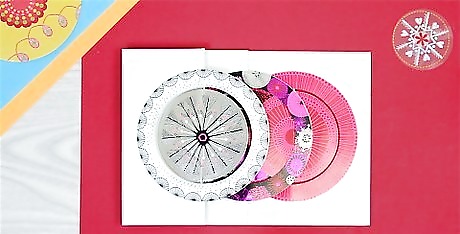
Find a greeting card with a pretty image on the front. You will not be using the entire card, but rather cutting smaller shapes out of it.
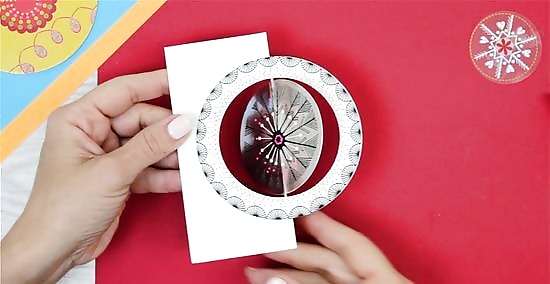
Cut a shape out of the card. You can use any shape you want, such as a square, heart, or circle. You can even use scrapbook punches to punch out fancier shapes. Make sure that the tag is no larger than the palm of your hand. To make a standard gift tag shape, cut a rectangle out first. Then, snip the corners off of one of the narrow ends to form a point. To make a folded tag, cut out a square shape, making sure to align one of the square's edges with the folded part of the card.
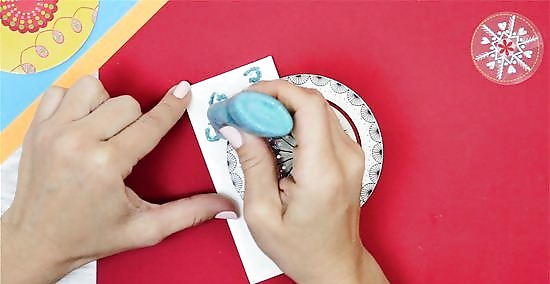
Consider embellishing the tag further. You can outline the image on your tag with metallic pens or glitter glue. You can also glue on small rhinestones or sequins to make it fancier. Let the tag dry completely before continuing.
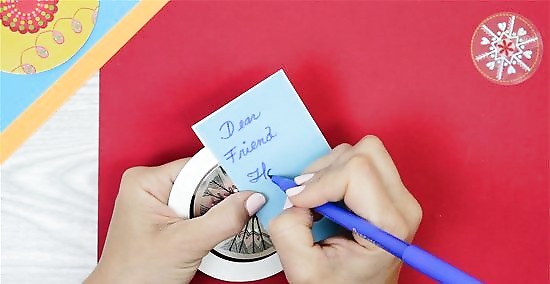
Write a message on the back of the tag. You can use the typical "To... From..." message, or you can create your own. If it is near a holiday you can write the holiday greeting instead, such as: "Happy Valentine's Day." If it is near a special event, such as a birthday or graduation, you could write: "Happy Birthday," or "Congratulations!" If you made a folded tag, then write your message inside the tag instead.
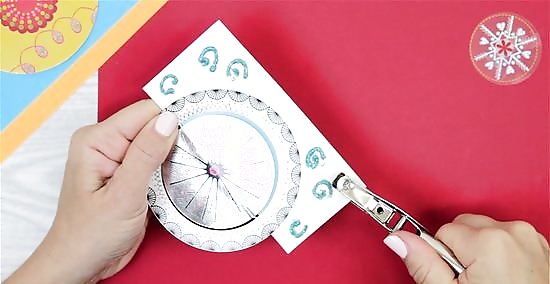
Punch a hole through the top of the gift tag. If you made a folded tag, be sure to punch the hold through both layers.
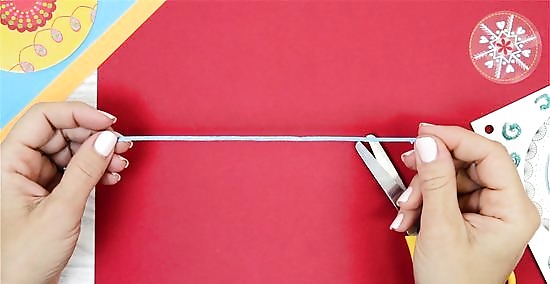
Cut a piece of string about twice the length of your finger. Just about any type of string will work. You can use yarn or twine for something more rustic. If the tag is fancier, you can use ribbon or metallic thread instead.
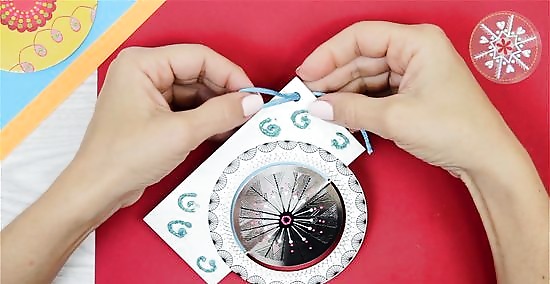
Thread the string through the punched hole. Fold the string in half first. Then, poke the folded end through the hole, creating a small loop. Slip the two loose ends of the string through the loop. Tug on the loose ends gently to tighten the knot.

Attach the tag to your gift. Tie the loose ends of the string around the handle of a gift bag.
Using Cardstock
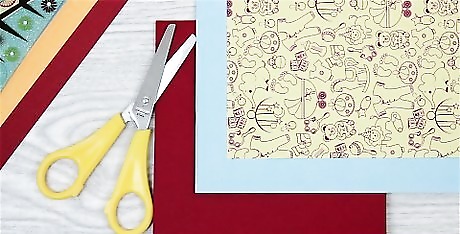
Find some colorful cardstock. You can use a blank sheet of cardstock, and decorate it later, or you can print out a pretty image instead. If you are printing an image on your sheet of cardstock, feed the paper one sheet at a time through your printer, or it will get stuck.
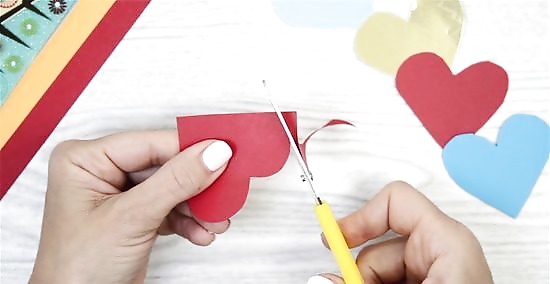
Cut a shape out of the cardstock. You can cut out any shape you want, such as a heart, circle, or square. You can cut these shapes out by hand, or use a fancy-shaped scrapbook hole puncher. To make a standard gift tag shape, cut a rectangle out first. Then, snip the corners off of one of the narrow ends to form a point. To make a folded tag from a sheet of cardstock, cut out a rectangle first, then fold the rectangle in half. Consider printing out images on cardstock and cutting them out. Be sure to feed the cardstock through your printer one sheet at a time.
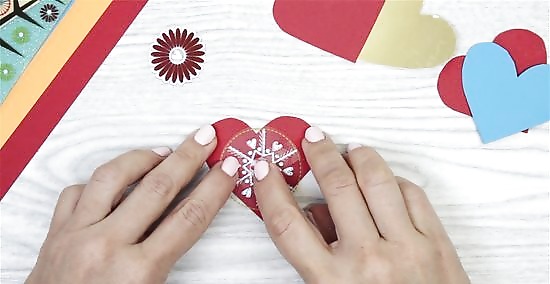
Decorate the tag and let it dry completely before continuing. You can decorate it however you want, but consider matching it to the gift bag, the holiday or event, or to the recipient's personal tastes. For example, if you know the gift recipient really likes cats, consider drawing a cat on the tag. Here are some more decorating ideas to get you started: Draw designs with metallic pens or glitter glue. Glue on small rhinestones or sequins. Stick on some washi tape around the edges of a square or rectangular card to give it a fancy border. Attach stickers that match the holiday, season, or event. For example, if the tag is for a birthday gift, you can use candle- or balloon-shaped stickers.
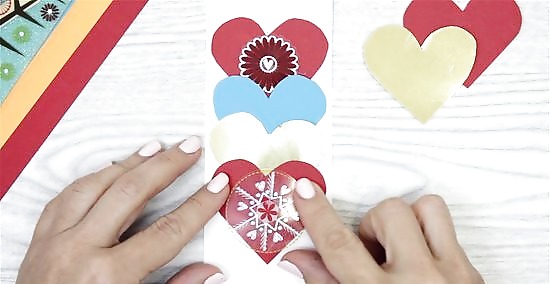
Consider making a layered tag. Once you have decorated your tag, cut a smaller shape out of cardstock, and decorate it as well. Attach it to the tag using a small piece of foam mounting tape; this will help give it that 3D or layered effect. You can match the smaller shape to the larger one, or use a contrasting shape. For example, if your tag is square-shaped, you can make the smaller shape a heart.

Write your message on the back of the gift tag. You can use the usual "To... From..." greeting, or create your own. For example, you can use personalized names, such as: "Beloved Wife," "Doting Dad," "Sweet Daughter," or "Wonderful Son." If it is near a holiday, consider writing the holiday greeting, such as "Happy Holidays" or "Happy Valentine's Day." If you made a folded card, then write your message inside the card instead.
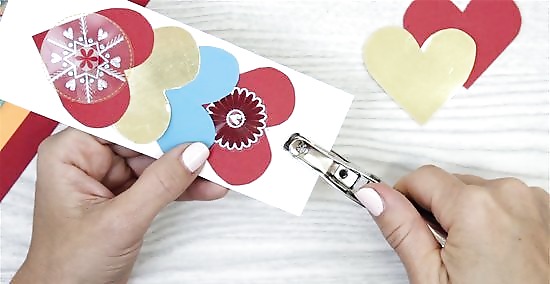
Punch a hole near the top of the gift tag. Be careful not to punch through your message. If you made a folded card, be sure to punch through both layers of the cardstock. You can also use double-sided adhesive or tape to affix your tag to the gift.
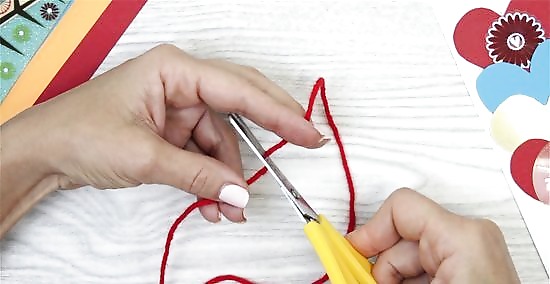
Cut a piece of string about twice the length of your finger. You can use just about any sort of string for this, such as twine, yarn, ribbon, or metallic thread.
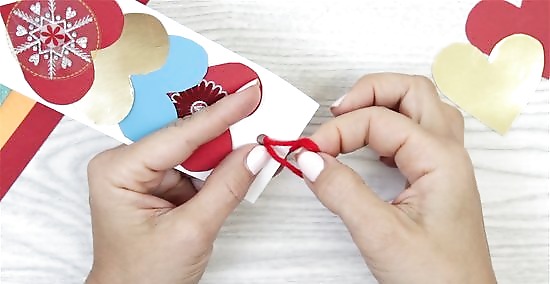
Thread the string through the hole. Fold the string in half first, then poke the folded end through the hole in the tag. Slip the two loose ends of the string through the loop, then tug on them gently to tighten the knot.
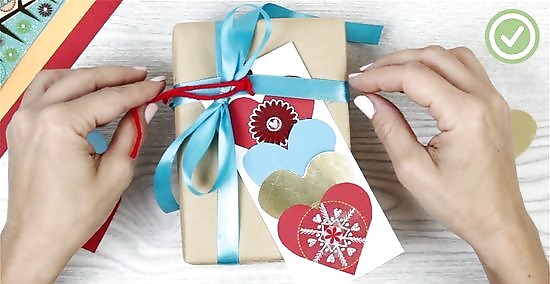
Tie the tag to your gift. Wrap the two loose ends of the string around the handle of a gift bag or ribbon that is around a wrapped present, and tie them into a tight knot.



Comments
0 comment