
Folding an Origami Cat
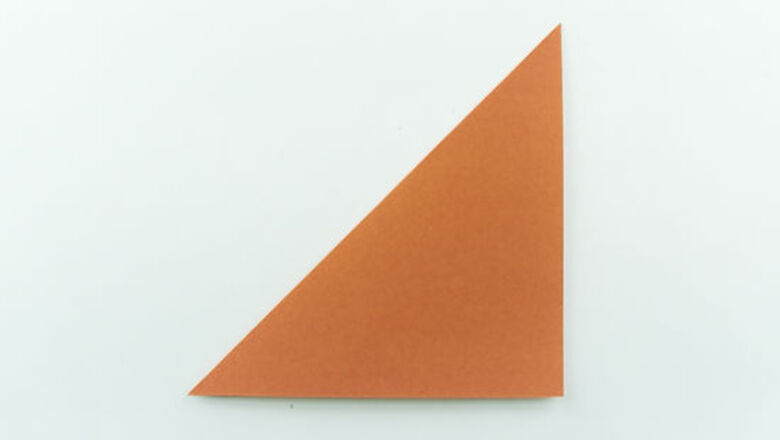
Fold a square piece of paper in half along the diagonal. Lay the paper so that it’s in a diamond shape. Bring the bottom onto the top corner and run your finger along the fold to crease it. You can use any size, color, and type of paper, as long as it’s a perfect square. If you’re using paper that has a pattern on one side, start with the pattern facing down.To cut a sheet of 8.5 by 11 in (22 by 28 cm) paper into a square, fold the upper left corner of the paper down so that the edge lines up with the edge of the right side. Crease it. Cut off the rectangle at the bottom of the paper, along the edge of the folded triangle. Voila! You have a piece of square paper.
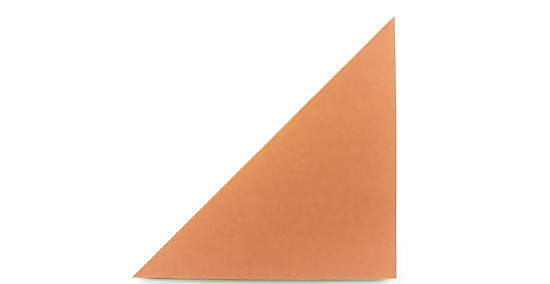
Fold the paper in half again, then unfold only this 2nd fold. Pull the left corner onto the right corner, creasing the fold down the middle. Then open it back up to the previous triangle shape. Don’t unfold the paper all the way back to a square.

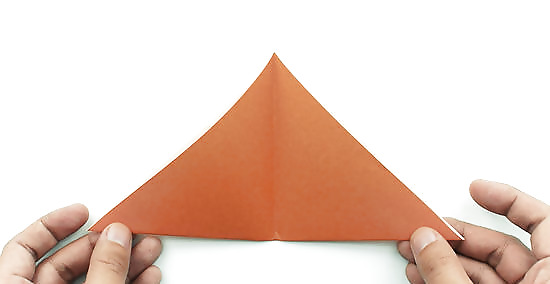
Fold the left and right corners up at a 45 degree angle from the center. These folds will create the ears of the cat. Pull the tips up so they’re at least even with the top corner. Try to keep the ear folds the same on both sides. Make the head as symmetrical as possible.
Pull the top corner down, folding it to flatten the top of the head. The bigger the piece that you fold down, the smaller your cat’s head will be. A good rule of thumb is to bring the top corner down about 1/3 of the way. Crease it so that the point stays down. The amount that you fold over at the top also affects the size of the ears. If you fold over a larger section, the ears will be more exposed and appear bigger.

Flip the paper over and add any finishing touches you’d like. This side is the front of the cat’s face. If you want to round out the face, fold the corners on the side under slightly. Similarly, if you want to flatten the cat’s chin instead of having it come to a point, fold the bottom corner back to create a straight line. You can also draw eyes, whiskers, and a nose on the cat’s face with a marker or paint. For a 3D craft, glue googly eyes on the front and use pipe cleaners as whiskers.
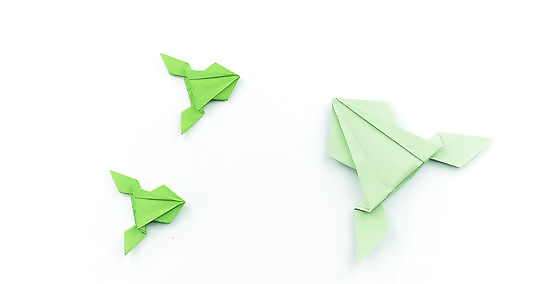
Making an Origami Frog
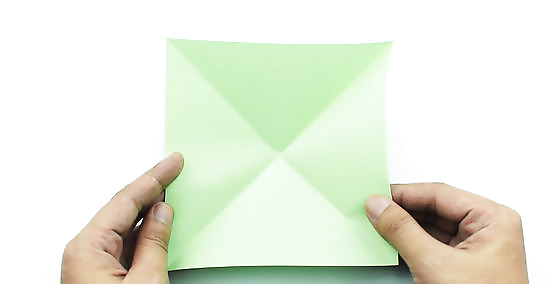
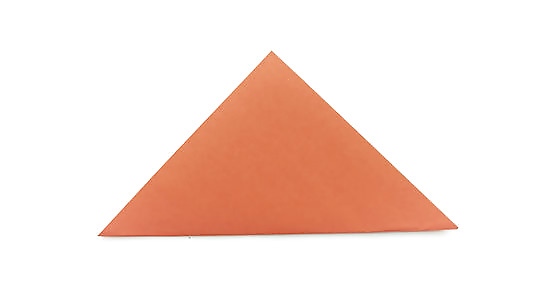
Fold a square piece of paper on both diagonals, unfolding it in between. Bring 2 opposite corners together, creasing the diagonal fold. Then open the paper back up and repeat with the other 2 corners. Your paper must be square with all of the edges the exact same length. Any size, color, or type of square paper will work. Origami FAQs Do I have to use origami paper? No! You can use any type of paper you’d like, as long as it’s a square sheet. What paper is best for beginners?Origami paper is ideal because it’s thinner and easier to fold. Where can I find additional help for folding origami?There are plenty of free video tutorials that you can watch online and follow along with.
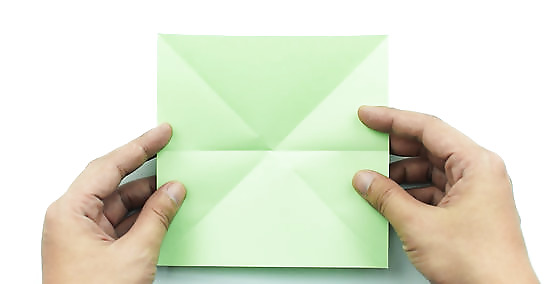
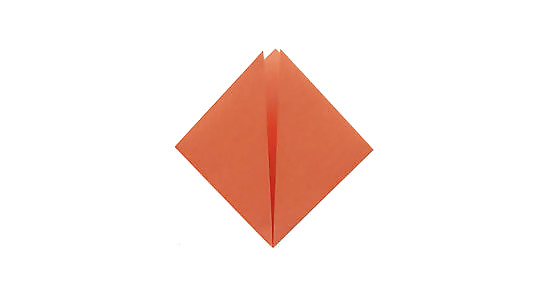
Fold the paper in half, then unfold it again. Place the left edge of the paper onto the right edge. Make a crease by pressing firmly along the fold and then open the paper back up to a square. If you need help creating a fold that isn’t crooked, use a straight edge like a ruler or the edge of a counter to fold along.
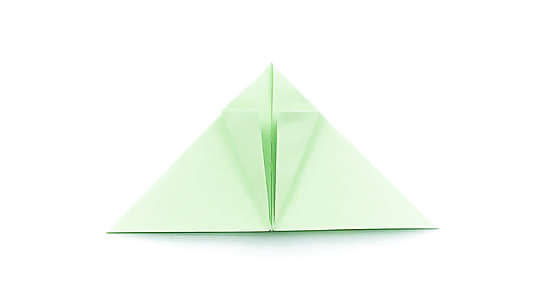
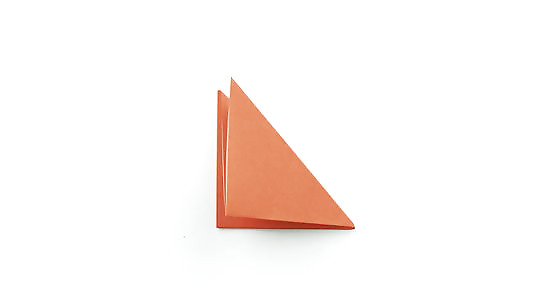
Bring the 2 sides of the crease together so the paper folds into a triangle. Take the left side and pull it in to meet the right side. As you do this, the paper should collapse into a triangle shape along the diagonal folds you created earlier. If your paper doesn’t collapse easily or correctly, try re-folding the diagonals and the center fold. The more you crease those lines, the easier the paper should fold onto itself. EXPERT TIP Robert Homayoon Robert Homayoon Origami Expert Robert Homayoon is an Origami Expert known for his engaging YouTube videos and accessible instructions. He has been teaching origami on YouTube since 2009. His channel has a following of over 676,000 subscribers, and his videos have garnered over 211 million views. Robert uses his channel to highlight his passion for teaching people origami, crafts, and how to solve puzzles. He graduated from SUNY Albany in 2007 and earned his D.M.D degree from Temple University Dental School in 2013. Robert Homayoon Robert Homayoon Origami Expert Pinching fingernails to drag along folds makes sharp origami creases. For sharp origami creases, pinch fingernails together and drag along the fold line. This works great for models needing sturdy creases, like paper envelopes. Folding atop a table boosts precision, too. Start gently, then refine the creases for accuracy.

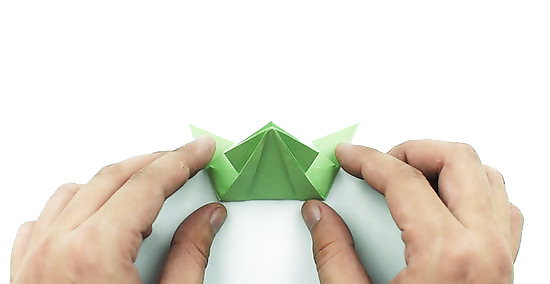
Fold the top layer of both corners into the center. This will create a square shape in the middle of the triangle. Line up the edges of the corners so that they’re perfectly perpendicular to the bottom of the triangle, straight down the middle. Avoid overlapping the edges of the folded corners. They should just touch each other.
Take the corners of the small square and fold them into the center. This is a similar fold to what you just did, and it will turn the tiny square into a kite shape. The edges of the folds should line up in the center. Crease the folds firmly so they stay in place.

Flip the paper over and fold the 2 corners into the center. The left and right corner will meet at the bottom of the frog, creating a point. Align the long edges in the center so they’re touching, but not overlapping. They should form a line down the middle. Avoid leaving a gap between the 2 edges. If they aren’t slightly touching, start the fold over.

Fold the 2 bottom corners slightly outward to create the legs. The long edge that was in the center should now line up with the outer edge of the folded triangle. Run your finger firmly along the fold to hold it in place. It helps to hold the frog in place at the top tip while you make this fold.
Fold about 1/3 of the bottom of the frog up towards the top. You’re beginning the folds that will let your frog jump. Bring the legs and bottom of the body up, creasing it securely. Don’t fold the shape completely in half or it won’t look like a frog.
Fold the bottom of the frog back onto itself, flipping the legs down. Make another fold near the bottom, this time folding the paper away from you. This is similar to making a pleat. The legs will untuck and point down, away from the head. Add googly eyes to the top of the frog or glue on red paper tongues if you’d like. How to Make Your Frog Jump Set the frog with its legs down on a flat surface. Press down on the back body (where you made the pleated folds), then release quickly to let it spring up.
Creating an Origami Fox
Fold a square piece of paper in half diagonally. Bring 2 opposite corners together and crease the fold. This will form a triangle shape. You can use any type, color, or size of square paper. Origami paper is best for beginners because it is easiest to fold.
Bring the 2 bottom corners of the triangle up to the top corner. Your paper will now be in a smaller square. Line up the edges in the center as you fold the corners. Make sure the edges are just slightly touching. You don’t want them to overlap, but you also don’t want there to be a gap between them.
Fold the 2 sides of the square backwards along the diagonal. Bring the 2 corners on either side of the open fold together behind the square. You’ll now have a triangle shape again, with 2 flaps. If it’s easier, you can flip the paper over to make the fold.

Fold the side with open edges 1/3 of the way towards the other corner. This side will be one of the sides formed by the right angle of the triangle. Line up the bottom of the fold with the edge on the bottom of the triangle. Crease it firmly to hold it in place. The bigger the section that you fold over, the bigger the fox’s head will be.

Pull open the corner of the flap on the piece you just folded. There should be 2 layers on your folded-over section. Take the bottom corner of just the top layer and pull it back in the opposite direction of the fold. Be gentle when pulling the corner to avoid ripping the flap.
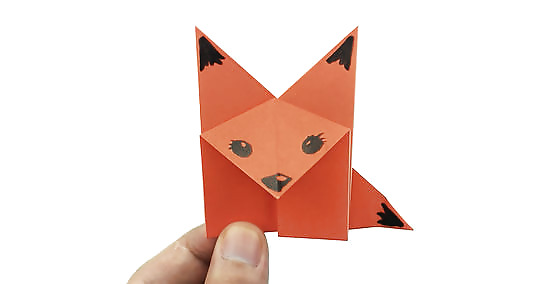
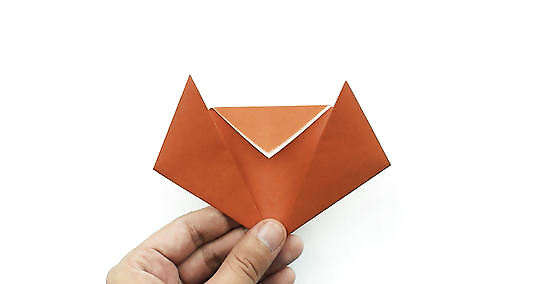
Fold the tip in the center down to create the head. As you pull open the flap, there will be a small triangular piece in the middle that automatically begins folding down. Run your finger along the fold to crease it so it doesn’t pop back up. If you want to decorate your fox, add a face with markers, paint, or googly eyes.


Comments
0 comment