views
- Mount your LCD TV so the center of the screen is at eye level. Use a tilting mount or articulated mount if you want it higher on the wall.
- Screw the mount’s wall plate into the studs behind your wall so it’s the most secure.
- Attach the wall mount’s brackets to the 4 screw holes on the back of your LCD TV.
- Hang your TV on the top of the mount. Secure your TV by clicking it into position or screwing it into the bottom of the wall plate.
Wall Mount Installation
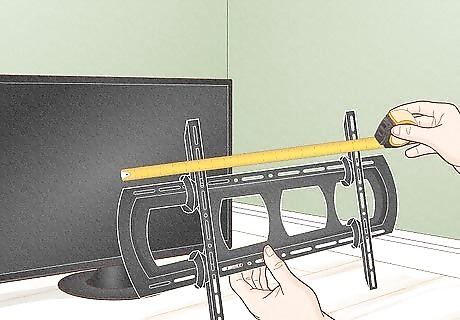
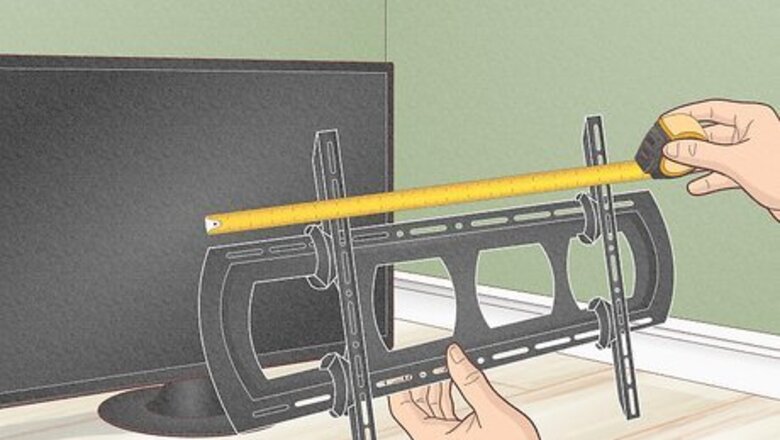
Pick a wall mount made for the size of your LCD TV. Measure your TV with a measuring tape, and check the manual to see how much it weighs. Most LCD TVs are compatible with the standard VESA mounts, which means they have 4 screw holes in a square pattern on the back panel. When you pick a mount, check the size and weight limit it can support to make sure it’s compatible with your TV. Get a fixed TV mount that sits flat against your wall if you don’t want it to move or tilt. Fixed mounts are usually around $20–30 USD. Use a tilting mount that lets you swivel your TV up and down to adjust the viewing angle. Tilting mounts tend to cost around $30–45 USD. Buy an articulated mount that has a full range of motion if you want to be able to adjust the position of the TV after you attach it to your wall. An articulated mount may cost anywhere from $45–90 USD. If your TV doesn’t have VESA screw holes, go to the TV manufacturer’s website to buy a specialty mount made for the model you have.
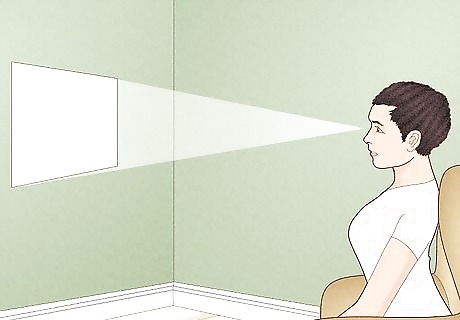
Choose a spot on your wall that’s eye-level when you’re sitting. Sit down where you normally relax and watch TV. Use your tape measure to find the distance from the floor up to your eye level. Then, find an open spot on your wall near an outlet where you can install the mount, and mark the location with a pencil. That way, the center of your TV is the same height as your eye line so you don’t have to crane your neck when you’re looking at the screen. Ask a friend or two to help you position your TV. Have someone hold your TV where you want to position it, and sit down to check if you can comfortably look at the screen. Alternatively, you could put painter’s tape on your wall to outline where the TV would sit on your wall.
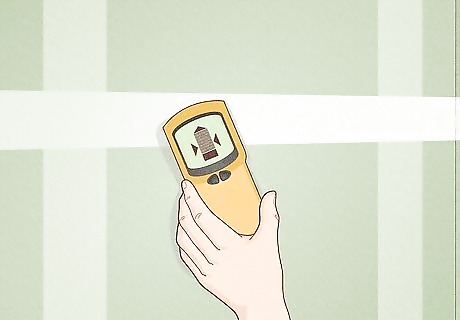
Locate the studs behind your wall using a stud finder. Wall studs are the vertical wood or metal supports in your walls, and they add extra stability to your wall mount. To use your stud finder, slowly run it against your wall until you hear it beep. Use a pencil to mark the location of the stud. Keep moving the stud finder across your wall to find a second stud nearby to mark it as well. Mounting your TV to studs makes it more secure and less likely to damage your wall. Screw your TV mount into 2 studs if you can for the most stability. You can use wall anchors to mount your TV on drywall when you can’t screw into a stud, but most experts recommend using at least 1 stud for support.
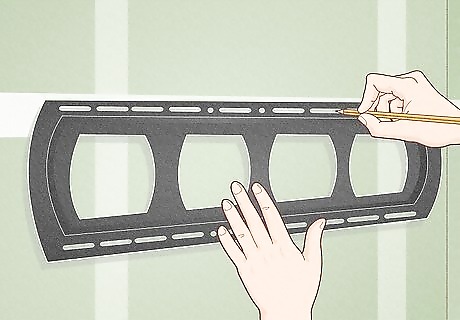
Mark the wall plate holes so they’re in line with the studs. Hold the mount’s wall plate flat against your wall and use a level to check that it isn’t crooked. Find the mounting holes that line up with the middle of the studs that you already marked. Then, just use a pencil to draw a small dot inside the holes so you know where to drill holes. Most TV mounts have a top and bottom row of mounting holes so you can secure the wall plate to the studs in 2 places.
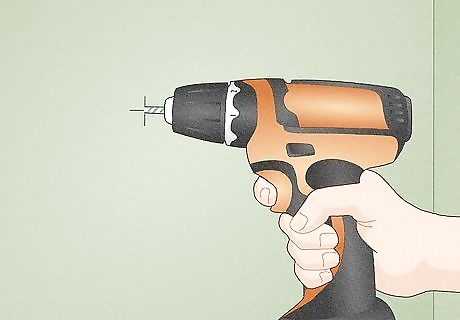
Drill pilot holes in your wall where you marked them. Use a power drill with a ⁄8 in (0.32 cm) bit to make your pilot holes. Making the holes beforehand helps prevent you from damaging your walls when you screw in your TV mount.
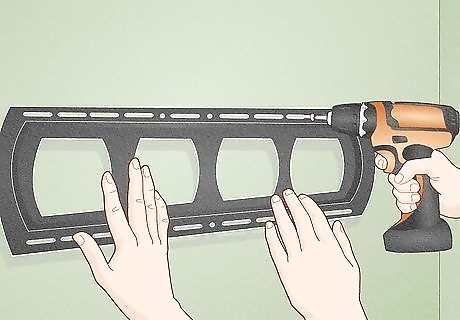
Screw the wall plate in to secure it. Have a friend hold the wall plate against your wall so the mounting holes line up with the pilot holes you just drilled. Turn the screws or bolts that came with your mount clockwise to secure it to your wall. Before you fully tighten them, check that the wall plate is level one more time so your TV doesn’t hang crooked. If you didn’t drill into studs, push a wall anchor or toggle bolt into the hole before screwing in your mount. That way, the weight is more evenly distributed.
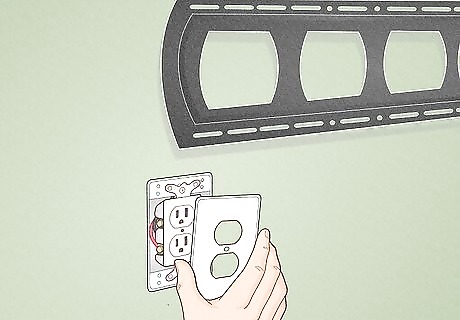
Install a new outlet or in-wall power extender if you want to hide wires. Choose a spot that’s right next to one of the wall studs and would be hidden behind your TV screen. Cut a hole in your wall for a new electrical box so you can install your power extender or outlet. Run the wires between the power extender receptacles or to an existing outlet to supply them with power. In-wall power extenders have a top receptacle where you plug in your TV and a bottom receptacle that you plug into an existing outlet lower on your wall. They also have a sleeve so you can run speaker wires safely behind your wall. If you don’t want to add a new electrical box to your wall, use cable covers to hide the cords and run them to an outlet. It’s usually against electrical code to run TV and electronic power cords behind walls since they create a fire risk. Only run cables that are rated to use behind walls so you stay safe.
Mounting the TV
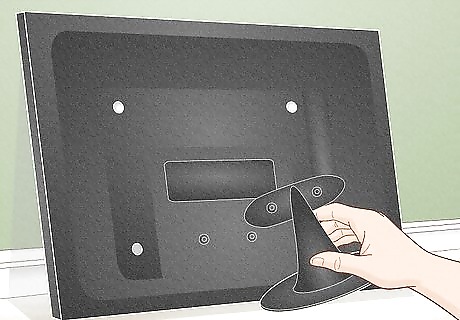
Remove the stand from your LCD TV (if it has one). Check the back of your TV for screws holding the stand or legs in place. Carefully lay your TV flat on a soft blanket so you don’t scratch the screen. Turn the screws counterclockwise with a screwdriver to loosen and completely remove the stand or legs from the base of your TV. If you’re mounting a new TV you just bought, it may not have the stand or legs attached yet. If you’re unable to detach the stand from your TV, then you won’t be able to mount it properly.
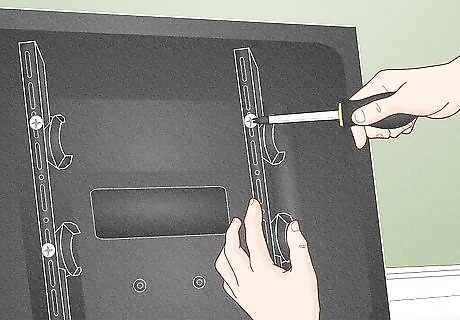
Screw the vertical brackets to the back of your TV. Lay the vertical mount brackets on the back of your TV so they line up with the screw holes. Then, just feed the mounting screws through the holes in the brackets and turn them clockwise with a screwdriver to secure them to your TV. Stop turning the screws as soon as you feel resistance since over-tightening them could damage the back panel of your TV. Different mounts will have slightly varying installation instructions, so always follow the manual that comes with your mount to ensure you’re doing it properly.
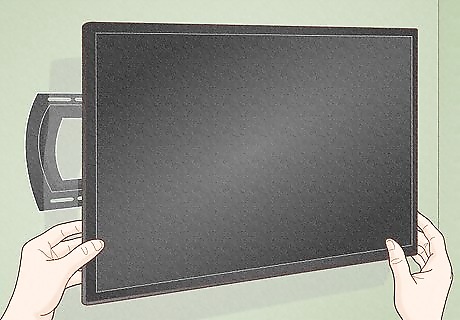
Hang the TV on the top of the wall plate. Ask a friend to help you lift your TV and place it properly so you’re less likely to break it. Carefully tilt the top of your TV toward the wall so you can hook the top of the vertical bracket onto the top rail of the wall plate. Then, slowly lower your TV down so the wall plate fully supports it. Have your friend hold onto the TV as you slowly let go to make sure the TV is secured. Check the wall mount’s instruction manual to see what parts of the brackets clip onto the wall plate since they may vary between models.
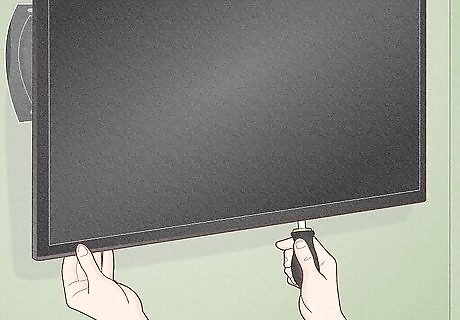
Secure the bottom of the vertical brackets to the wall plate. If your wall mount makes an audible click when you lower it down, then it’s already locked in place and doesn’t require any additional hardware. If the bottom of the TV stays loose, then feed the bolts or screws that came with the mount through the bottom of the bracket. Tighten the bolt or screw until it’s fixed behind the wall plate’s bottom rail so your TV doesn’t shift around.
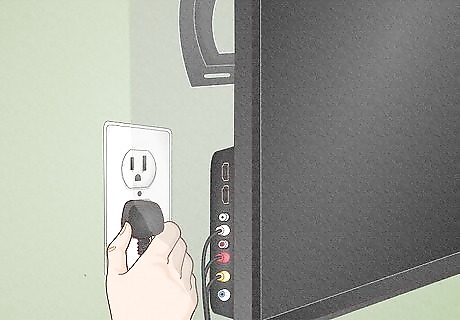
Plug the power and AV cables into your TV. Find the ports for any power cords or AV cables on the back or side of your TV, and plug them in. Run the power cord to your nearest outlet, and then plug in any cable boxes, game consoles, or speakers you’re using so you can start relaxing and watching TV. If you’re using a fixed wall mount, it may be easier to plug the wires into the back of your TV before you secure it to the wall plate.






Comments
0 comment