views
Accessing the Seat Belt Buckle
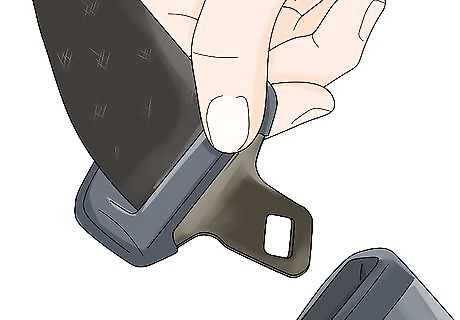
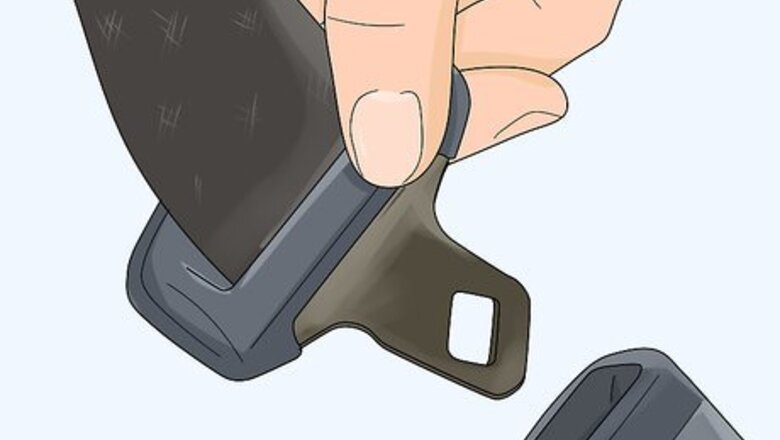
Inspect the seat belt tongue for deformities. These can cause the seat belt buckle to latch improperly or to release only with great difficulty. The tongue is the silver shaped part of the buckle with a hole in the center, also sometimes referred to as the “male” connector. If the seat belt tongue is deformed, it will likely need to be replaced entirely.
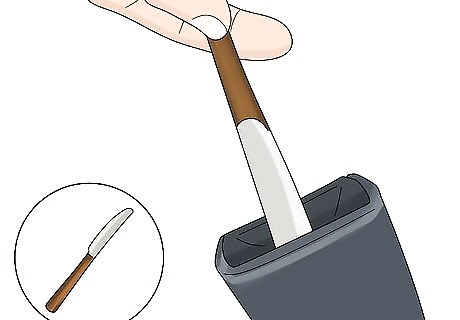
Wiggle a thin or pointed object in the buckle. An item such as a butter knife will do nicely. This will hopefully dislodge any foreign objects that may be inside, and is usually sufficient to restore the buckle to proper working order. Items like paper clips, coins, and even small toys can get lodged inside the buckle, impeding the releasing and latching of the tongue.
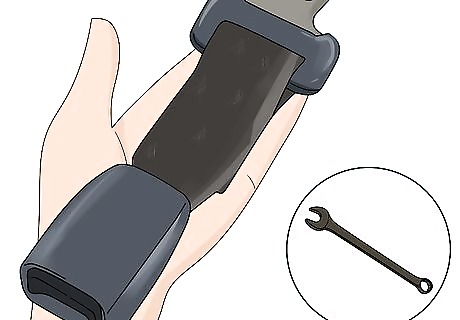
Remove the female part of the buckle from the side of the seat. This might require removing the front seats to gain access to the nut and bolt holding the buckle in place. To remove the nut and bolt, use a basic socket set and ratchet or a simple wrench.
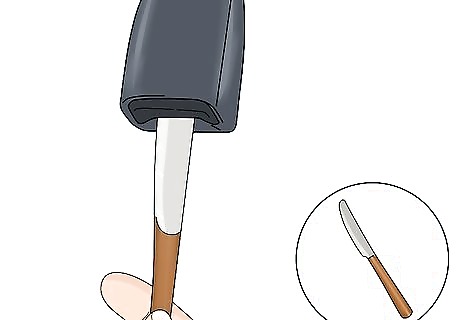
Turn the buckle upside down and wiggle a thin or pointed object inside. Again, a butter knife would work well. If you’re certain there is an object inside the buckle, try to shake the buckle as you wiggle the pointed object to increase the chances of the obstruction falling out.
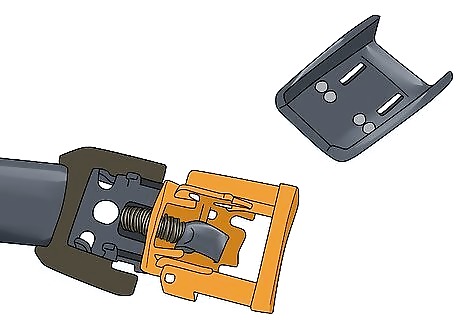
Pry the buckle open if the foreign object remains inside the buckle. Some buckles can be opened by loosening a couple screws. Otherwise, use a flathead screwdriver to force the buckle open. Exercise caution as you open the buckle, as springs and other buckle parts might fly free when you do this.
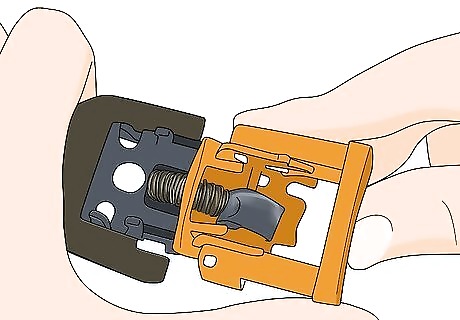
Test the buckle after removing the foreign object. Push the red button and make sure the springs and other internal mechanisms are operating properly. If the springs are rusty, spray a lubricant like WD-40 on the springs to smoothen the spring action.
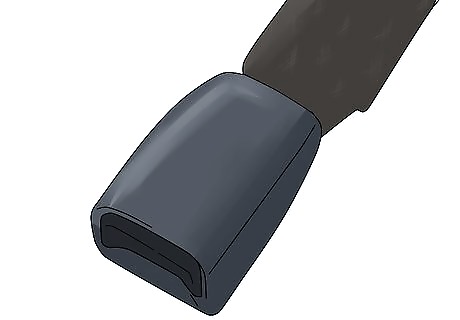
Reassemble the seat belt buckle. Find the indentation on the plastic cover, as this is the side that should point towards the clip. Press the plastic cover back onto the buckle, then bolt the buckle back in place. If the buckle still won’t work, you will have to replace it entirely.
Removing and Reinstalling the Front Seat
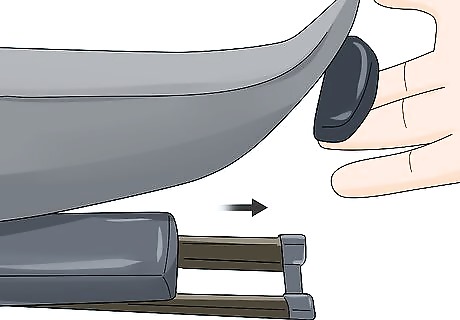
Slide the seat as far forward as it can go. Most cars have front seats that are bolted to the floor at the front and rear end of the sliding rails. By moving the seat forward, you will expose those bolts so they will be easier to remove.
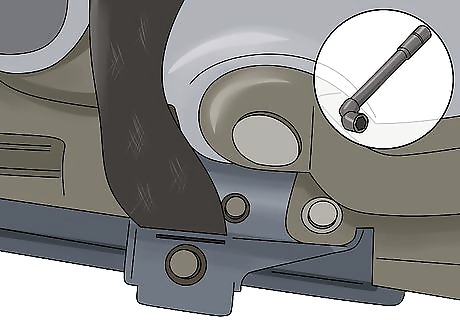
Take out the seat belt anchorage point with a socket wrench. Seat belt anchorages are often hidden behind a piece of trim. Lift the seat belt portion away, then place the bolt that you just removed back in place so it doesn’t get lost.
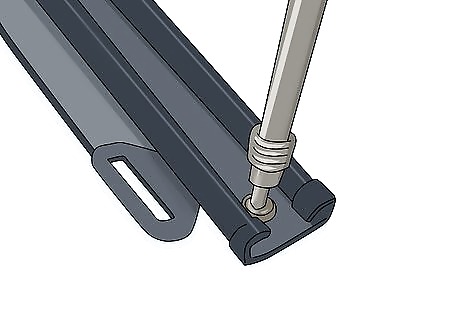
Remove the bolts at the back of the sliding rails and tip the seat forward. Make sure not to over-torque the bolts when you remove them. Disconnect any electric wires still connected to the seat, then maneuver the seat as needed to gain easier access to the seat belt buckle. Make sure the ignition is off and the key is removed.
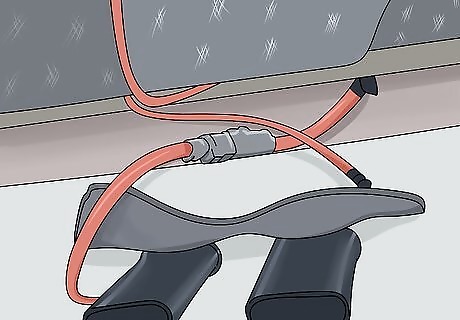
Reconnect the electrical wires to begin reinstalling the seat. Again, make sure the ignition is off and the key is removed from the ignition. Otherwise, you risk inadvertently electrocuting yourself or damaging your car.
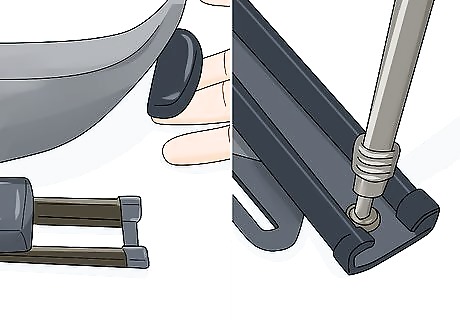
Maneuver the seat back onto the sliding frames and screw in place. There should be hooks in the front of the seat and two locator pins on the rear that will drop into place. Push the seat as far forward as possible on the rails, then screw the bolts belonging on the runners back in place. Torque the bolts to 30 newton meters (or 20 pounds per foot). If torqued any harder, the bolts might be under too much tension to distribute force properly in the event of a crash.


Comments
0 comment