


Look down through the article and decide what you will need by choosing the ideas that work for you. Set aside plenty of time, for example, at lunch break, before school or work, on a day off, depending on where you are organizing. Also, gather supplies you will need from around the home or that you have purchased.
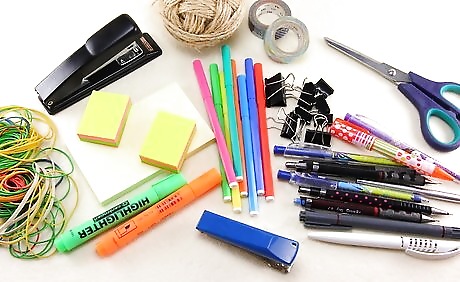
Lay all stationery in front of you. We usually have more items than we need, and now's the time to decide what to keep and what to throw away. This decluttering is an important part of only keeping the things you actually use. Decluttering before starting with the organization is important so you can figure out how you will storage your stationery.

Look for cheap storage containers. Try places such as the dollar store, thrift store or stationery stores during sale time. Look for general storage containers that you probably wouldn't think of putting supplies in because they aren't in the stationery organization aisle. Make sure you have a place for everything. Small bathroom containers without handles are a great choice. Buy six containers and categorize them by type (for example pens, highlighters, pencils, staples, rubber bands, smaller items and erasers, the categorizing is up to you.) Then get paper, write the categories and tape it on. You could use chalkboard paint to sort them too. If you're keeping everything in drawers, measure your drawers and buy some modular organizers to keep everything neatly organized. If you have an abundance of paperwork, separate the sheets into categories and store them in folders inside a filing cabinet off your desk.
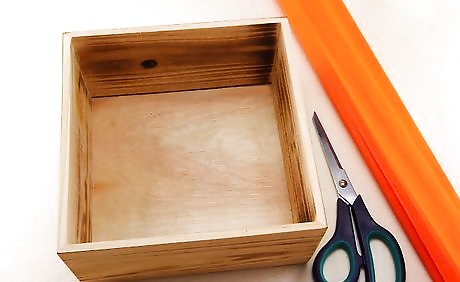
Use your artistic flair. Changing the ordinary into something interesting is always fun, and it's customized to your preferences too. Find a box and quite strong cardboard (preferably wooden box but any plain box whatever size with a lid will do.If it is wooden then skip the next step) Cover the box and lid with recycled paper. Paint the box and lid in paint that suits the material of the box. While that is drying, paint over the strong cardboard. It may take time for it all to dry, so you may want to do the rest on the following day. Continue when ready. Place the strong cardboard inside to create a section and secure it in place using whatever method that is handiest, such as glue or mounting putty. Cut to a size and shape that suits your box. Repeat according to how many sections you want in the box. Personalize the box with small pictures, stickers, etc. or leave it as it is.

Use mason jars. See whether you have a couple of spare mason jars lying around (preferably quite large). This is a quick option but can also give your desk/office a unique touch. Label the mason jars with the supplies going inside. Decorate or add a pop of color using whatever you want.
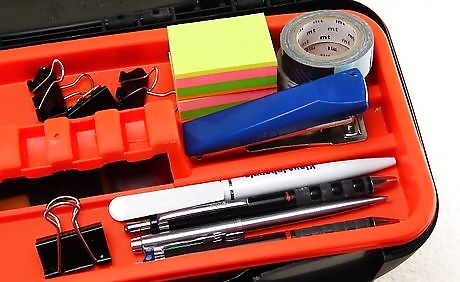
Use tackle boxes. Tackle boxes can sometimes be pricey but you can find much cheaper ones if you shop around or if wait until the back to school/college sale or outdoor and fishing sales.
Use clear shoe organizers for your supplies. Put patterned scrapbooking paper at the back of the pocket and at the front, use a label maker to categorize the items inserted inside.

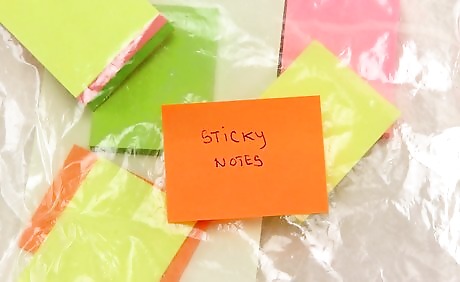
Use cheap decorated small gift boxes for storing thumbtacks, rubber bands and paper clips. Stock up on these whenever they're on sale.

Cover a butter tub with strips of crepe paper. Glue glitter to it and label it. Label the front with the contents.


Comments
0 comment