views
Sketching your Drawing
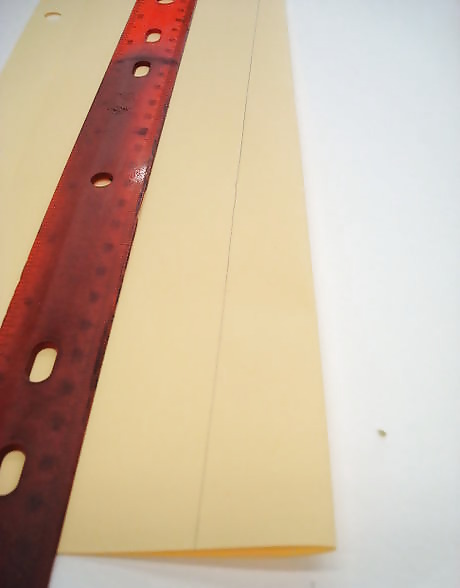
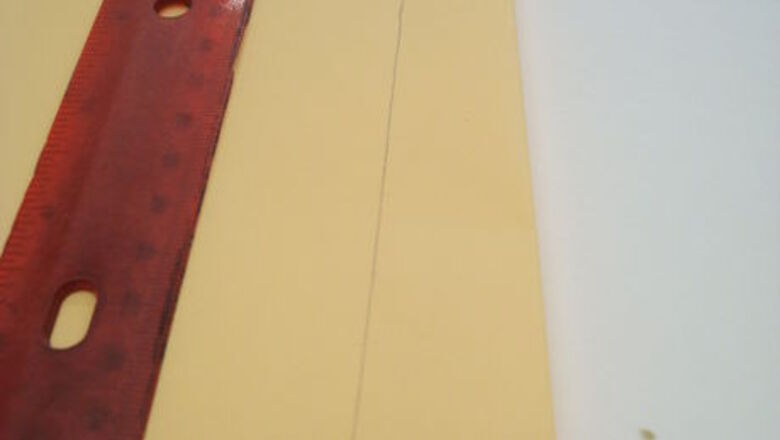
Start by making a template for the lighthouse by folding a standard piece of 8 1/2 X 11" computer paper lengthwise. With the fold on your left, measure in 2 1/2" and begin drawing a pencil line from the bottom to the top, tapering it as you go up and having it be approximately 1 1/2" from the fold at the top.
Cut through both layers of the folded paper to make a tall, tapered shape for the body of the lighthouse. Cut 3-4" off the top to allow room to draw the rest of the lighthouse.
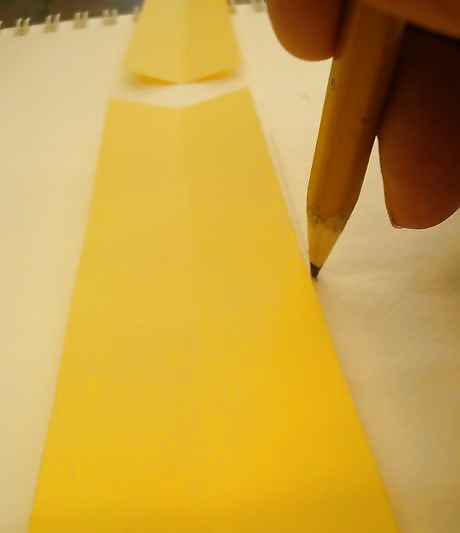
Select an 11" X 14" piece of watercolor paper and use it in vertical format. Place the cut lighthouse shape on the paper. Check to make sure it is absolutely straight and draw around it in pencil. Stand back from the paper and double check that the lighthouse is standing perfectly straight. This is the time to correct bad lines. Drop a guide line from end to end in the center of the cylinder to keep you on track as you work.
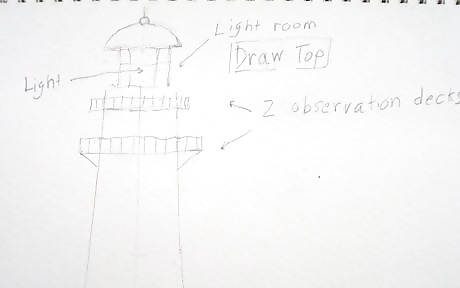
Work upward and draw the next section of the lighthouse. It is actually round, but will appear as a rectangle sitting on top of the lighthouse body. This room would house the watch room and galley deck, an outside walkway circling the lighthouse.
Make the lantern room at the top of the lighthouse. This space holds the lens. Indicate it with another rectangle. Section it off for large panes of glass. Draw the large light filling the entire middle of it.
Finish the roof or cupola with a half-circle. Add a small ball at the very top of the roof and a line for a lightening rod.
Create a widow's walk, or a viewing platform. This is a series of lines like a fence.
Draw a door to the lighthouse at its base. Add two or three windows going up the tower.
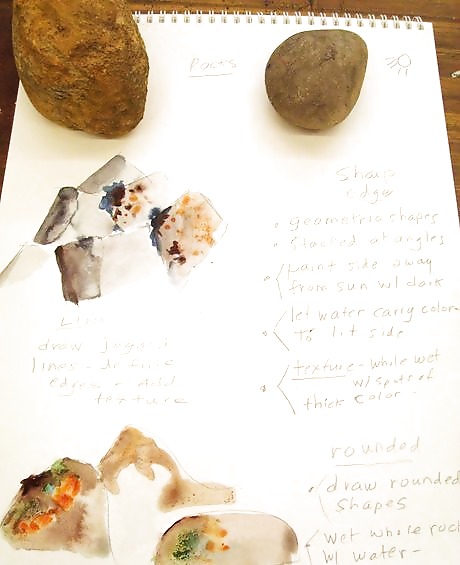
Place the lighthouse in a setting. Draw both geometric and rounded rocks around it and, if desired, spatter rocks for more texture.
Painting the Lighthouse
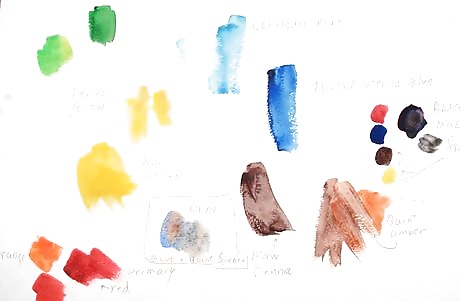
Prepare your tube paints by squeezing basic colors around the edge of your palette. Pull small amounts of blue and brown paint into the mixing section and blend them to make gray.
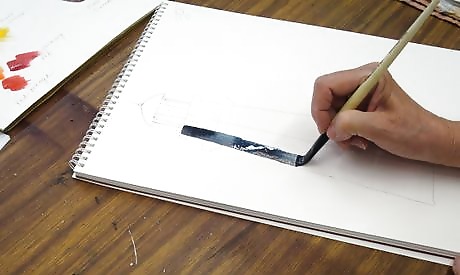
Paint the body of the lighthouse in three strokes. For the first stroke, using a full charged 1/2", flat brush, run a line of juicy gray paint from top to bottom along the left edge. If your brush runs out of paint, recharge it and continue painting the line. Rinse your brush.
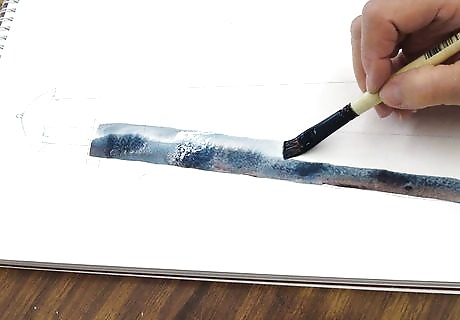
Run a stroke of plain water from top to bottom right alongside the first stroke. Have your wet brush barely touch the gray line already in place. It will pull color toward the center of the lighthouse.
Paint the third stroke using plain water. This creates a washed out effect on the right side of the lighthouse as if it is in bright light. This technique gives the illusion of roundness to your lighthouse. Allow the lighthouse to dry.
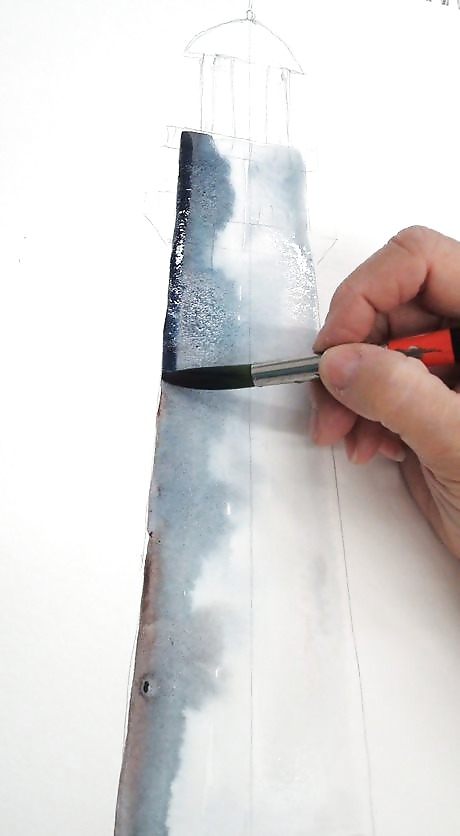
Use small brushes to paint the entire top of the lighthouse. Refine your lines in pencil, using a triangle and/or a protractor to keep them straight.
Painting the lantern or lens room is easy. Because it is composed of glass panes, the sky will show through in all places except the center, where the lens is located. All you need to indicate is the metal framework holding the glass panes. Outline the windows in black to show this, using a small brush and black paint.
Paint the curved roof cap. Use a pointed, #8 round brush loaded with dark gray or black. Keep a sliver of the roof unpainted as a highlight, letting the white paper showing through.
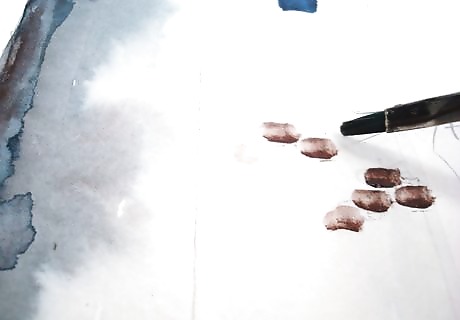
Texture the surface of the lighthouse. Paint little bricks on the body of the lighthouse with a brush that is the exact size of the bricks so you can do them in single strokes. Do groupings of texture randomly on the conical building, suggesting a pattern, but do it only in sections. No need to overdo this texturing, people will get the idea.
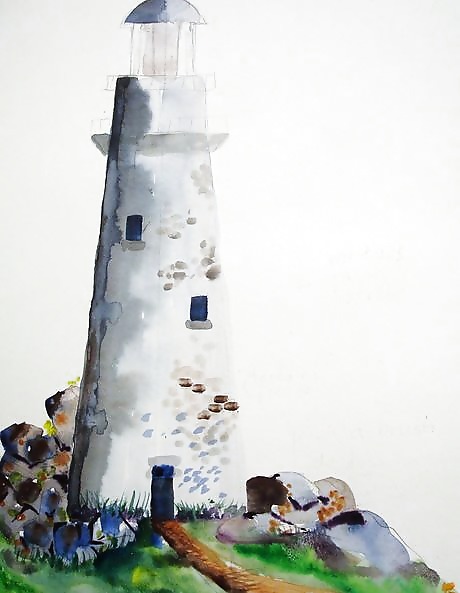
As the lighthouse is drying, paint the landscape. Do rocks, grass, a stone walkway, and shrubs. Rock shapes can be angular or rounded. Paint as you did the cylinder, apply color to one side and let clear water coax it over the body of your rock.
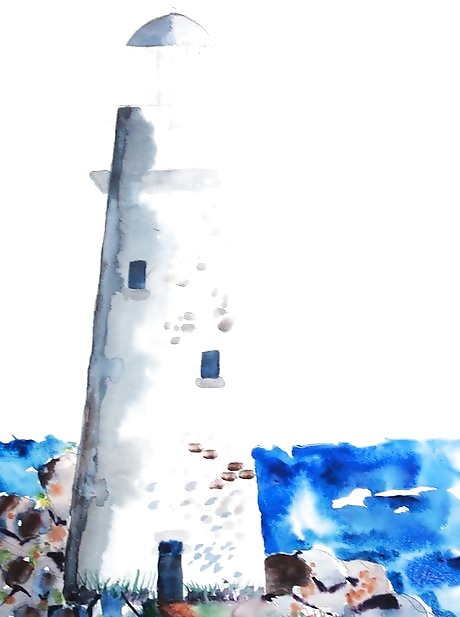
Prepare to paint the water. Clean off the mixing area of your palette. To paint the water, pull two shades of blue into the mixing area with your brush and drop in clean water to dilute the blue paint. Let the two shades blend, forming a new color. Test the color on a scrap of paper, making sure it to keep the integrity of the pigment, but keeping it transparent and very liquid.
Paint the water. Be aware that the water reflects the sky. Use the same puddle of paint for both. If the paint is even slightly dirty, make a fresh puddle. For a flat body of water, use a fully charged brush, either flat or round to flow the paint from the brush onto the area for the water.
If you prefer choppy water, load your round brush and paint fast. Do curved strokes, leaving white paper showing between the strokes and while the water area is still wet, add strokes of darker blue to give the illusion of depth.
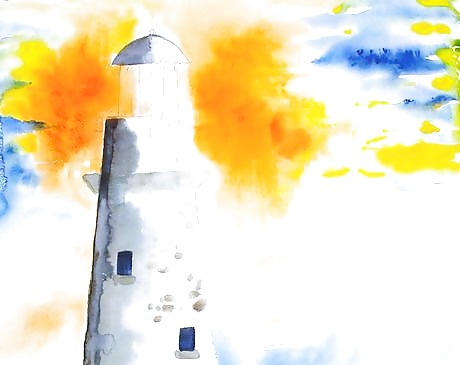
Paint the sky. Wet the sky area with a large 2" brush. Be sure the paint on your palette is clean. The sky can be as unique as the sky actually is, so have fun with it.
Leave white paper for clouds. Or, lightly dab with a soft tissue to lift cloud shapes.
Paint the foreground as you please. Let the painting get thoroughly dry.
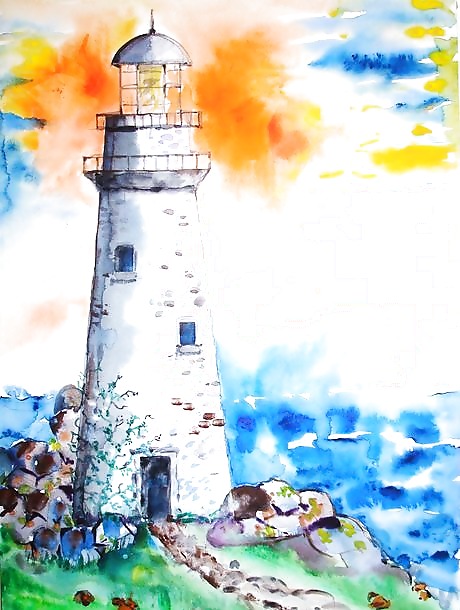
Step back and see what needs correcting or adding. Give the painting a final, hard look. Possible corrections include: straighten the sides of the lighthouse using a ruler and fill in with paint where needed. Sharpen all straight edges of railings, etc., with a pencil and touch them up with appropriate colors using a small, pointed brush.




Comments
0 comment