views
Prepping the Surfaces for Paint
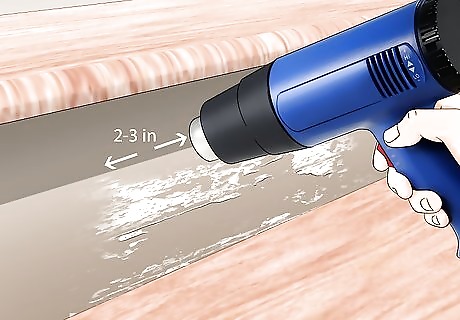
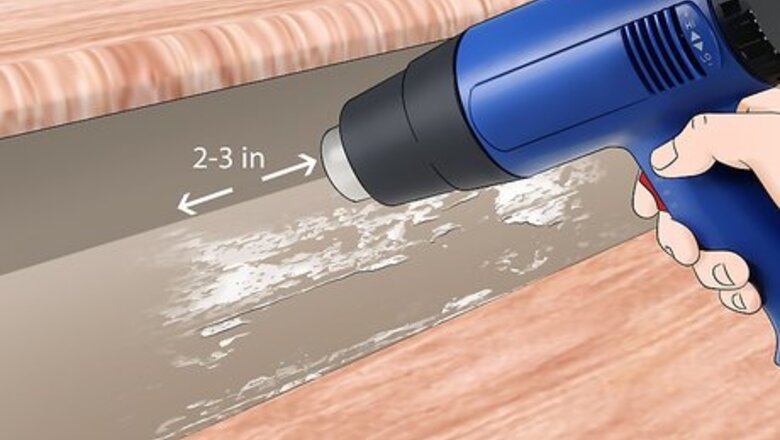
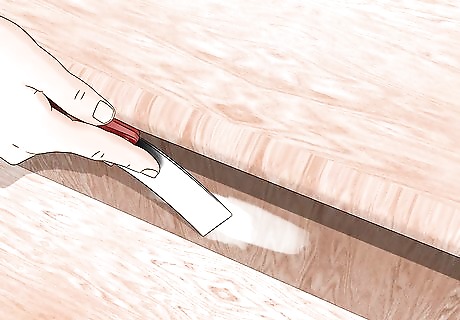
Strip the old paint from your staircase surfaces, if necessary. If your old paint is relatively smooth and in good shape, you can just paint over it. However, if the surfaces are peeling or have too many layers of paint built up, you should consider stripping it off. To do this, you can either use a heat gun or a chemical stripping product. To use a heat gun, hold the gun 2–3 inches (5.1–7.6 cm) away from the paint until it bubbles, keeping the heat gun moving to prevent scorching the wood. Once the paint bubbles, use a putty knife or paint scraper to remove the paint. To use a chemical stripper you will need to follow the directions on the packaging. In general, you will apply the product with a paintbrush, wait until the stripper starts to dissolve the paint, and then scrape it off with a putty knife or paint scraper. When using stripper it’s important to wear personal protective equipment, to ventilate the area, and to wash the surface down afterwards to clean off excess chemicals. Tip: Stripping off paint from railings, spindles, trim, or the stairs themselves is only necessary if the old paint is creating a bumpy, uneven, or peeling surface. If this the case for any part of your staircase, taking the time to strip the paint will create a much better finished product but it will make the overall project take much longer.
Fill small holes and imperfections with wood filler or spackle. Use wood filler or spackle and a putty knife to fill any holes or dings that need to be smoothed out. For small holes, such as nail holes, pick up a pea-sized amount of the filler on your putty knife. Push the filler into the hole and scrape off any extra with the flat end of the putty knife. Let the filler dry for as long as directed on the container, which can vary from an hour to a day depending on the product. Most spackles will work to fill holes and imperfections in wood and wall surfaces, such as drywall or lathe and plaster. Look along the railing, the balusters, the trim surrounding the stairs, and the steps themselves for spots that need to be touched up. If your holes are larger than ⁄2 inch (1.3 cm), you may need to use a more advanced filling technique that includes patching the hole.
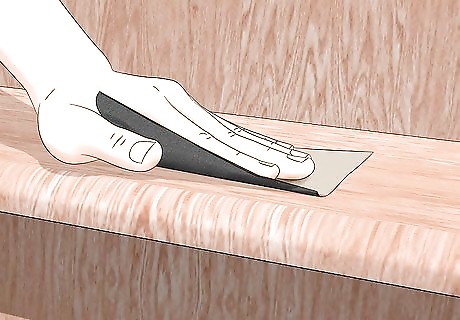
Sand any surfaces that are rough. Look over all of the surfaces to find spots that are rough and need to sanded. Also, feel the surfaces with your hands to find small areas that could use sanding. Sand the surfaces with 200 to 400-grit sandpaper to smooth out areas that you filled and any irregularities in the existing paint. You can either use an electric sander, such as an orbital palm sander, or a simple sanding block. Remove any dust that you create with a tack cloth or lightly damp cloth after you are done sanding.
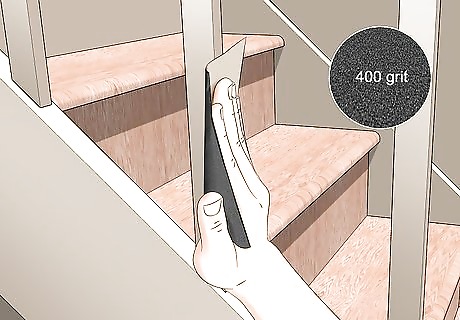
Sand all painted surfaces very lightly to help the new paint stick. Scuff up surfaces that are totally smooth with sand paper. Get fine-grit sandpaper with a grit rating of around 400. Rubbing this on the surface will scuff it up just a bit, which will allow the new paint to stick but will not create a textured surface on your final coat of paint. Simply run the sandpaper quickly over all of the surfaces you are going to paint. There is no need to be very detailed about this process. You just want a surface that is not totally smooth. This is especially important for surfaces that have shiny, new paint on them already.
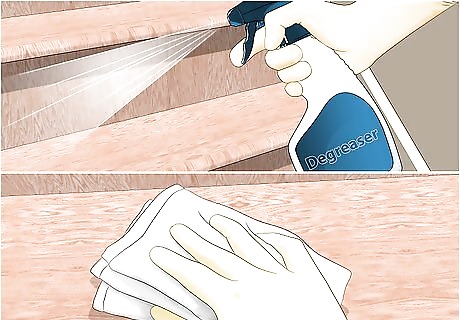
Clean every surface that will be painted with a degreaser. Wipe down areas you will paint with a rag and a mild surface degreasing cleaner. This will remove any dust that you created while sanding, in addition to removing any grease, dirt, and wax build-up that might remain. After wiping the surfaces with the cleaner, use a clean, dry rag to wipe it off. Many people use TSP to clean surfaces before painting them. This product is very good at cleaning surfaces and it will also dull any painted surface it’s used on, which helps new paint to stick better. For stubborn dirt, use a multi-purpose household cleaner. If the stairs are concrete or metal, you may also use a wire brush to remove set-in dirt.
Painting the Railings and Trim
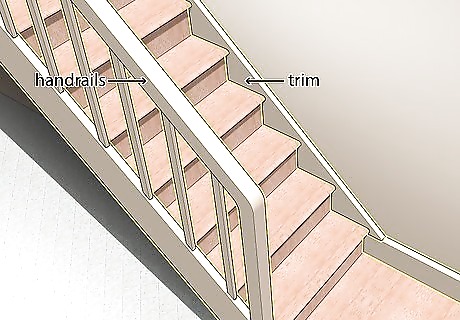
Paint the handrails and trim before painting the stairs. It's best to start with the handrails on a staircase for several reasons. If you create drips while painting the railings and trim, you won't be dripping on the finished surface of the stairs. You will also be free to move up and down the stairs without the risk of creating wear and tear on your finished paint job on the stairs. Also, with the railings, balusters, and trim painted first, you don’t have make sure they are super dry before moving on with the next phase of painting. If you paint the stairs themselves first, they need to be very dry before continuing on with your project.Tip: It’s not the end of the world if you choose to paint the stairs first. It just creates a little more work because moving around while you paint will be more difficult.
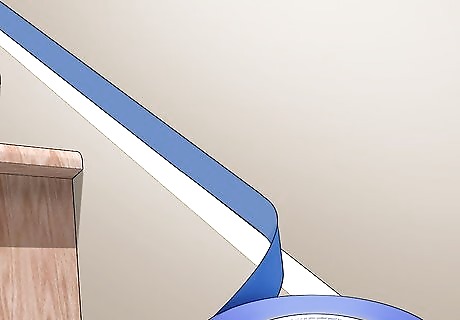
Tape off the edges around the railings and trim with painter's tape. Run the edge of the tape tightly at the edges where you want the paint to end. Then push the tape down with your fingertips or a putty knife to ensure that paint doesn’t seep underneath it. Taping off can take a long time, especially in tight areas, such as around the balusters. However, remember that it is worth it to take your time to tape it all off well before you start painting. You may need to tape off areas in phases. For example, if you are planning on painting the handrail and balusters a different color than the trim, then you should tape off the trim while you paint the handrail and spindles first. In general, the trim and railings are painted at the same time because they are usually the same color and the same type of paint.
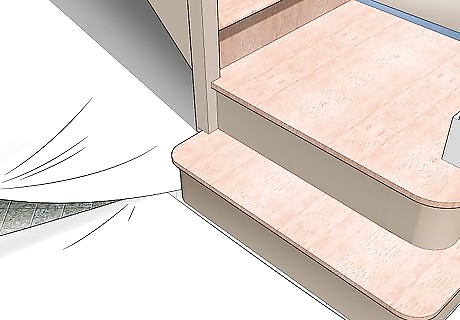
Cover surrounding areas with drop cloths. Spread drop cloths above and below the staircase area to protect your floors. Also cover the stairs themselves and any furniture that you can’t move out of the way but that might get splattered. Use painter’s tape to keep the drop cloths in place.
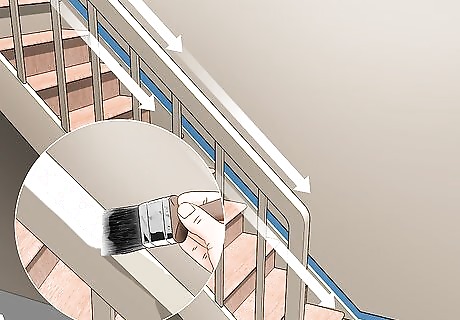
Paint the primer on the railing, working your way down the railings and the stairs. Starting at the top of the stairs, paint the handrail first and then work down the balusters to the trim at the bottom. You can either do a small part of the whole railing at a time, for instance 2 feet (0.61 m) sections, or you can prime the entire handrail, then all of the balusters, and then all of the bottom trim. For the railings and the trim you will likely use a brush, as a roller is hard to get into small areas. Prime the entire handrail and all the trim before moving on to your finish coats. Pick a primer that is made to adhere to previously painted surfaces and ones that will get wear and tear. Good primer is important in order to create a durable finished surface by creating a good bond between previous coats of paint and your new paint.
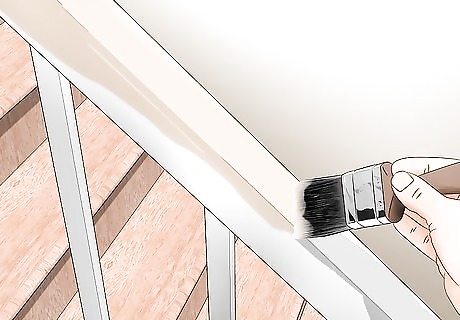
Apply several coats of your final color once the primer is dry. Wait for the specified amount of time listed on the container for the primer to dry and then start your final coats. Using smooth strokes, work your paintbrush from the top of the railing, down each baluster, and along the bottom trim, making sure to coat every surface. Work your way down the stairs as you did with the primer coat. You should do 2 to 3 coats of the final color. Be sure to let each layer dry completely before starting on the next. This will create a stronger paint finish that will stand up to the wear and tear that stairways experience.
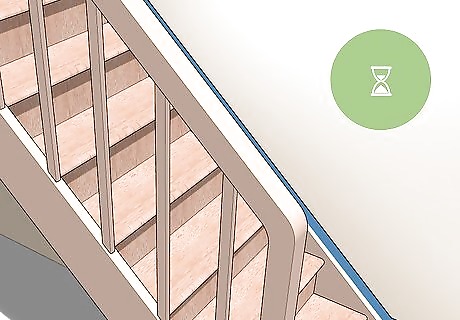
Allow the paint to dry completely before removing the tape. Score along the edge of the tape with a putty knife or a razor blade. Then slowly peel the tape off. Peeling it slowly will help ensure that it doesn’t pull off the new paint along with it. Once you are done actively painting, you can pick up the drop cloths. However, be careful not to smudge your work by touching the railing or trim with the drop cloths as you move them.
Painting the Stairs
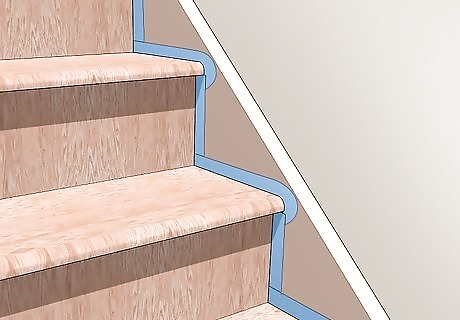
Tape off areas around the stairs. Protect your work on the railings and trim by taping off areas where they meet the stairs. Also tape off where the stairs meet the floor upstairs and downstairs. You may also want to put down drop cloths at the top and the bottom of the stairs, although you can typically get away without them if you are painting carefully with a brush.
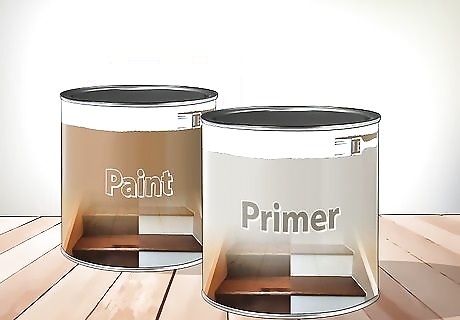
Pick a primer and paint that are designed for use on floors or stairs. Talk to an employee at your local paint store about which products will work best for your specific project. In general, the treads and risers should be painted with an oil-based paint that also contains a sealer so that it holds up to constant traffic. However, water-based floor and patio paints are made to be stepped on, so they hold up well on stairs as well. When purchasing primer, consider asking a paint store employee to tint it to help with coverage. This is especially important if you have a strong final coat color. A tinted primer will ensure that your top coats cover the primer color more easily and will reduce the number of top coats you need to do.Tip: The major downside of using oil-based paint on your stairs is the cleanup. You will need paint thinner to get the paint off of the brushes and rags that you use for cleaning up drips.
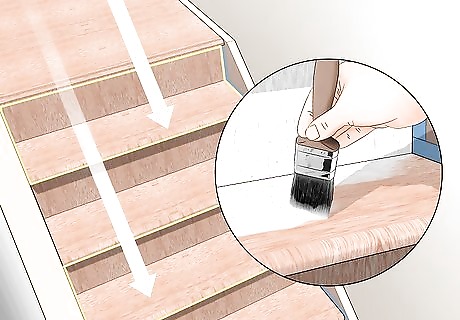
Start painting the primer at the top and paint every other step on the way down. Beginning at the top of the stairs, paint the first stair completely. Then skip a stair and paint the third stair down. Continue like this, working your way down so that you can have room to move as you work and so that you can leave areas alone once you paint them. Painting every other step will allow you to use the stairs as they dry. Use a brush to paint the stairs so that you can get into all of the corners easily. Allow the primer to dry completely before moving on with your finish coats. This usually takes anywhere from an hour to 4 hours, depending on the exact paint you are using. Read the label on the primer for drying times and check the primer for dryness.
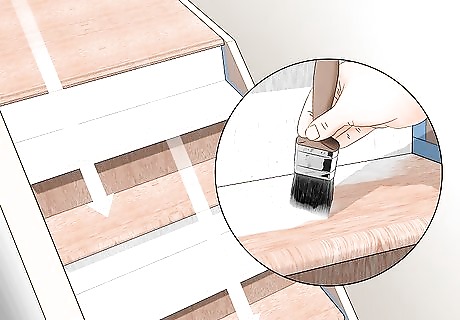
Paint the primer on the other steps once the first set is dry. Start at the top again but paint the steps that haven’t been primed yet: the second, fourth, and so on. Continue down until all of the steps have been primed.
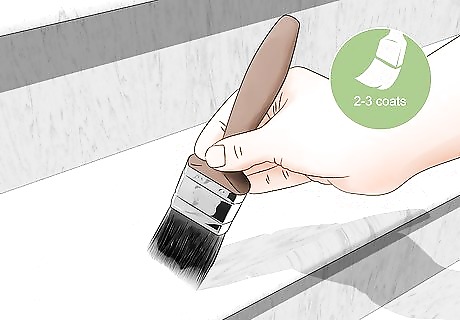
Paint 2 to 3 coats of the finish coat on every other step. Start painting at the top of the stairs, making sure you completely coat the top step before moving down to the third one. Work the paint into the corners of each stair and then finish by painting smooth strokes over the big surfaces while smoothing out any blobs of paint near the corners. Allow each coat to dry thoroughly before applying a second coat, and potentially a third. Be sure that you are getting a solid coat of paint in all of the corners, including under the front lip of each stair. You will know a third coat is necessary if you can still see primer after the second coat is dry.
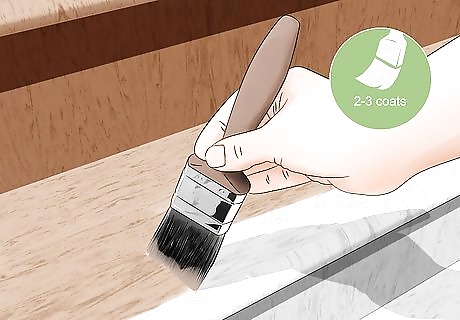
Paint 2 to 3 coats of the finish paint on the rest of the stairs. Once the first set of stairs are completely dry, which usually takes about a day, go back and paint the others. Work your way down, painting the second step first and then moving down to the fourth and so on. Once each coat is completely dry, you can apply an additional coat.
Adding Decorative Details
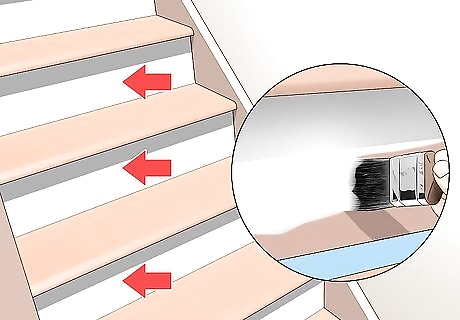
Paint the risers or treads each a different color. To add a little fun detail to your staircase you can make your stairs multi-colored. To do this, tape off around the edges of the risers and paint them in one of two complementary colors. Once you have put on several coats, take off the tape and paint the treads the other color. It’s easiest to paint the risers first, as you will still be able to cautiously walk up and down the stairs while they are drying. Painting the risers and treads different colors will add time to your project because you will have to let one color dry completely before going back and painting the other color.
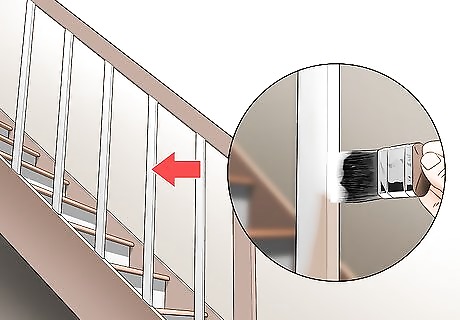
Add a contrasting color to railing balusters. One way to add a pop of color and a little interest is to paint the balusters of your railing a different color than the rest of the railing and the stairs. You can pick a complementary color to the stairs and the surrounding walls or match the balusters to the surrounding walls. When painting your balusters a different color, it's important to mask off the bottom and top rails of the railing really well. This will prevent drips of a different color getting on them. Painting balusters is detailed work because they have a lot of small surfaces. Take your time while you paint them and watch out for drips!
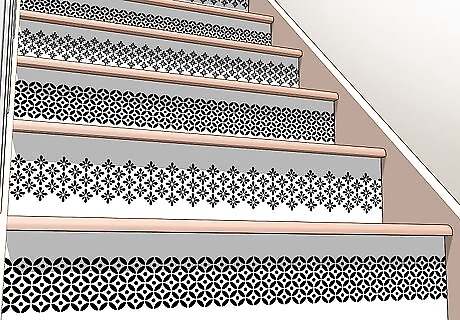
Create a decorative design going up the center of the stairs for a fun effect. Prepare the stairs with primer and a base color of paint. Then apply a pattern to the stairs over the base color with a stencil or freehand a decorative motif of your choosing. Paint the design sections with latex floor enamel. Allow the paint to dry and apply a second and third coat, as needed.
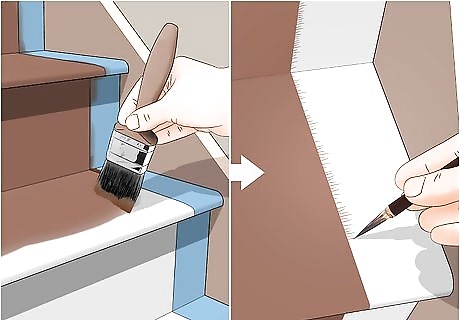
Paint a faux carpet design on the stairs, if you like. Once the stairs have been painted, measure the distance from the sides of the treads for the area you do not want to have the "carpeted" look. Block those areas off with painter's tape. Paint the center area of the stair treads with the color you've chosen for your faux carpet. Then paint an artificial fringe on the edges of the runner with a liner brush. To protect your design, apply sealer or polyurethane to the stairs after the decoratively painted surfaces are completely dry.


Comments
0 comment