views
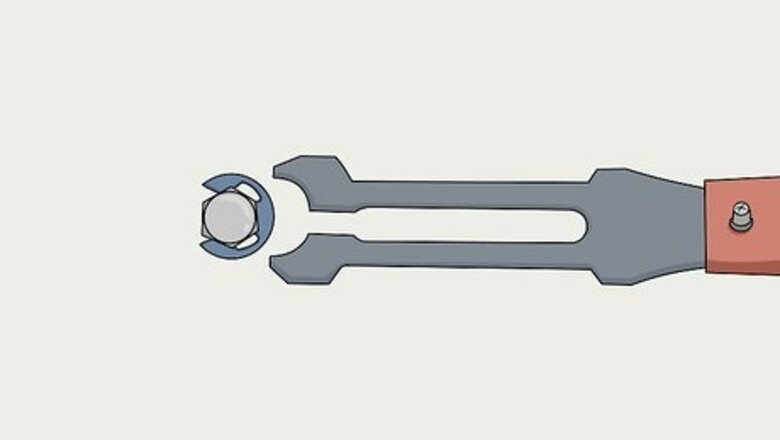
Using an E-Clip Remover
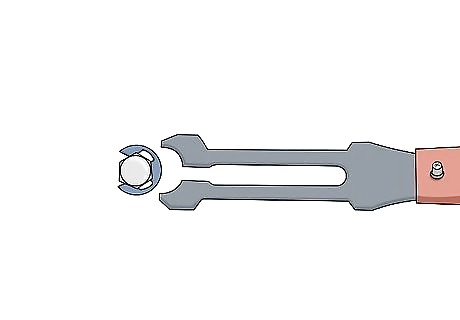
Align your remover tool with the edge of the E-clip. Most E-clip removers have a smooth, curved edge. Line up the curved edge on your tool with the curve of the E-clip, and place your tool just below the E-clip. There are several different types of E-clip removers, and you can use them all in a similar way.
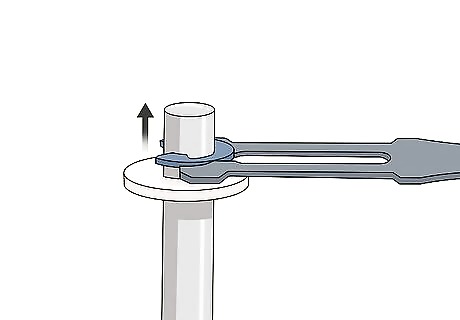
Push upwards and apply steady, moderate pressure. Once your tool is aligned with the E-clip, simply press up on the tool to remove it from its position. Be careful not to use too much pressure, or the E-clip may go flying!
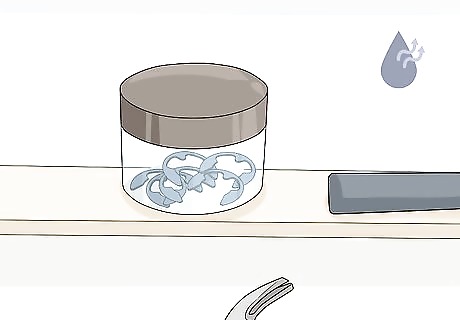
Store your E-clip in a dry location until you use it next. Place your E-clip in a storage jar, bin, or container. You can easily use them again and again for other projects involving tools. You can store these in your shop or in a tool box, for instance.
Removing an E-Clip with Pliers
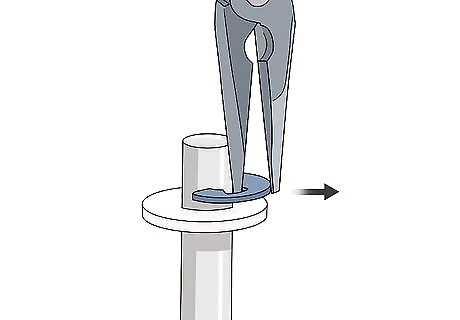
Move the middle of the E-clip toward the side so you can grasp it. To easily remove the E-clip, you want the curved side of the E-clip facing you. If necessary, use your fingers or a pair of needle-nose pliers to twist it around. The E-clip should slide easily with moderate pressure.
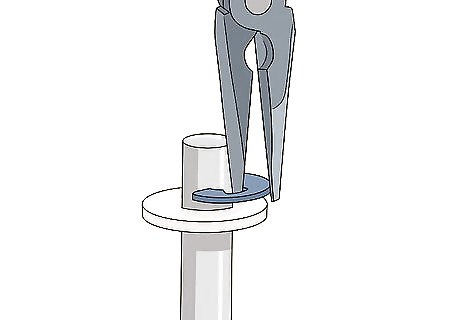
Grab the center of the E-clip with needle-nose pliers. Pinch the middle of your E-clip with the tip of your needle-nose pliers. Hold the pliers securely so you can remove the clip. Needle-nose pliers work the best to easily remove the E-clips. However, you can use other types of pliers as well, like slip-joint pliers or locking pliers.
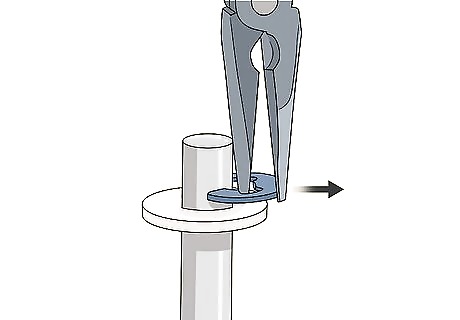
Pull the E-clip toward you with moderate pressure. While grasping the E-clip, pull back on your pliers to take the clip out of its position. If you are having trouble gripping the E-clip, adjust your pliers so the tip is closer to the middle.
Using a Flathead Screwdriver
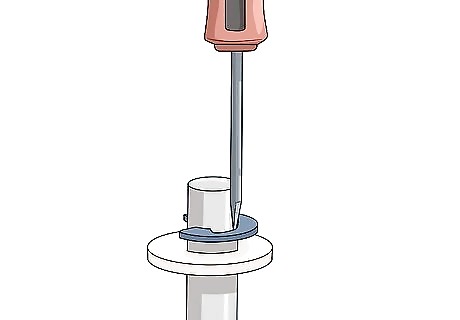
Align the screwdriver with 1 of the small grooves in the middle. Place the tip of your screwdriver inside the groove on the clip. Each E-clip has 2 small grooves in the middle, 1 for the left side and 1 for the right side. You can use either groove to help remove the E-clip. For best results, use a screwdriver that is proportionate to the size of the E-clip.
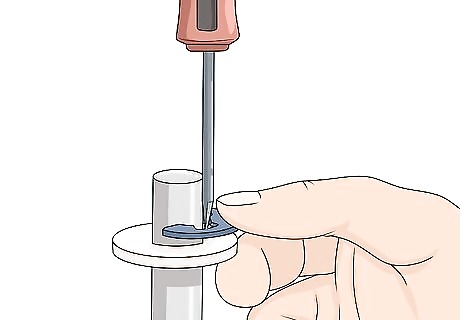
Place your finger directly next to the E-clip to catch it when it moves. Hold your index finger of your non-dominant hand up to the E-clip along the top edge. This way, you can prevent the E-clip from flying far away when you remove it.
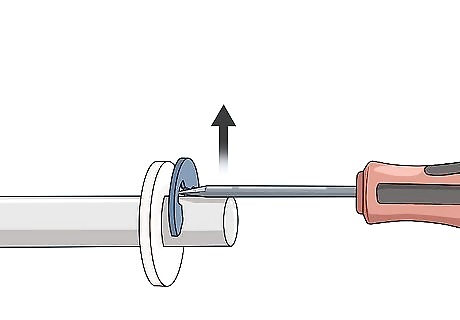
Push up on the screwdriver with moderate pressure. Hold your screwdriver with your dominant hand, and push the tool upwards consistently. The E-clip should easily come out. If it doesn’t, apply a bit more pressure.



Comments
0 comment