views
X
Expert Source
Jason ShackelfordAuto Technician
Expert Interview. 11 June 2019.
For further instruction on how to replace the starter solenoid in your specific vehicle, it is recommended that you read the service manual for its specific year, make and model.
- Refer to the manual for your vehicle to get specific instructions for your make, year, and model.
- Disconnect the battery and place your vehicle on jack stands to access the starter solenoid.
- Mark the wires on the old solenoid and unbolt or unscrew it before pulling the solenoid out away from the starter.
- Compare your new solenoid to the old one to confirm it’s identical and follow the manufacturer’s instructions to install it safely using the same wiring diagram as your old solenoid.
Raising the Vehicle and Finding the Starter
Park the car on a solid surface. In order to access the starter in some vehicles, you will need to jack it up. It's important that you find a solid surface that can support the weight of the vehicle while it is supported on a jack and jack stands. Concrete and blacktop are the preferred surfaces for jacking up a vehicle. Never jack a vehicle up on grass, dirt or gravel.
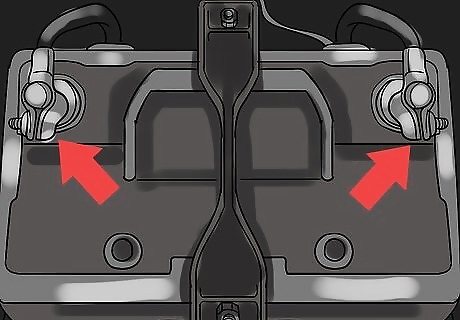
Disconnect the battery. Before starting any project in your vehicle, you should disconnect the power source to prevent shocks and ensure you don't damage the electrical system. Use a hand or socket wrench to loosen the nut on the negative terminal on the battery, then slide it off the terminal post. Tuck the cable to the side of the battery to ensure it can't come into contact with the terminal. You will not need to disconnect the positive cable.
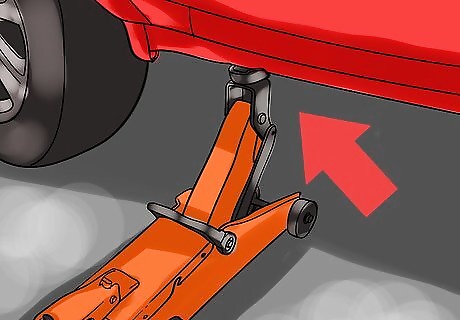
Jack up the vehicle if need be. If you need to be beneath the vehicle to access the starter, slide a scissor or trolley jack under the vehicle at one of the designated jack points. Jack up the vehicle by lifting and pressing or turning the handle until it's high enough for you to work under. If you are unsure where the designated jack points are for your vehicle, refer to the owner's manual. Be careful not to jack the vehicle up in an area that can't support the weight of the vehicle or you may do frame damage.
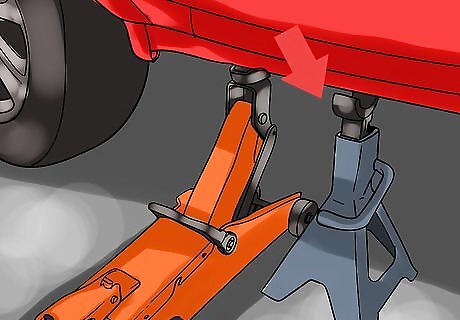
Place jack stands beneath the vehicle. Never work beneath a vehicle that is supported solely by a jack. Slide jack stands beneath the vehicle at designated jack points. Slowly lower the vehicle down onto the jack stands to ensure the vehicle is steady and the stands are in the proper position. Jack stands will not allow the vehicle to drop below the set height on the stand. Hydraulic jacks may allow the vehicle to lower at an unpredictable rate without stands to support the vehicle.
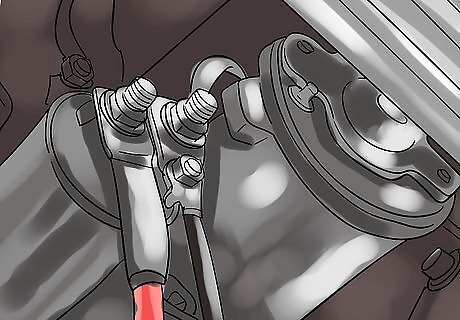
Locate the starter. The starter solenoid is attached to the starter in most applications. The starter is a cylindrical component that is usually attached to the side of the transmission's bell housing, where the transmission and engine meet. If you are unable to locate the starter, refer to the service manual for your vehicle for further guidance. If your vehicle's starter solenoid is not attached to the starter, use your vehicle's service manual to locate it.
Removing the Starter Solenoid
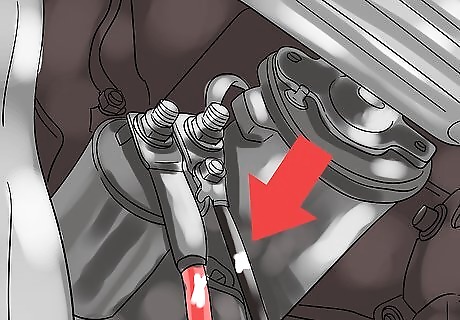
Mark the wires on the starter. The smaller cylinder attached to the starter is the starter solenoid. On most solenoids, there are three wires connected to terminals. Use pieces of masking tape to mark each wire with its corresponding terminal. One wire will be the top, or further from the starter, another will be the bottom, or closest, and the last one will be a wire pigtail that can only connect in one place. Marking the wires before you disconnect them will allow you to easily determine which wire connects where on the new solenoid. If your solenoid has four wires going into it, be sure to mark the fourth accordingly.
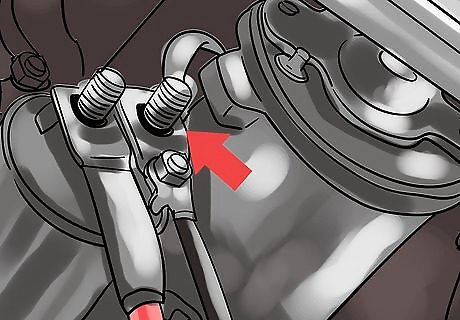
Disconnect the starter wiring. With the wires clearly marked, disconnect each of them from the solenoid. The pigtail can be disconnected by pressing on the release clip and pulling backward on the plastic harness. Do not pull on the wiring itself, or it may tear out of the plastic harness. The other two are often held in place by a bolt of screw. If you have to remove hardware to disconnect the wires, set them aside someplace safe.
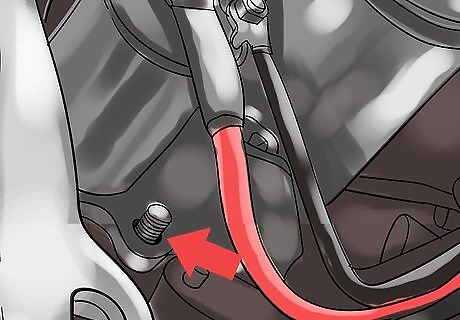
Remove the starter mounting bolts if necessary. In some vehicles, you will not be able to access the solenoid's fasteners without removing the starter itself. In these applications, use a wrench to remove the two bolts that secure the starter to the bell housing. Then slide the starter off of the engine. If you can access the solenoid easily without removing the starter, there is no need to remove it. Be sure to keep the bolts you remove in a safe place for reuse when putting the starter back in.
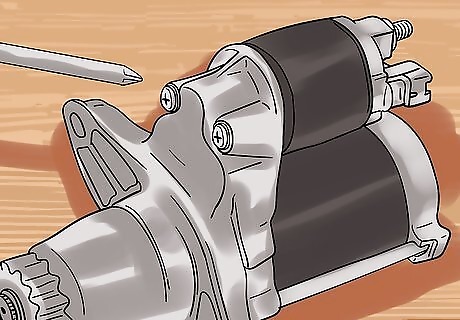
Unbolt or unscrew the solenoid from the starter. The starter solenoid is usually held in place by two screws. In some applications it may be bolts instead. Use the appropriate hand tool to remove the fasteners that secure the solenoid to the starter. You may need to spray the fasteners with a rust remover like WD40 in order to loosen them. Be careful not to break the bolts as you remove them.
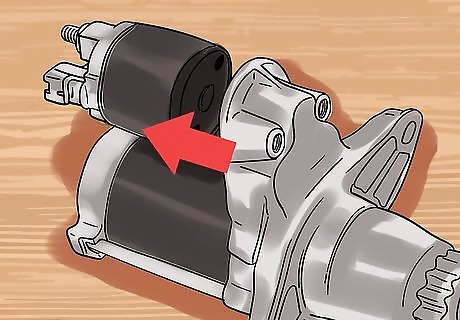
Pull the solenoid out away from the starter. With the fasteners removed, grip the solenoid tightly with one hand and slide it away from the starter and out. If the starter is still in the vehicle, this will be easier to do, but if you had to remove it, use your other hand to brace the starter as you pull the two components apart. The solenoid will pop out when you apply enough force. Be sure the fasteners are removed before pulling on the solenoid, otherwise it will not release.
Installing the New Solenoid
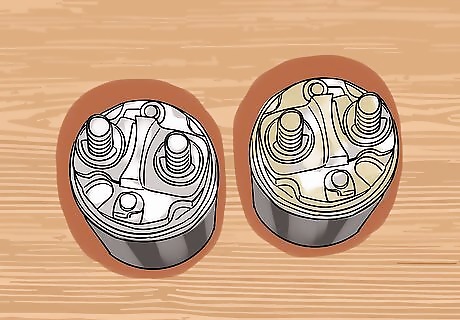
Compare the new solenoid to the old one. While it's always important to compare your new parts to the old ones to ensure they'll fit, it is of particular importance with starter solenoid. The solenoid in your vehicle may have come with three terminals, whereas the replacement one likely will come with four. If your factory solenoid came with only three terminals, connect the third wire to the terminal marked with an “S” and do not utilize the other one. The terminal marked with the letter “I” is used only for vehicles that have four wires going to their starter solenoid. If your vehicle came with three wires, a four terminal solenoid will work provided you connect the wires in the right way.
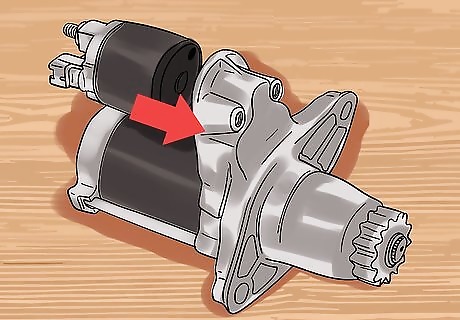
Slide the new solenoid into the starter. Slide the new solenoid into the starter by sliding it into the housing you removed the old one from. You may need to apply a bit of pressure to pop the plunger into the starter housing. Be careful not to press the solenoid in at an angle.
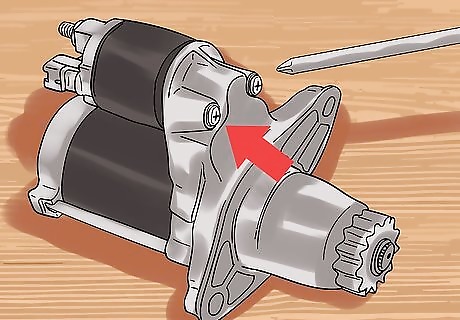
Insert the bolts or screws to secure the solenoid. Take the screws or bolts you removed from the old solenoid and insert them into the new one. Tighten them by hand until the solenoid is secure and won't vibrate loose. If the screws were damaged as you removed them, replace them with identical fasteners from your local hardware or auto parts store.
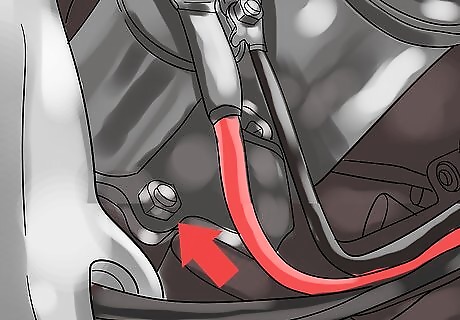
Reinstall the starter if necessary. If you had to remove the starter in order to gain access to the fasteners on the solenoid, put it back in the vehicle. Use the bolts you removed previously to secure the starter to the bell housing on the transmission. You may want to have your starter tested at a local auto parts store before reinstalling it to ensure there are no issues. Be careful not to allow any debris to fall into the hole as you put the starter back into place.
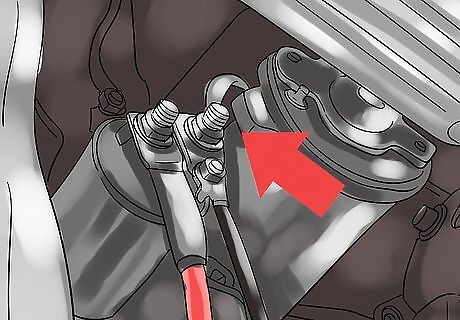
Connect the wiring. Use the labels you placed on the wires to guide you as you connect the wiring to the new solenoid. The top and bottom wires will go in exactly the same places as they did on the old solenoid. If your replacement solenoid has four terminals and you have three wires, attach the third wire to the terminal marked with an “S”. Once connected, reconnect the battery and attempt to start the vehicle. Be sure the batter has a full charge or the starter will not initiate.



Comments
0 comment