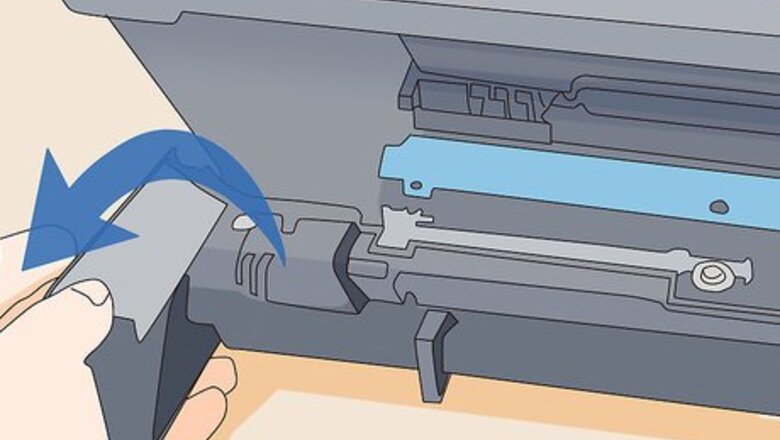
views
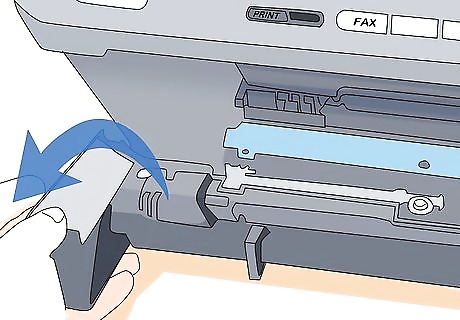
Open the printer door to access the toner cartridges.
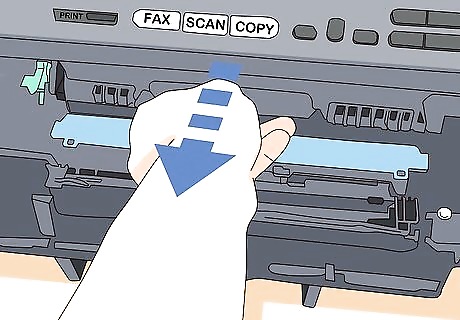
Remove the drum assembly from the printer by pulling it straight out.
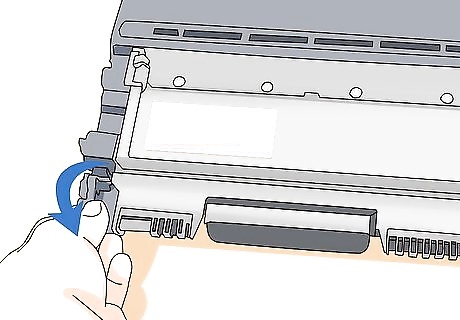
Remove the spent cartridge by pressing the release lever on the drum assembly.

Take the new cartridge out of the box, but keep it in its plastic packaging. Sometimes, during shipping, toner can settle in the toner drum, resulting in poor-quality copies. To prevent this problem, gently shake the cartridge. This helps fully distribute toner throughout the cartridge.
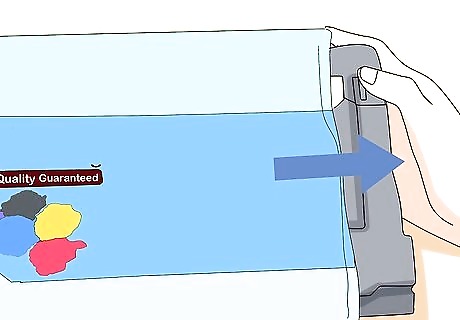
Remove the new cartridge from its packaging and pull off the sealing tape. While doing this, be careful not to touch the imaging drum on the bottom of the toner cartridge. Smudges on the drum can cause print-quality problems.
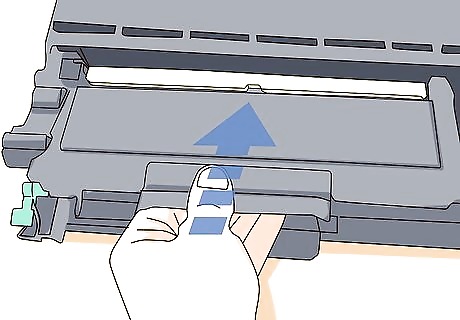
Put the replacement cartridge in. It should snap in place securely.
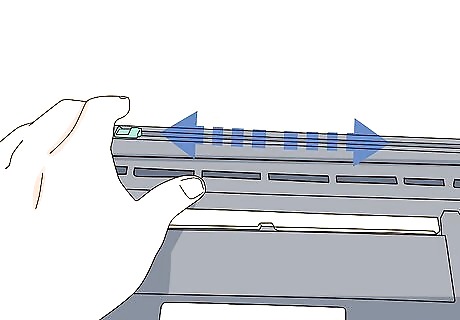
Slide the drum cleaning lever back and forth.
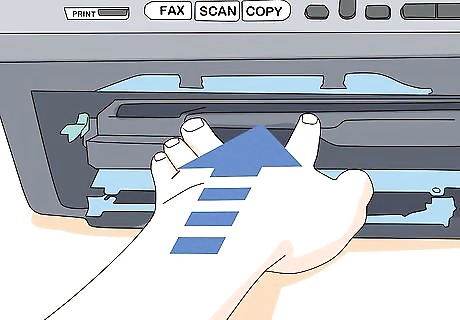
Reinsert the drum assembly completely, and close the printer's access port.
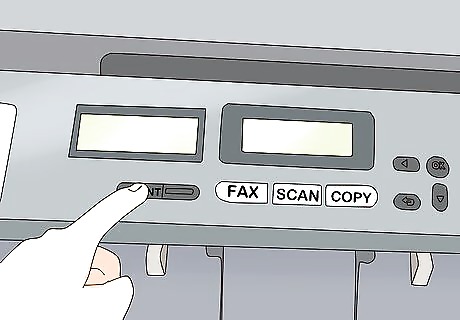
Your printer is ready to be used. Print a test page. Your computer will automatically recognize that a new cartridge has been installed. Most computers will ask you if you want to print a test page to ensure that the new cartridge is functional. Click "OK." The computer will scan the printer settings and eventually produce a printed page.





Comments
0 comment