views
Using Standard Export Functions
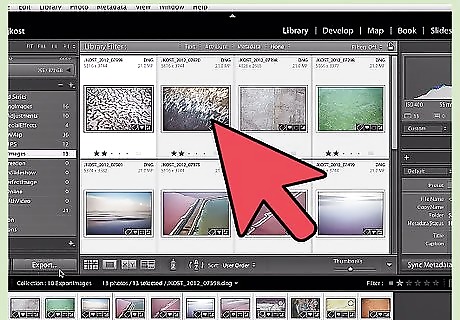
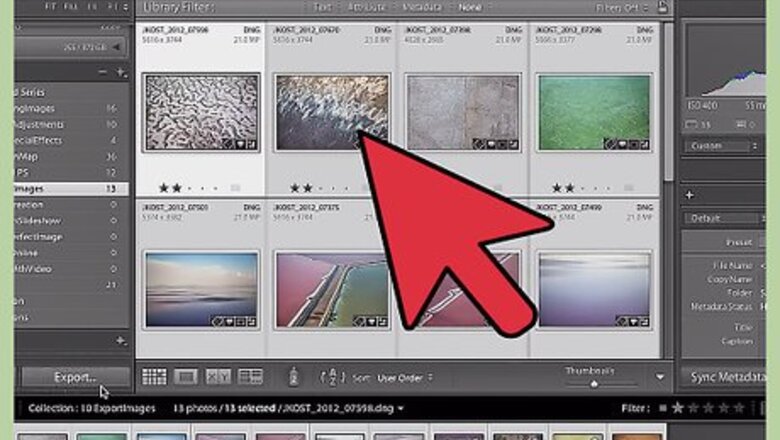
Select the photos you want to save. Since it's common to work with many photos at once in Lightroom, before you save your work, you need to specify what, exactly, you want to save. There are several ways to do this — see below: Click on a photo thumbnail in the grid view or film strip. You can use Ctrl + click (Command + click on Macs) to select multiple photos individually or Shift + click to select a continuous range of photos. See this site for more shortcuts (scroll down on the page after it loads.) Select items in the Library module from the Catalog, Folders, or Collections panel. You can use the Library module's filter options to sort your choices.
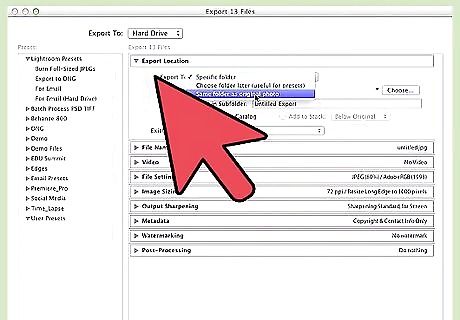
Select File > Export. This should open the Export dialog box, which gives you a wide variety of options for how (and where) to save your files. Since you want to save your files to your computer or a storage device, select "Hard drive" from the "Export to" menu at the top of the window. Realize that, while this "Export" option allows you to save your work, it doesn't affect your master files the way a traditional "Save" option would. In other words, rather than changing the "starting" files you used for your photos, Lightroom makes a new copy of the photos with the changes you made. This means you can't ruin your photos accidentally!
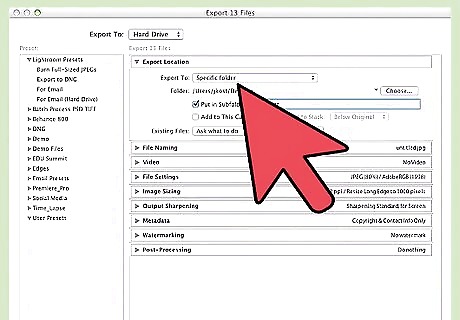
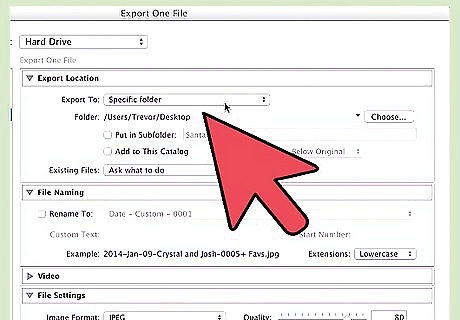
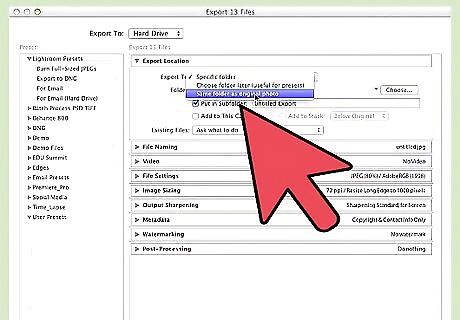
Choose a location to save your project. Below the "Export Location" header, you should see a drop-down menu labeled "Export to:". Your options in this menu are: "Specific folder," "Choose folder later," and "Same folder as original photo." You can't export your work without picking one of these options. The "Specific folder" option is generally what most people are looking for. This allows you to browse through your computer's directories and pick a specific place to save your files. If you have an external hard drive connected to your computer, you will be able to save in it with this option. "Choose folder later" will require you to make a decision about where to save the file when you finish. This is usually used when creating a preset (see section below.) The "Same folder as original photo" does exactly what it sounds like — saves your work in the same file as the original photo is located. If you check the "Put in Subfolder" box, your work will be saved to a new folder (with the name you provide) located in the directory you chose.
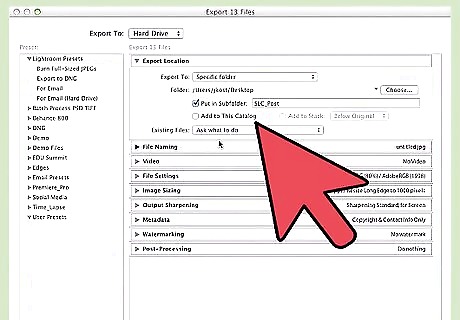
Use the "File Naming" tab to name your project. Under this tab, you should see several options that can be used to give your work a name. Since Lightroom projects often are made up of many different photos, several of these naming conventions are designed to make sorting through long lists of photos easier. A few of these include: Custom Name (x of y): You supply a single name for all of the files. Each individual file is labeled with its order in the list of photos you've selected (e.g., for a batch of photos labeled "Family," the files would be named Family 1 of 10, Family 2 of 10, Family 3 of 10, etc.) Custom Name - Sequence: You supply a single name for all of the files. Each individual file gets a numerical label. (e.g., Family 1, Family 2, Family 3, etc.) Custom Name - Original File Number: Same as above, only based on each photo's order in its original directory. Custom Name: You pick the name for each individual file (e.g., Birthday Party, Cake, Afterparty, etc.) The rest of the options use similar naming conventions, only using the date the file was created or its original file name in place of the "Custom Name" value above.
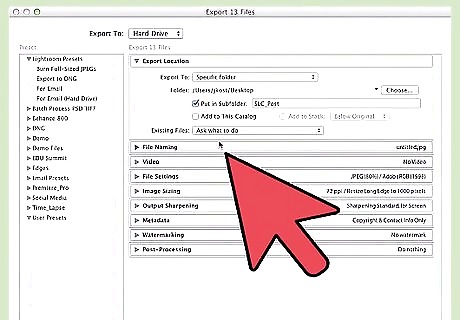
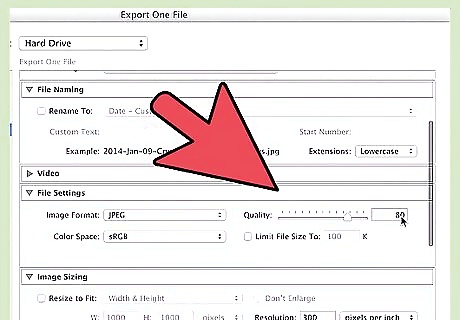
Use the "File Settings" tab to assign a file type. Not all image files were created equally. Use the options under this tab to determine the quality, color space, and, most importantly, the format of the files you want to save. Your options in the "Image Format" dropdown menu include: JPEG: Good for most general usage. PSD: Good for use in Adobe Photoshop. TIFF: Preserves any layers that have been added to the file with Photoshop. DNG: Universal file for Adobe products.
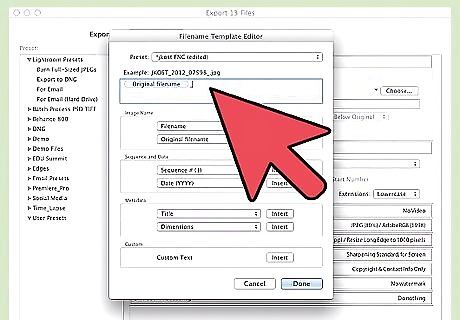
Customize your files with the options under the other tabs. While the tabs discussed above are generally the most useful ones for casual users, the Export dialog box has many other options for customizing the way you save your work. These include: Video: Allows you to specify format and quality for any video files in your project. Image Sizing: Gives resizing/resolution options. Output Sharpening: Gives options for improving image quality based on the medium the image will be viewed on (e.g., matte paper, glossy paper, screen, etc.) Metadata: Allows you to specify metadata "tags" for your project for organizational purposes (e.g., keywords, author's name, etc.) Watermarking: Gives options for watermarking your photos to prevent unauthorized usage. Post-Processing: Allows you to apply touch-up and other effects to your files.
Click "Export" to finish. When you have your export options exactly to your liking, click the "Export" button at the bottom of the dialog box. Your new files will be saved to the location you specified.
Using a Preset
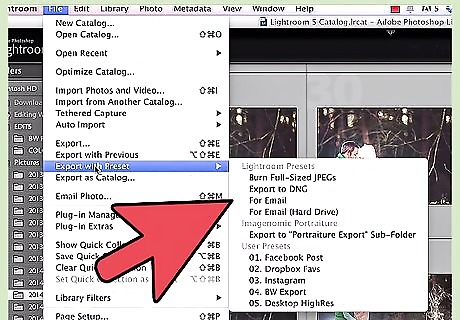
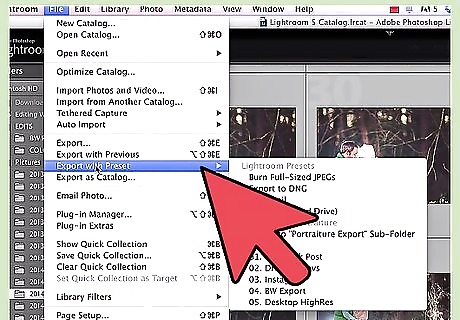
Select File > Export with Preset. Lightroom's export presets are essentially "shortcuts" for the saving process — they are sets of saving conditions that allow you to get through the export process quickly if you already know exactly what you want. To begin, select this option from the file menu — it's two options below the standard "Export" option.
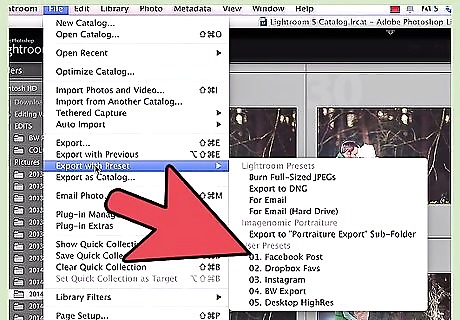
Choose a preset. Your options should pop out in a submenu from the "Export with Preset" option. The different presets specify different conditions for saving your photos. See below for a brief selection of each. You can also access these presets this by selecting "Export", then picking the preset from the menu on the left.
Select "Burn Full-Sized JPEGS" for CD/DVD export. This option will create JPEG photos at maximum quality with a resolution of 240 pixels per inch and no scaling. By default, the files will be saved to the "Files On CD/DVD" location that you have chosen at the top of the dialog box.
Select "DNG" for use in other Adobe programs. The DNG ("Digital Negative") file format is a raw image data format created by Adobe. The format is compatible with most Adobe image processing programs and many non-Adobe programs. This preset creates photos in this file type with no post-processing at the location you specify.
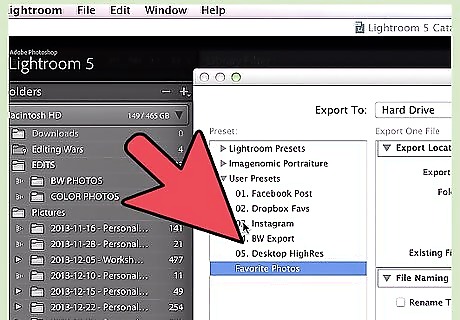
Choose either of the Email options for email usage. As their names suggest, the two "For Email" options save your photos with email-friendly sizes and formats. The differences between the two options are: For Email: This option immediately launches an email message with the files attached so that you can send your photos directly from Lightroom. For Email (Hard drive): Saves the files with email-friendly characteristics to your hard drive. No email is sent.
Alternatively, create your own preset for future use. In addition to the presets that come with Lightroom, it's possible to create your own to save time the next time you need to save your work. To do this, use the steps below: Select File >Export. Choose the export settings you want for your new preset. Click "Add" in the bottom left of the dialog box. Give your new preset a name and click "Create." Your preset will now be available via the same steps as you used for the other presets.





Comments
0 comment