views
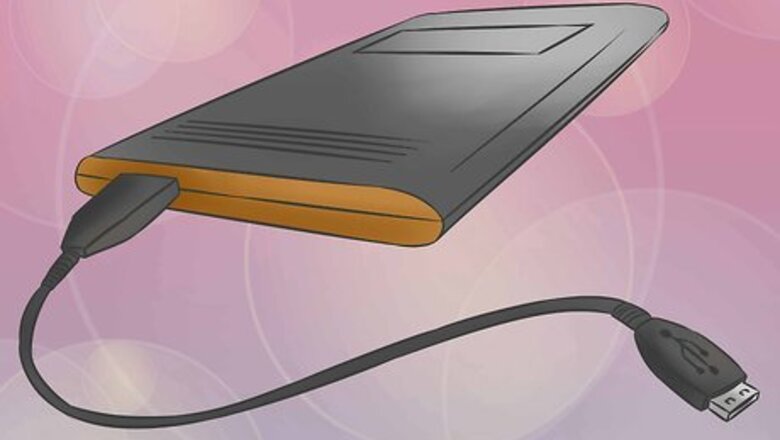
Get an external hard drive.
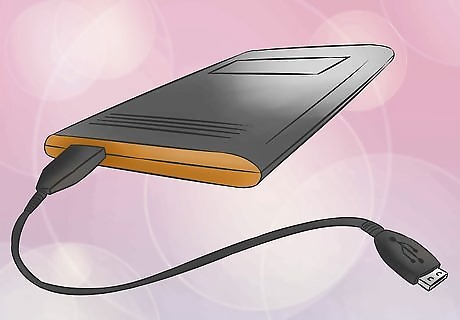
Any external hard drive will do (which you can purchase from online retail stores as well as electronics stores near you), but it is recommended that you use a hard-disc drive (HDD) with a dedicated power sources (i.e., uses an A/C adapter) for maximum performance.
Turn off the Wii U console.
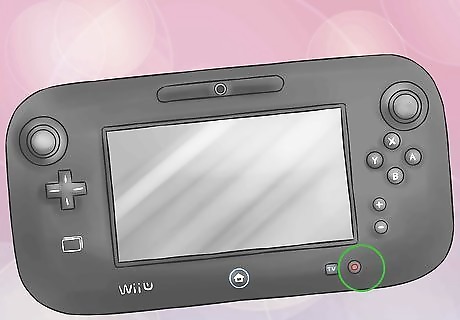
To turn off your Wii U, hold down the Power button on the gamepad for 1 second. The LED light of the console will turn red and the gamepad screen will turn off. The Power button is at the bottom-right corner of the gamepad.
Connect the external hard drive to the Wii U.
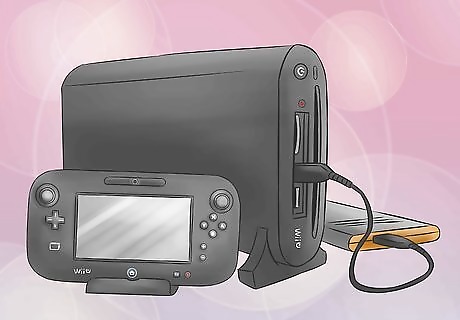
Connect the USB cable of the external hard drive to the Wii U USB port at the front of the console or at the back. Both will work just fine.
Turn on the Wii U console.
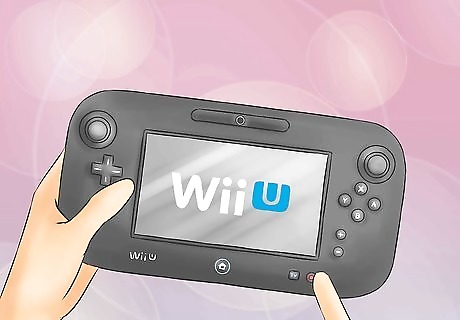
Press the Power button of the Wii U to turn it on. Once the console is on, it will detect the external device, and a dialogue will prompt you to format the hard drive.
Select “Yes” to begin the formatting of the hard drive.
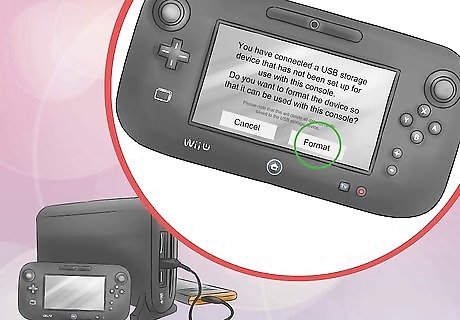
After the formatting, the Wii U will now detect the external storage as an official storage device for your Wii U.







Comments
0 comment