


Click on the start button
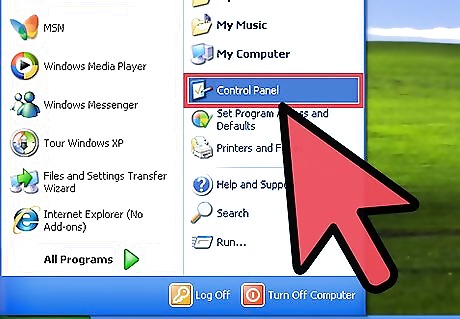
Go to the control panel
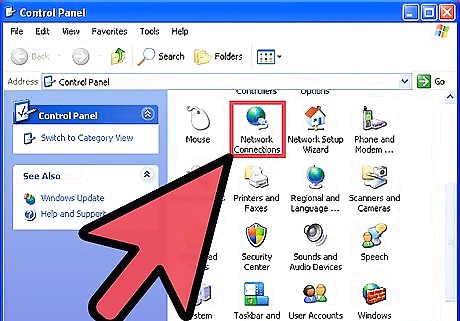
Once opened, double left-click on "Network Connections"
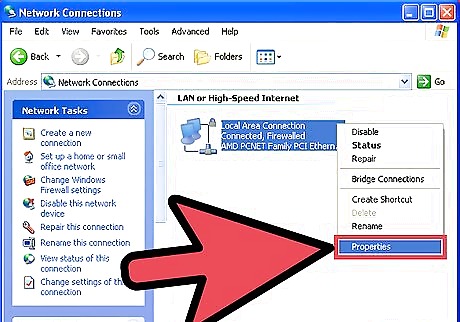
You should see an icon labeled as "Local Area Connection". Right-click on that icon, left-click on "Properties" (There may be more than one network connection, depending on how many network cards you have in your PC. "Local Area Connection" indicates a wired Ethernet port, whereas "Wireless Network Connection" is for various types of wireless network connections including WiFi.)
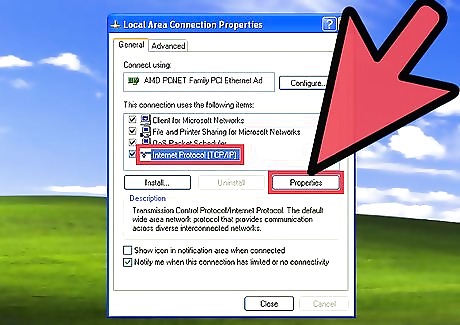
A window pops up, in the middle you will find a list of items, one of which is "Internet Protocol (TCP/IP)". Left-click on it and then left-click on the Properties button.
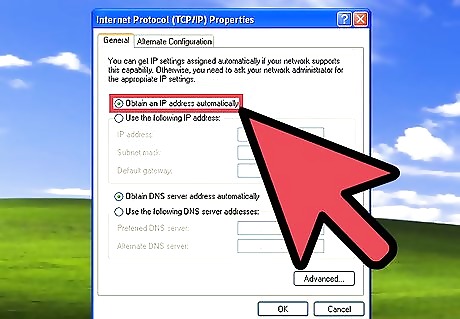
A new window will pop up, select "Obtain IP address automatically"
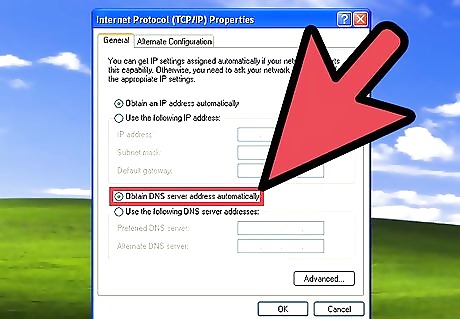
Also select "Obtain DNS server address automatically"
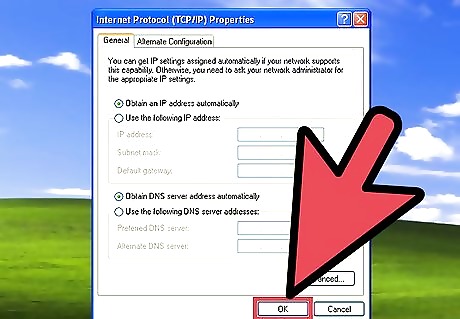
Click OK to close this window.
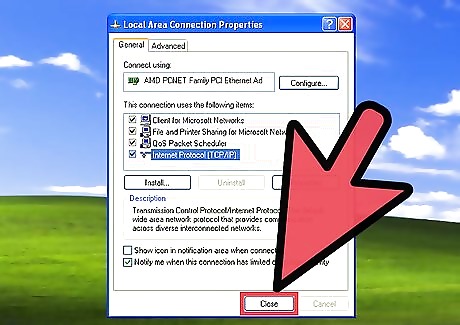
Click OK a second time to close this second window.


Comments
0 comment