
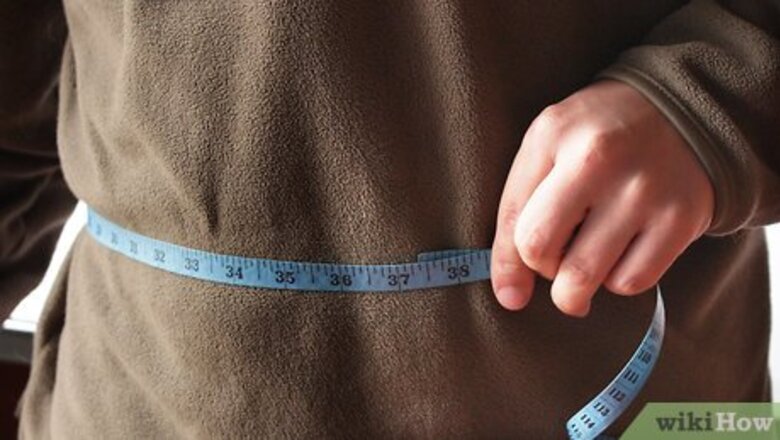
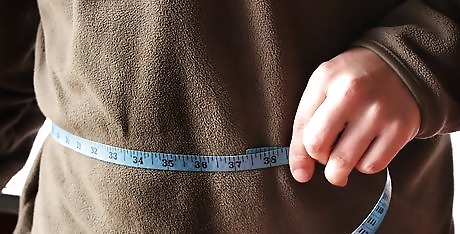
Calculate the size. Some factors that must be considered are your waist measurement, fastening/overlapping fabric, and seam allowances. The format used here is shown below. You may alter it and adjust measurements accordingly. Seam allowance - 1/4" Lengthwise measurement - waist measurement + fastening space (2-3", depending on the skirt) + seam allowance x 2 + growth room (optional) Widthwise measurement - desired result width + seam allowance
Iron the fabric you'll be using if it's wrinkly. Also consider washing the fabric beforehand so it won't shrink. Always use a flat piece of fabric when sewing a waistband.Watermark wikiHow to Sew a Waistband
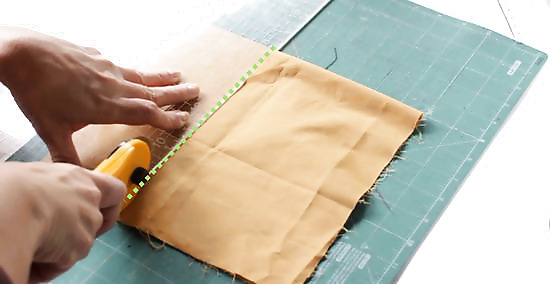
Cut according to the calculated dimensions on the selvage. Shown here is cutting using a mat, ruler, and rotary cutters, but you may use any preferred method.

Iron right-sides together lengthwise.
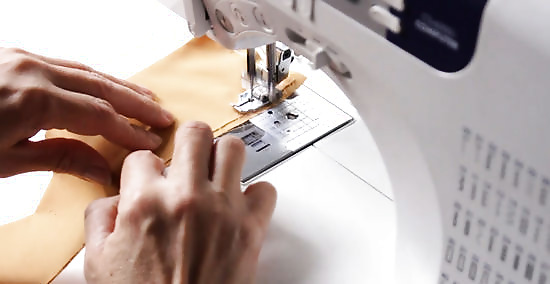
Sew a 1/4" seam along the not-folded long edge and one of the short edges. Do not sew the remaining short edge. It helps to have the sewing machine on needle-down setting so you can easily maneuver the corner.
Press the lengthwise seam open.
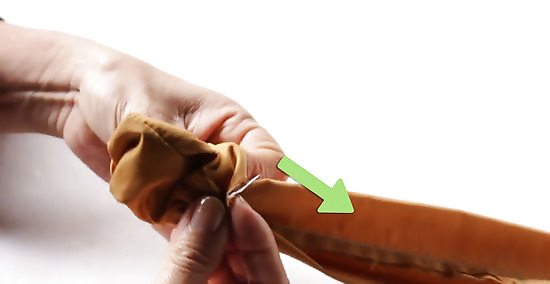
Pull the fabric through itself (as shown) until completely right-side out. It may help prod out the corners using the end of a dull pencil.

Press the unsewn short edge in a ⁄4 inch (0.6 cm).

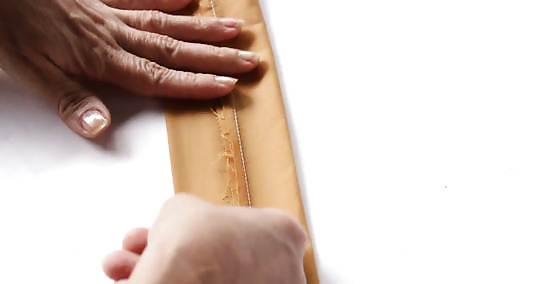
Press the band flat so the long seam is directly on the edge (as shown).
Sew very closely around the perimeter of the waistband, sewing all four sides consecutively. Again, it may prove useful to have the machine on needle-down setting.
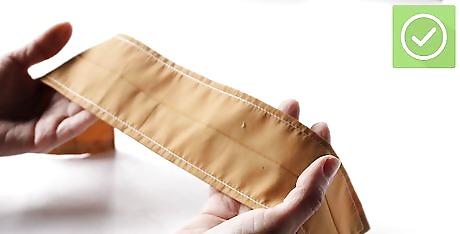
Finished!


Comments
0 comment