views
Identifying and Tracing the Dart
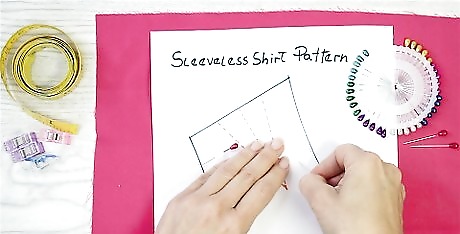
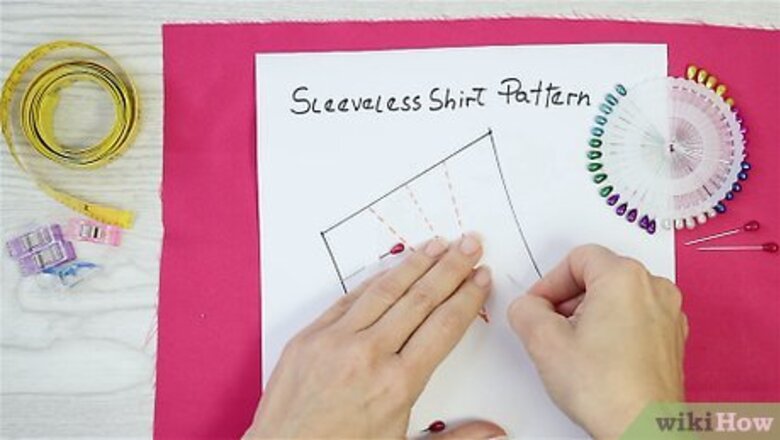
Line up your pattern paper. If your pattern paper is not already lined up on the fabric, then do this now. Make sure that the pattern paper is lined up over the wrong side of your fabric. You may also want to pin the edges of the pattern paper to keep it in place. If you have not already cut out your fabric using the pattern, then do that now. Make sure to follow your pattern’s instructions carefully. Lay the fabric on a flat surface and smooth out any wrinkles before you start pinning.
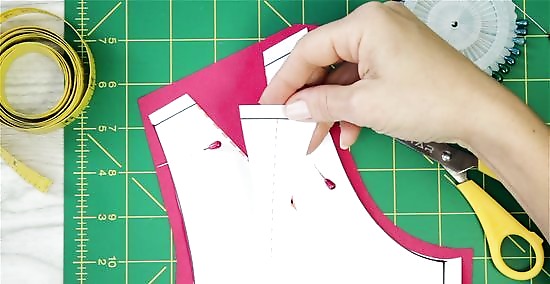
Locate the dart on your pattern piece. Darts are usually indicated on pattern paper pieces as long triangles. The wide end of the triangle is usually lined up with the edge of your pattern piece. Sometimes these triangles will also have a slight curve to them. You may also come across some darts that look like long, thin diamonds. These are called double-pointed darts.
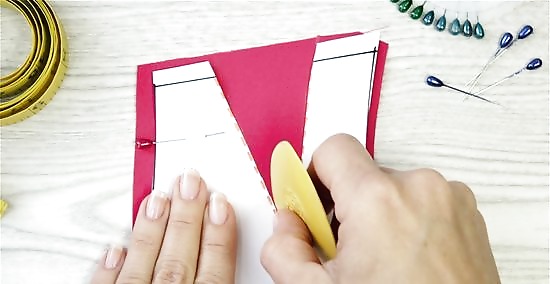
Trace the dart onto the wrong side of your fabric. The dart will need to be on the side of the fabric that will not be visible, which is called the wrong side. Use a piece of chalk to trace the dart onto the fabric where it is indicated on your pattern. Most darts will be on the edge of a piece of fabric. However, double-pointed darts will often be inside of the edges. Trace the dart lines wherever they appear on your fabric.
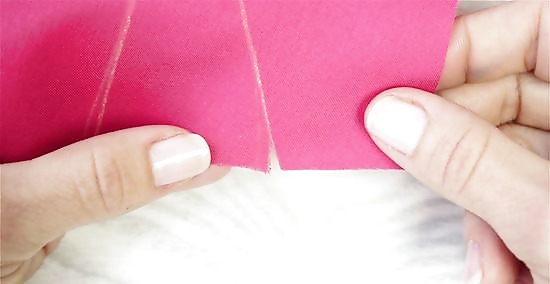
Snip the fabric at the edges. If the wide end of the dart is on the edge of your fabric, then you may find it helpful to snip the edges. This can make it easier to line up the lines you have traced on your fabric. Only snip half of the seam allowance to ensure that no raw edges are showing after you sew. For example, if your seam allowance is ½” (1.3 cm), then only snip ¼” (0.6 cm). If the dart’s wide end is not on the edge of your fabric or if the dart is double-pointed, then do not snip the fabric.
Pinning and Sewing the Dart
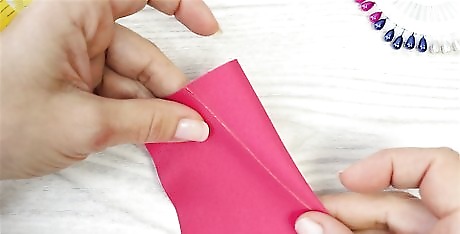
Pinch the dart so that the edges line up. When you have finished tracing the dart onto the wrong side of the fabric, then you will need to pinch the edges of the dart together. Pinch the fabric on the wrong side so that the excess fabric will be hidden on the right side. If you made notches in the ends of the dart, then you can also use these to help you line up the sides of the dart. Pinch the fabric until the two notches are even with each other and then smooth out the rest of the fabric moving towards the point of the dart.
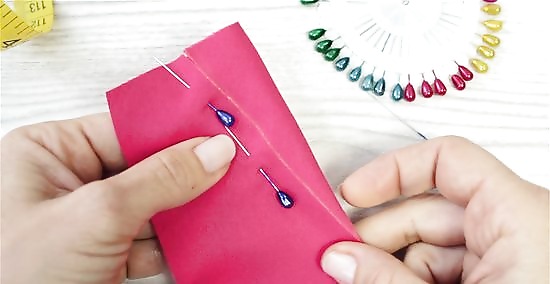
Pin the dart in position. To secure the dart in place for sewing, place a few pins along the edges of the pinched fabric. Make sure to pin just outside or inside of the dart lines. Do not pin directly over the lines because you will need to sew along them to secure the dart.
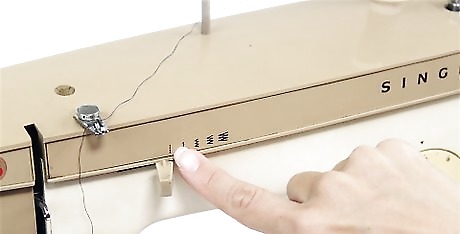
Set your sewing machine to the straight stitch setting. The straight stitch setting is ideal for sewing darts because it will result in a straight edge. Do not use a setting that produces a jagged edge, such as the zigzag stitch. The optimal stitch length for sewing darts is 2 to 2.5, so adjust your stitch length to this setting.
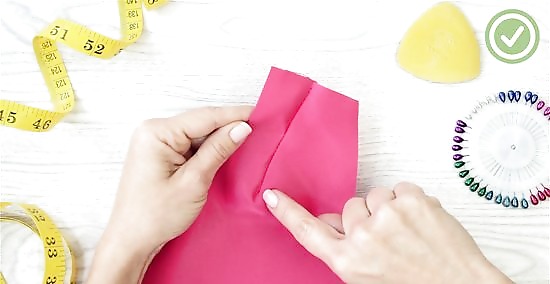
Sew along one of the lines you traced onto the fabric. When you have finished setting your machine, you can begin sewing along one of the lines on the wrong side of your fabric. Sew from one end of the line to the other. When you reach the end of the line, sew off of the fabric to ensure a clean finish. Then, backstitch a few stitches to secure the stitching. You may want to sew the first few stitches manually to ensure accuracy. To do this, turn the wheel on the side of your machine rather than pressing down on the pedal. After you have sewn a few stitches, then switch to using the pedal to sew. When you finish sewing the dart, snip the excess thread on the ends of your stitch. Your dart is now finished!





Comments
0 comment