
Stitching the Tape Twice for Extra Security
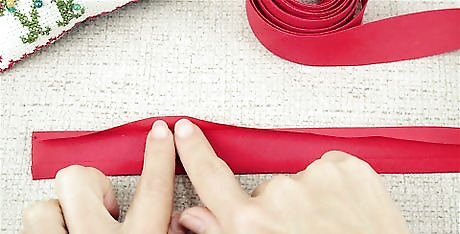
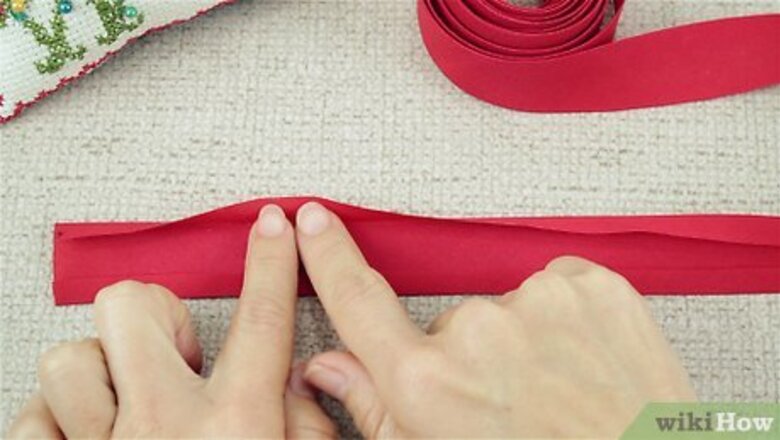
Unfold half of the tape to create a raw edge. Lay your section of double fold bias tape on a flat surface, like an ironing board or sewing table. Flip the section over so you can see the 2 folds meeting at the center of your tape. Use your fingers to lift and unfold 1 of the 2 folds in your tape, creating a raw edge. Keep in mind that half of your tape will still be folded.
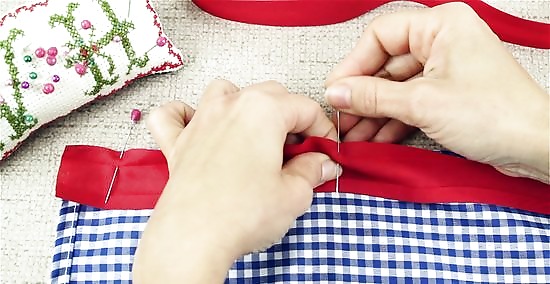
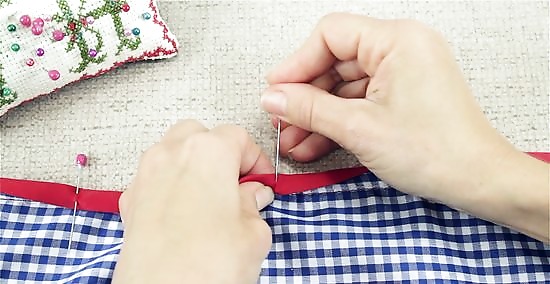
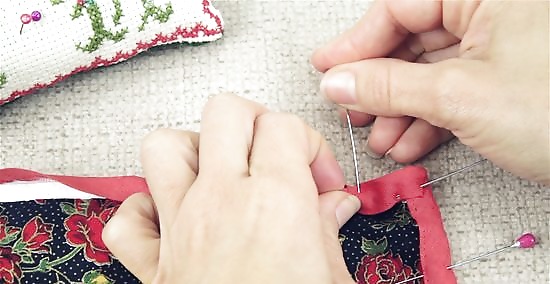
Pin the raw edge of the tape along the wrong side of the project. Flip your sewing project upside-down so the “wrong” side of the fabric is facing upwards. Line the raw, unfolded edge of the bias tape so it meets the raw edge of your project. Once everything is lined up, use pins to hold the tape in place. Try spacing your pins 1 in (2.5 cm) apart or so. To make the sewing process easier, try to angle the pins downward in your project.

Sew the top edge of the tape in place. Slide your project beneath the needle of your sewing machine. Line up the needle so it’s about 3 to 5 millimetres (0.12 to 0.20 in) away from the top edge of your double bias tape, then feed your sewing project through the machine. Try to keep your stitches in as straight a line as possible so your project looks polished and professional. Use a thread that matches the color of your bias tape. If you don’t have the right color on hand, feel free to use a neutral shade, like white.
Fold and pin the tape onto the opposite side of the project. Flip your sewing project so it’s facing right-side up. Fold and flatten the loose, folded edge of the bias tape over the edge of your project. Use pins to secure the other half of the tape in place. Ideally, this folded section of bias tape should cover the first line stitches that you just made.
Stitch over the top edge of the bias tape. Place your sewing project into the sewing machine again. Line your needle along the bottom edge of the tape, then start feeding your project into the machine. Sew over the edge of your tape in a straight, consistent line to finish off your project!
Trying Quick and Easy Sewing Tricks

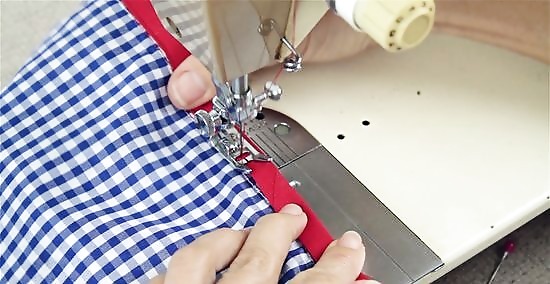
Pin and stitch your tape in 1 go if you’re in a rush. Don’t worry about unfolding and aligning your tape—instead, arrange the entire strip of tape along your project, sandwiching the edge. Keep the narrow side of the tape on the right-side-up section of the project, then pin the tape in place. Stitch along the narrow edge of the tape to create a straight, even line! This is a good option if you’re looking for a quick way to line a sewing project.
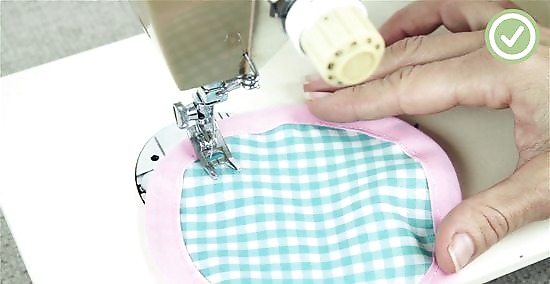
Sew small sections at a time when working with rounded edges. Arrange your circular or rounded project beneath the needle of your sewing machine. As you stitch around the curve, use 1 hand to hold the long, unstitched section of bias tape taut. Work along the curve in small, 1 to 2 in (2.5 to 5.1 cm) sections, then pull and press down more tape along the curved edge. Repeat this process until you’ve stitched the entire edge! This can be a slow, painstaking process, but it makes your finished project look smooth and professional!
Tuck and stitch the ends of your tape to make smooth edges. Before sewing your tape into place, take the loose, excess material from your bias tape and fold it into the rest of your project. Fold in about ⁄2 in (1.3 cm) of tape, overlapping with the rest of the lining. Pin the fabric in place, then stitch across the edge of the tape as you normally would. The folded tape will be stitched in place on the wrong side of the fabric.
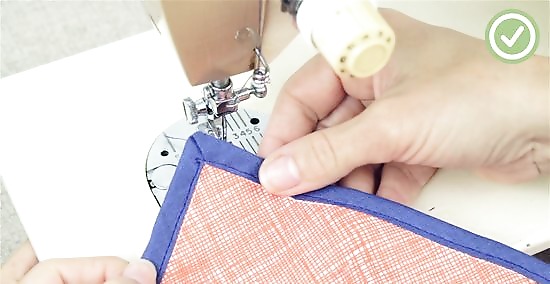
Fold and stitch your tape at a 90-degree angle to make smooth corners. Measure and cut a length of double bias tape that fits around 2 sides of your project, making sure that the narrow portion of tape is on the top. Pin the tape in place and stitch across 1 side, continuing in a straight line until you reach the edge. Fold the tape at a 90-degree angle so it covers the next side of your project, then pin it in place again. Sew along the lower edge of your project to secure it into place. Try to sew along the lower edge of the tape, about 2 mm (0.079 in) from the inside of the project.


Comments
0 comment