views
Using Sandpaper
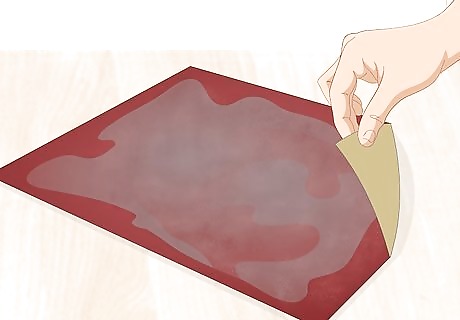
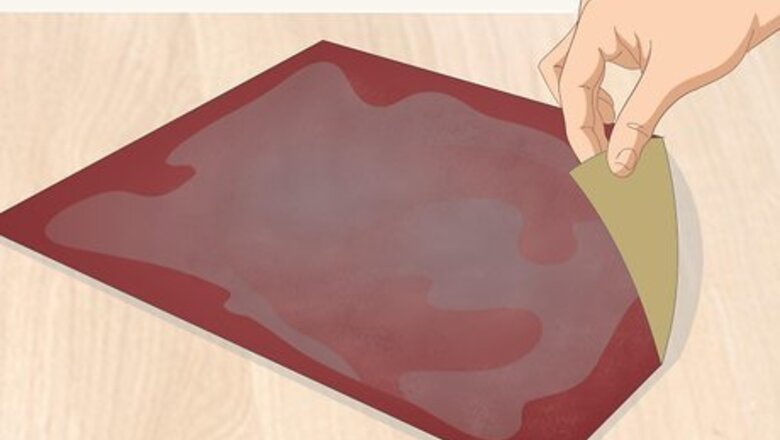
Wet a piece of 80-grit sandpaper and lay it down on a work surface. Make sure the sandpaper is very wet and that your work surface is hard and durable. To wet your sandpaper, dip it into a container of clean water, then sprinkle some additional water on top of the paper after you lay it down. You can also use emery cloth if you don’t have access to wet sandpaper. You can buy a multi-pack of emery cloth from most home improvement or hardware stores.
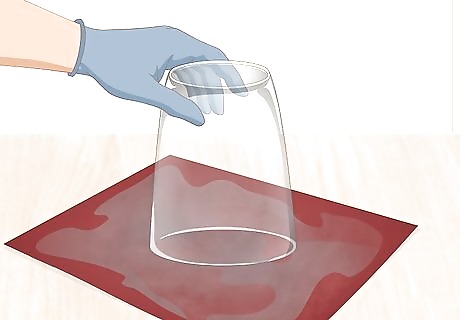
Place the cut edge of the glass down onto the sandpaper. Hold the glass in your dominant hand and keep the sandpaper steady with your non-dominant hand. Be sure to wear safety gloves and goggles for maximum safety. You can typically buy safety gloves and goggles at any home improvement store that also sells sandpaper. If your glass has multiple sharp edges, hold it so that none of the edges can cut your palm. If it’s impossible to hold your glass this way, consider smoothing the edges using a different method.
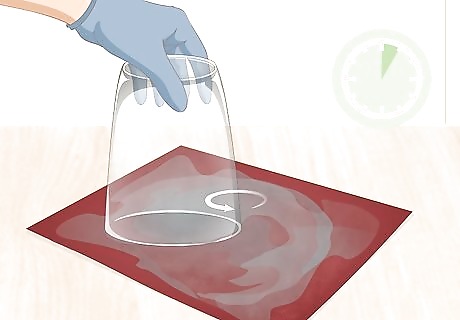
Move the glass in a circular motion for 5 minutes to smooth the edge. Apply gentle downward pressure onto the top of the glass so that you drive it slightly into the sandpaper. Rotate the piece of glass every 2-3 circles in order to keep the sanding more uniform. If you refrain from rotating your piece of glass, you may end up sanding one side much more than the others, leaving a noticeably uneven finish. Aim to do this for at least around 5 minutes to ensure that the glass edge is adequately smoothed.
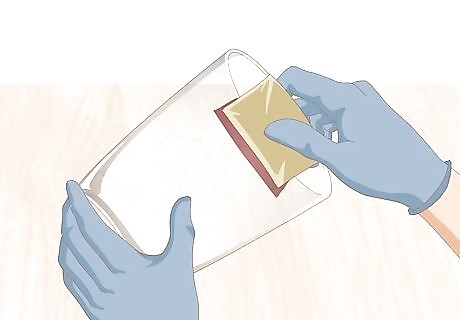
Sand the inner and outer corners of the glass edge by hand. After you finish sanding the “front” of the glass edge, pick up the sandpaper and dip it into the water again to dampen it. Then, take the sandpaper in your dominant hand and place it over the glass edge so that your thumb and middle finger are over the corners of the edge. Finally, rub the sandpaper back and forth to sand down these sharp corners until they’re smooth. Keep the sandpaper wet as you do this. You may need to continually dip it into the water to keep it adequately moist.
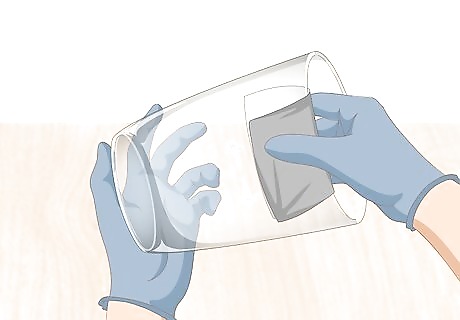
Repeat this process with increasingly finer grits of sandpaper. Sand down the edges with 150-grit, 220-grit, 320-grit, then finally 400-grit sandpaper to make your glass even smoother. Then, use 1000-grit and 2000-grit sandpaper to polish the edge to perfection. Wipe the edge of the glass with a clean damp cloth once you’ve finished sanding to wipe away any leftover grit or dust. EXPERT TIP Bicycle Glass Bicycle Glass Glassblowing Experts Bicycle Glass Co. was founded in 2016 by David Royce and Michael Boyd, two professional glass experts. Bicycle Glass is primarily a lighting company, committed to quality, sustainability, and affordability. All Bicycle Glass products are made of high-quality, recycled glass and are hand-blown by a dedicated team of artisans. The studio is committed to reducing its carbon footprint by conserving energy in all of its production. Using renewable wind energy to offset all electricity usage, the studio is actively working toward the goal of carbon neutrality. Bicycle Glass believes that high-quality, handmade glass products should be within reach for everyone. Bicycle Glass Bicycle Glass Glassblowing Experts You need to increase the grit sizes to achieve a buffed or polished edge. Additionally, you can use a felt wheel and cerium oxide to remove scratches and achieve a smooth finish.
Sanding with a Drill
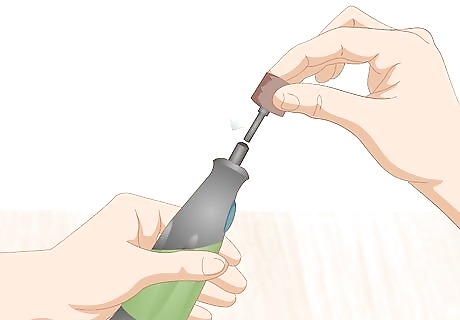
Attach a sanding bit to a Dremel tool or power drill. For best results, choose a medium-grit sandpaper finish (60- to 100-grit) and a relatively large sanding bit. The larger the bit, the more of the edge it will be able to smooth at once. Make sure the sanding bit is the right size for your glass piece. For example, if you’re smoothing the edges of a wine bottle that you’ve cut in half, make sure the sanding bit can fit inside the hole so it can sand the inner corners of the glass edge.
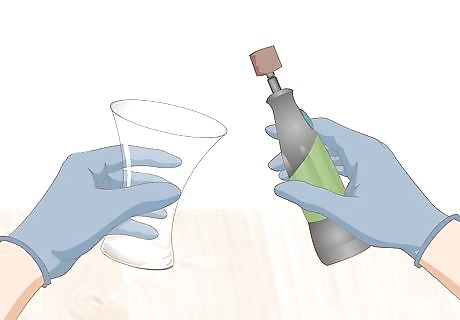
Hold the tool with your dominant hand and the glass with the other hand. You can try placing your piece of glass in a clamp to keep it secure, but this makes it much more likely that the edge of your glass will crack. However, you should only hold the glass by hand if you can safely grasp it without coming into contact with the sanding bit. Be sure to use heavy-duty work gloves to safely hold the glass. If your glass object is too small to safely hold it by hand, your best bet is to use a clamp to hold it or to use an alternative method to smooth out the edges. Be very careful when handling electric tools. Wear gloves, eye protection, and a ventilation mask. EXPERT TIP Bicycle Glass Bicycle Glass Glassblowing Experts Bicycle Glass Co. was founded in 2016 by David Royce and Michael Boyd, two professional glass experts. Bicycle Glass is primarily a lighting company, committed to quality, sustainability, and affordability. All Bicycle Glass products are made of high-quality, recycled glass and are hand-blown by a dedicated team of artisans. The studio is committed to reducing its carbon footprint by conserving energy in all of its production. Using renewable wind energy to offset all electricity usage, the studio is actively working toward the goal of carbon neutrality. Bicycle Glass believes that high-quality, handmade glass products should be within reach for everyone. Bicycle Glass Bicycle Glass Glassblowing Experts Always prioritize safety when working with glass. Make sure to wear proper protective gear and carefully handle the glass. This applies to all processes, including holding, cutting, or polishing. Follow safety protocols to prevent accidents and achieve successful outcomes.

Run the sanding bit against the inner edge of the glass. Press the power button to start the power tool and hold the side edge of the bit against the inside corner of the edge of the glass. Don’t apply any pressure to the sanding bit or else you may break the glass. Instead, simply hold it against the edge to allow the smoothing process to take place. Spend about 3-5 minutes doing this in order to adequately smooth the inner edge of the glass. Be sure to wear a ventilation mask during this step, since the sanding process will kick up a lot of glass powder into the air.
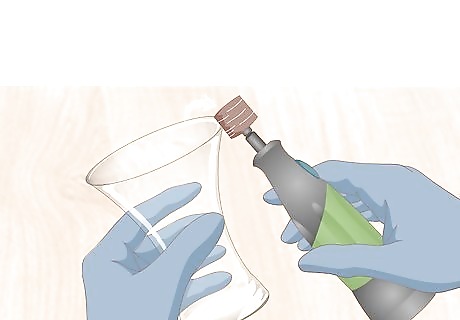
Move the sanding bit to the top and outer corner of the glass edge. Work in toward the center and out toward the outside edge to get a rounded edge. Rotate the bit slowly until you have traveled around the entire outside edge. This step shouldn’t take more than 3-5 minutes to perform.
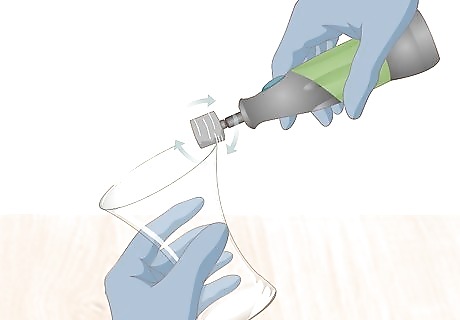
Repeat this process with fine-grit sandpaper to polish the edge. Replace the sandpaper on your sanding bit with a finer grit. Then, run the sanding bit over the edge of the glass again to make it even smoother. Repeat this step as necessary with increasingly finer grits of sandpaper until the glass edge is polished to your liking. You can also simply polish the glass edge by hand if you don’t want to continue using the power tool. Once you’ve finished sanding, use a clean damp cloth to wipe away any leftover grit or dust.
Smoothing with Silicon Carbide
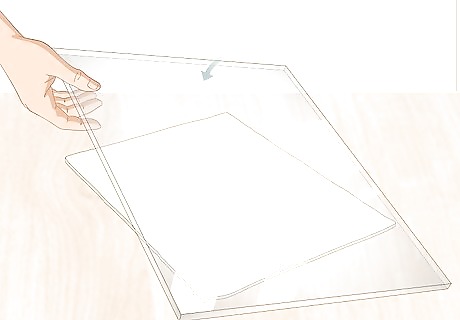
Place a piece of float glass over foam rubber on your work surface. You’ll use the float glass as the “main” work surface on which you’ll grind your glass edges. The foam rubber will serve to keep the float glass in place so it doesn’t slide off during the grinding process. If you don’t have a dedicated piece of float glass, you can also use a piece of scrap plate glass, such as a piece of window, mirror, or picture glass.
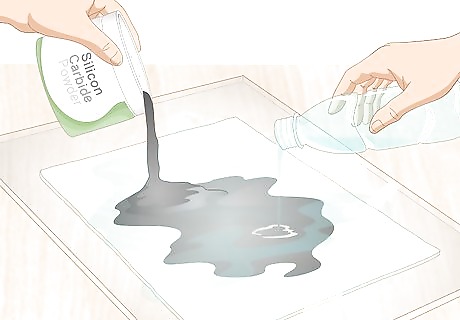
Add water and a coarse grit of silicon carbide powder to the glass. Pour a small amount of water into the center of your float glass to create a small puddle. Then, pour in just enough silicon carbide to cover the surface of the puddle. Finally, use your fingers to gently stir the silicon carbide and water together. To make it easier to add the silicon carbide powder, place it in a small disposable cup first before you begin adding it to the glass.
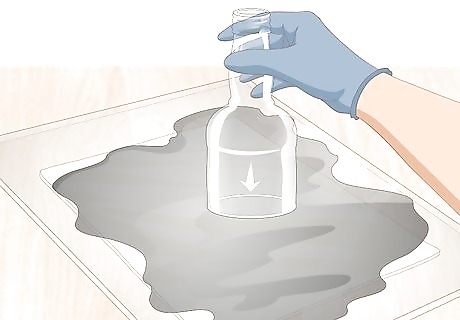
Place the sharp edge of the glass against the plate glass. Grasp the piece of glass with your dominant hand (or with both hands, if needed). Be sure to place the glass edge directly over the spot where you mixed the silicon carbide with the water. For maximum safety, wear safety gloves to avoid cutting your hands on the glass.

Circle your hand and the bottle around the glass for 30-60 seconds. Move the glass over and through the silicon carbide in a figure eight motion, applying gentle downward pressure as you do so. Make sure to stay within the glass surface and avoid going beyond the silicon carbide puddle. Look at the edge of the glass after about a minute of this circling. If the glass is no longer glossy and it is smooth to the touch all around, you are done.
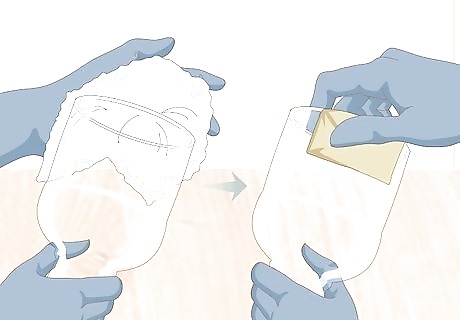
Wipe off the glass with a towel and use sandpaper to smooth the inside. Use a wet paper towel or a dedicated cloth towel to remove the silicon carbide water from the glass piece. Then, use wet sandpaper as necessary to smooth out the inner corner of the edge of the glass if needed. For example, if you’re smoothing the bottom of a cut glass bottle, you won’t be able to smooth the inner corners of the glass edge with the silicon carbide puddle. You can also use sandpaper to sand down any rough spots you find that the silicon carbide didn’t get.


Comments
0 comment