views
Fill the Mold
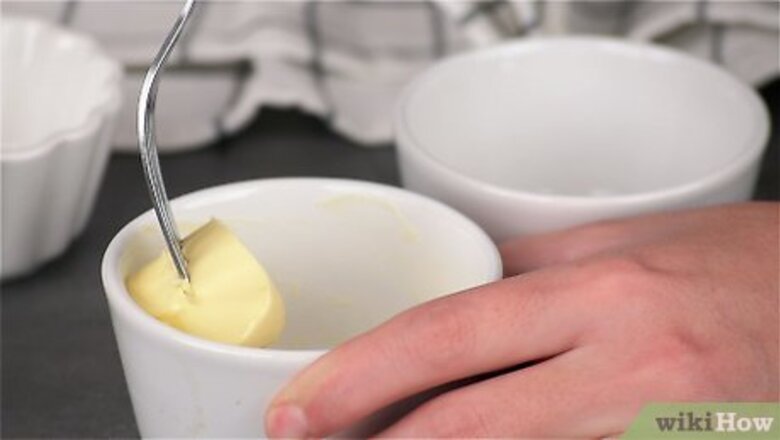
Grease your mold with butter. You can use a steamer mold, a pudding basin, or any dish that’s oven-safe. Grab a pat of butter and give it a light coat all over so your pudding doesn’t stick to the inside once it’s steamed. Adding grease is super important! Otherwise, your pudding could get stuck and lose chunks when you go to turn it out.
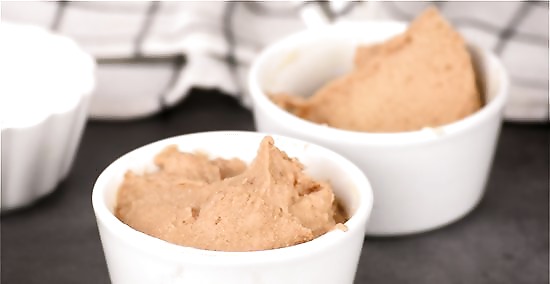
Pour your pudding mixture into your greased mold. You can steam tons of different puddings: Christmas puddings, fruit and nut puddings, cranberry puddings, and even chocolate puddings. Pour your mixture into the mold, then use a spoon to pack it down flat. Try to leave about 1 in (2.5 cm) of space at the top for the pudding to expand as it steams.
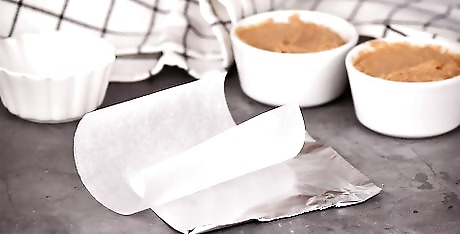
Cut one square of grease-proof paper and one square of tinfoil. Grab a roll of grease-proof paper and cut out a square that’s slightly larger than your pudding mold. Then, cut out a square of tinfoil that’s about 1 to 2 in (2.5 to 5.1 cm) larger than your grease-proof paper square. Your measurements don’t have to be exact. Just make sure your grease-proof paper is big enough to cover the top of your mold with some excess hanging off. You can find grease-proof paper in the baking aisle of most grocery stores.
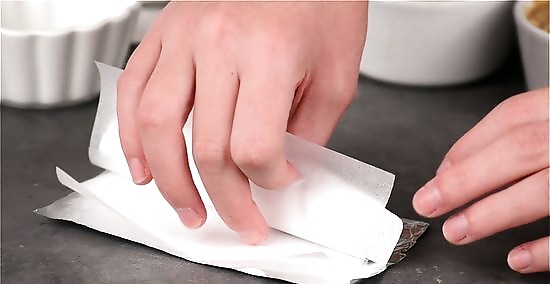
Fold the grease-proof paper inside of the tinfoil to make a pleat. Set the grease-proof paper on top of the tinfoil, then fold both sheets in half to make a crease. Press down on the fold with your hand to really set it in place, then unfold the squares. The crease in the middle will expand as the pudding heats up.
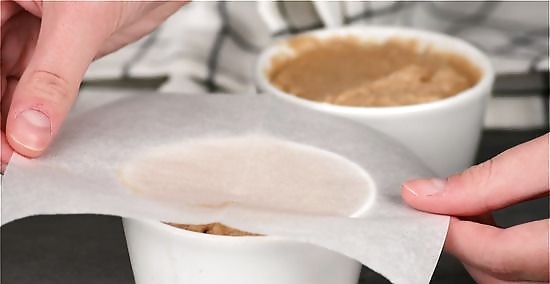
Cover your mold foil-side up. Grab your tin foil and grease-proof paper, keeping the grease-proof square underneath the tinfoil square. Place them both on top of the mold with the tin foil facing upwards and press down the edges. Don’t worry if your tin foil isn’t sticking down just yet; you can secure it down in just a moment.

Tie the foil and paper to the mold with a length of twine. Cut a length of twine that’s a little bit longer than the circumference of your mold (again, you can eyeball it here). Wrap the twine just underneath the lip of your mold, then tie it in a tight knot to keep your grease-proof paper and aluminum foil in place. The steam will push air and water upwards, which can push the covering right off your mold. That’s why using twine is so important!
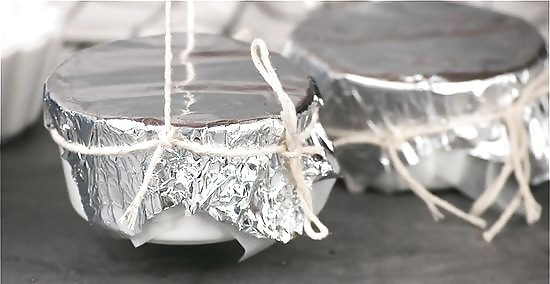
Thread another length of twine to create a handle. Cut another length of twine about as long as the first one, then thread one end through the length of twine on the mold. Thread the other end through the other side of the twine, then tie the 2 ends together at the top of the mold to make a little handle. It’s much easier to grab your pudding when it’s done if you have a convenient handle.
Traditional Steamer
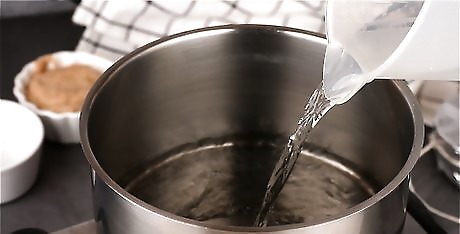
Fill a pot with about 2 in (5.1 cm) of water. Grab a pot that’s slightly larger than your steamer basket and fill it up with enough water to cover the bottom. Make sure the water doesn’t actually touch the bottom of your mold, or your pudding might get boiled instead of steamed!
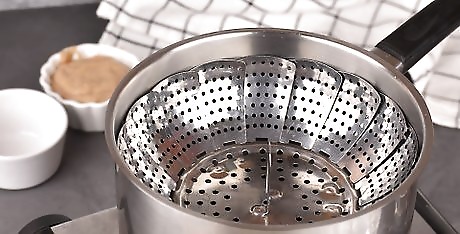
Place the steamer basket inside the pot and turn it to medium heat. Lower your steamer basket into the pot, then set the pot on the stove. Turn your stovetop to medium heat and allow the pot to heat up until it’s simmering, or small bubbles are rising to the surface of the water. Getting your water to boil could cause it to evaporate too quickly, but simmering it will keep it in the pot for longer.
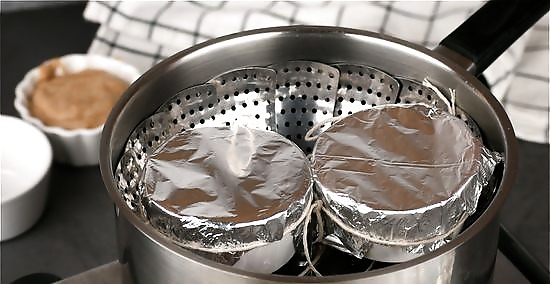
Put your pudding in the pot, then cover it for 1 to 2 hours. Grab your pudding and slowly lower it into the pot, making sure the bottom doesn't touch the water at all. Put a lid on your pot and set a timer for 1 to 2 hours, or however long the recipe suggests for your particular pudding. Most recipes say to steam your pudding for 1.5 to 2 hours, but some puddings need as long as 5 or 6 hours.
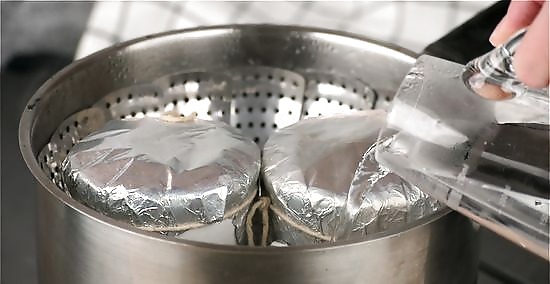
Top up the water if the pot dries out. Every 20 minutes or so, check on the water level in your pot. If you notice that it’s getting dry, pour a little bit more water in there so your pudding keeps steaming. If the pot dries out, it could scorch your pudding, so it’s good to keep an eye on it. If you want to go the extra mile, you could keep some warm water in a kettle to add to the pot. That way, it doesn’t have to spend time warming up when you pour it in.
Oven Technique

Set your oven to 350 °F (177 °C). When it comes time to steam, low and slow is the name of the game. Keep your oven at this temperature to avoid burning the pudding or boiling your water. Depending on your oven, preheating could take between 5 and 10 minutes.
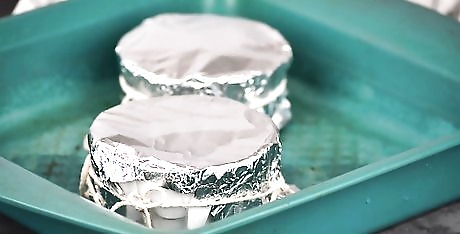
Place your covered mold in a deep roasting pan. Try to use a pan that has sides at least 5 inches (13 cm) tall. Gently place your mold in the center of the roasting pan to sit in as it steams. If you’re worried about your mold slipping, you can line your roasting pan with a kitchen towel first.
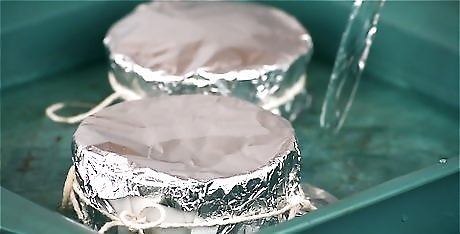
Pour 2 in (5.1 cm) of water into the roasting pan. Make sure there’s enough water to reach about halfway up the sides of the mold. If you want to jump start the process, boil the water first to get it hot. You can also use hot water from your tap.
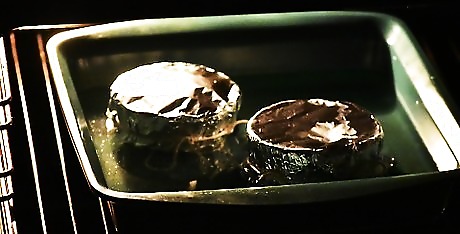
Bake the pudding for 2 hours. Set a time for 2 hours, and check on your pudding when it goes off. Check your pudding with a toothpick to see if the center is done. If not, put it back in the oven for 10 minutes at a time. The steam from the hot water will cook the pudding slowly as the oven keeps the whole thing warm.
Slow Cooker Option
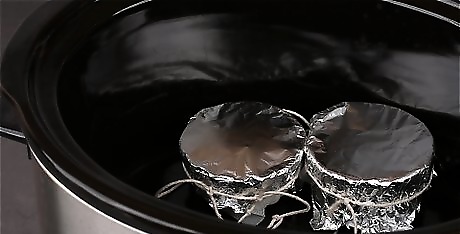
Place your pudding mold in the center of your slow cooker. Keep your slow cooker off for now as you situate your mold. Try to make sure it’s mostly centered so it cooks evenly. If your slow cooker isn’t big enough to fit your mold, this method will be a little tricky. You can always split your pudding into smaller dishes until they fit, or you can try a larger slow cooker.
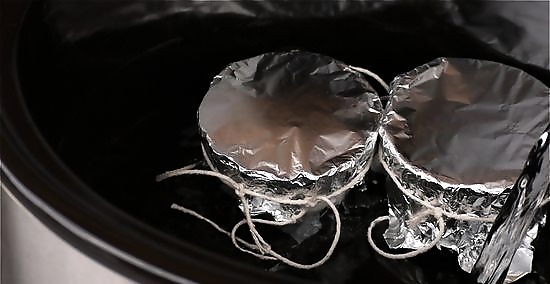
Fill the slow cooker up about halfway with water. You can use cool water from your tap. Make sure the water comes about halfway up the mold so your pudding gets steamed evenly. Slow cookers heat up quickly, so you don’t need to boil your water first.
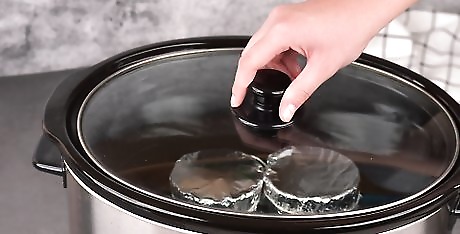
Cover the slow cooker and cook on high for 3 to 4 hours. The water will start to evaporate and the lid will trap the steam, leaving you with a perfectly cooked and moist pudding. Check the center of your pudding with a toothpick when you think it’s done to double check. Slow cookers take a little longer than ovens or stove tops since they have a smaller surface area.
Remove the Mold
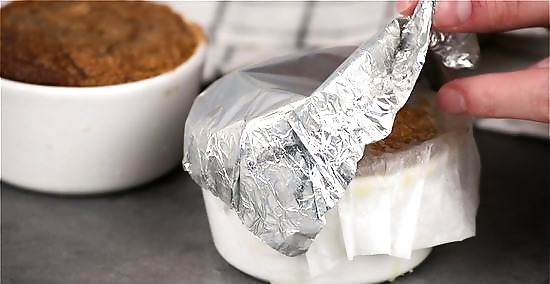
Take the pudding out of the pot and cut the string. When time is up, grab your pudding by the handle and slowly lift it up and out of the pot. Set it on a flat surface and cut the string to open up your pudding and check it out. The string might be a little warm, so use caution! If you’re not sure your pudding is done, slide a toothpick into the center. If it comes out clean, you’re good to go. If there’s a bit of pudding stuck to the toothpick, it might need a bit more time.
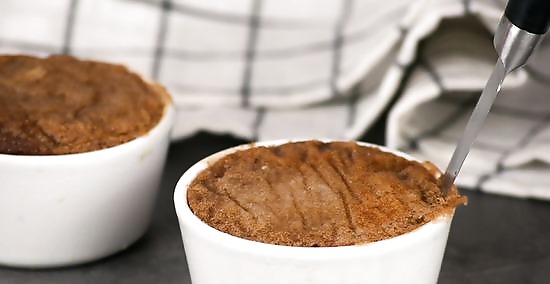
Slide a knife in between the pudding and the mold. Pudding can get a little sticky when it’s been steamed, especially if it was a wet mixture. Use a knife to gently unstick the edges of the pudding from the mold before you turn it out. Hopefully the butter you added earlier will be enough to slide the pudding right out of its mold.
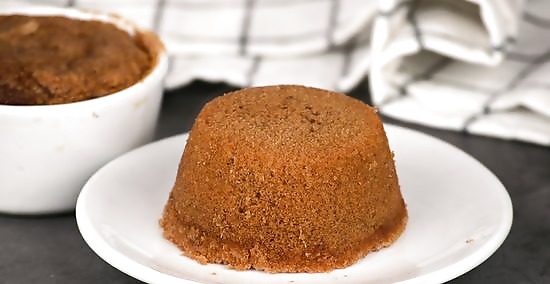
Flip the pudding upside down onto a plate. Grab a large plate and place it on top of the pudding mold, then grab the edges of the plate. Quickly turn the pudding mold upside down, then slide the mold off the pudding so it stands up on its own. If the pudding is too hot to touch, let it cool for about 5 minutes before you turn it out.
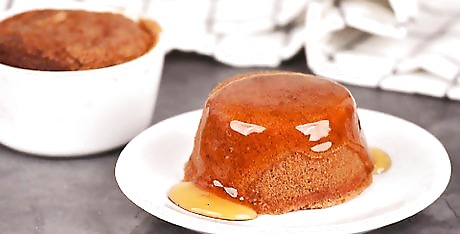
Serve the pudding with cream, custard, or hard sauce. Traditionally, steamed pudding is served with a creamy sauce that’s poured on top of it. While your pudding is still warm, add a bit of your sauce and then slice it up to serve to your guests. You can save your pudding by covering it with plastic wrap or foil. Then, you can heat it up by steaming it again for 2 hours.


Comments
0 comment