views
Making and Threading the Holes
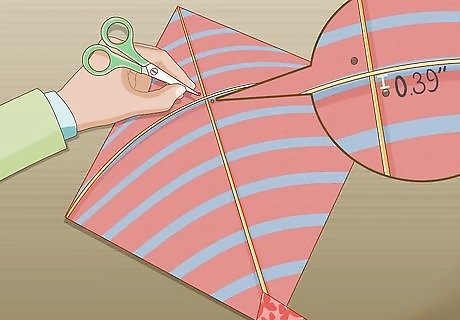
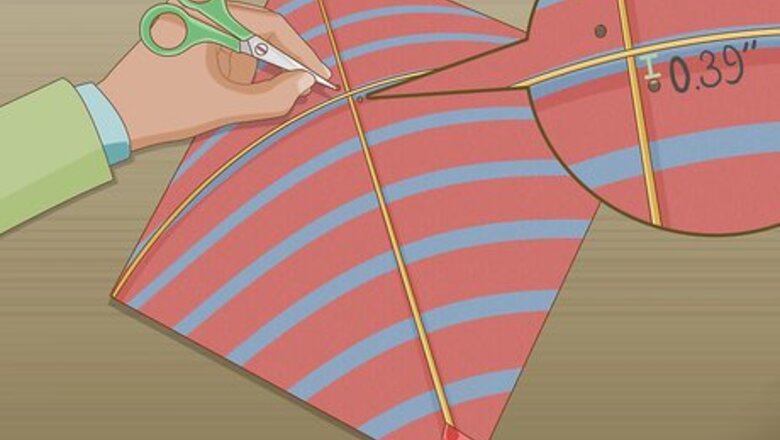
Pierce 2 holes opposite each other at the intersection of the kite sticks. On the back side of the kite, there are 2 sticks. One of the sticks is vertical and the other is horizontal. Poke a small hole in the material of the kite, 1 centimetre (0.39 in) above the horizontal stick. Then, place another hole in the kite fabric diagonally opposite it, 1 centimetre (0.39 in) below the horizontal stick. Use scissors or a sharp stick to make the hole. The kite sticks can be plastic or wooden.
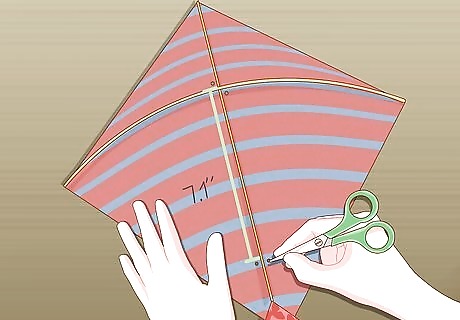
Create 2 more holes 18 centimetres (7.1 in) below the first holes. Measure 18 centimetres (7.1 in) below the intersection of the kite sticks. Then, make a small hole into the kite fabric either side of the vertical kite stick. Once again, make the holes about 1 centimetre (0.39 in) away from the kite stick. If you don’t have a ruler, measure 1 hand-length instead of 18 centimetres (7.1 in).
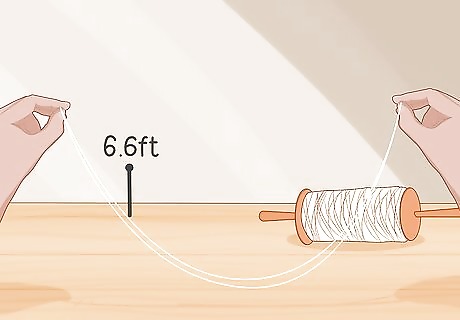
Fold a 2 m (6.6 ft) piece of string in half. Purpose-made kite string works best for this activity, as it is able to withstand big gusts of wind. However, if you don’t have any, use regular twine instead. Fold the string to make it stronger and longer-lasting. Purchase kite string from a sports store.
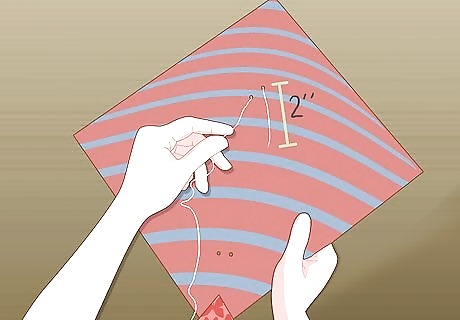
Insert the thread into the top hole and back through the hole below. Place the folded end of the thread about 5 centimetres (2.0 in) through the top hole via the front of the kite. Then, pull the thread back toward yourself via the diagonally opposite hole. Loop the string over the kite sticks when you thread the string back toward yourself.
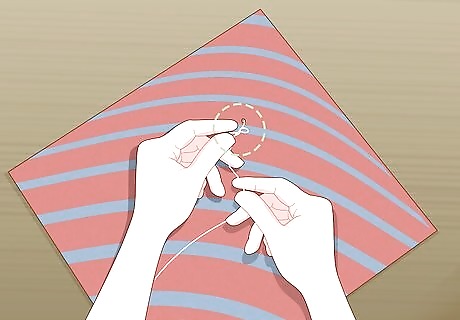
Double-knot the thread at the front of the kite. Hold the folded end of the string in 1 hand and the other end of the string in your opposite hand. Then, cross the folded string over the other end of the string and push the folded end through the loop that you created. Pull both ends of the string tight to create the knot. Repeat this process once more to secure the double-knot. This common knot is often used to secure shoelaces.
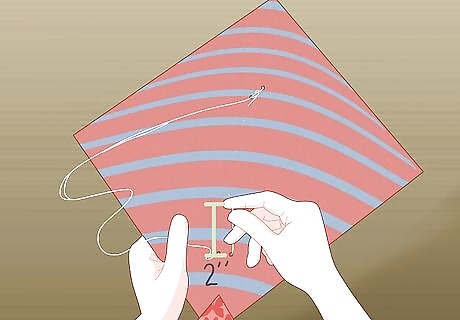
Thread the string through the bottom 2 holes. Push the long piece of string 5 centimetres (2.0 in) through 1 of the bottom holes on the kite. Don’t pull the string tight, instead, leave it loose to create a loop. Then, thread the end of the string back toward yourself through the other bottom hole. When you thread the string through the second hole, make sure it goes over the vertical kite stick.
Creating the Knots
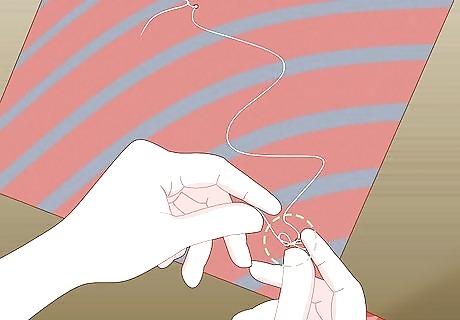
Double-knot the string to secure it in place. Hold the 5 cm (2.0 in) section of string in 1 hand and the loop in your other hand. Then, use the section of string to create a double-knot. This prevents the string from coming undone. Lightly tug on the knot to tighten it if it feels a little loose.
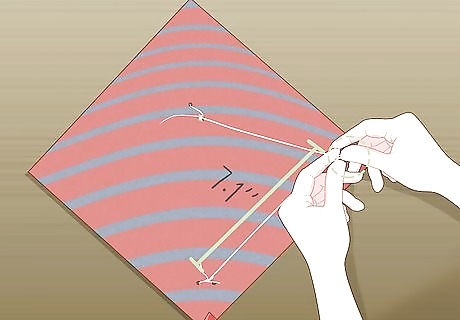
Tie a knot on the loop of string 18 cm (7.1 in) away from the holes. Hold the loop of string away from the kite. Measure 18 centimetres (7.1 in) from the holes up each piece of string and make a mark. Take both of these points and knot them together to create a smaller loop. This helps to balance the kite and allows it to fly straight. Trim off the excess string with a pair of scissors.
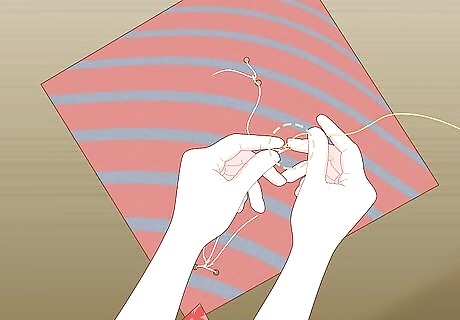
Knot a long length of string to the loop that you have created. This length of string is what you will use to the fly the kite with. Take the end of the long string and double-knot it to the loop on the kite. Use a double-knot to prevent the kite from coming loose. Consider wrapping your flying string around a piece of wood or tubing. This allows you to vary the length of the string and gives you more control over the kite.


Comments
0 comment