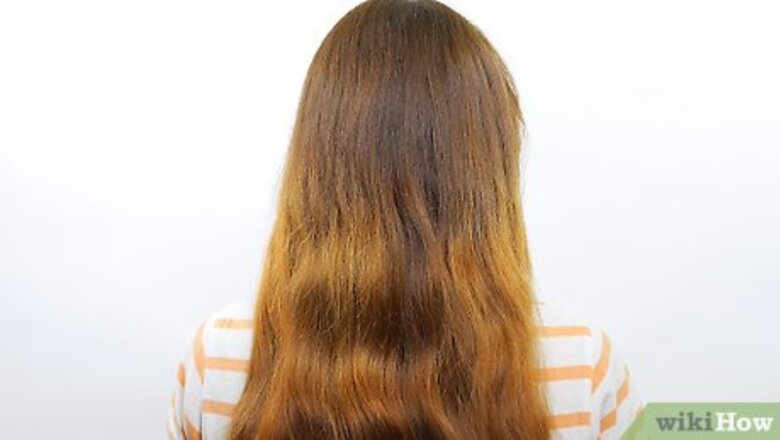
views
Setting a Solid Foundation
Dry your hair completely. If you have just washed your hair or if your hair is damp, blow it dry with a hair dryer before using a curling wand. Your hair needs to be completely dry before you start.
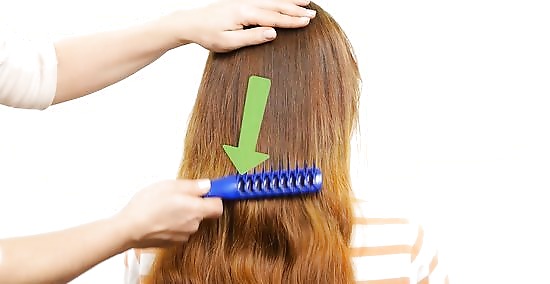
Brush out your hair. Always start with neat, tangle-free hair when using a curling wand. Use your regular brush or comb to gently tug out any tangles so your hair is smooth going into the process. If you use any products, like a leave-in conditioner, apply them while brushing out your hair.
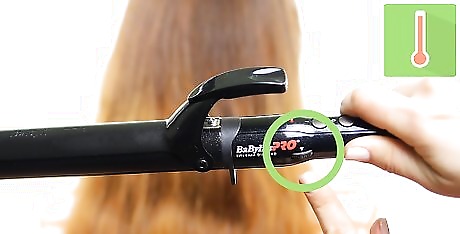
Pick your heat setting. Curling wands usually provide several different settings, ranging from high to low. For the most part, start with the lowest heat setting possible as this provides the least amount of damage to your hair. If you find your hair is not curling at the lowest setting, increase the heat gradually as you curl. Coarse hair generally requires a higher heat setting while fine hair should use a lower heat setting. It can take some trial and error to find the right heat setting for your hair, so be patient. As you get used to using your wand, you should find a heat setting that works for you.
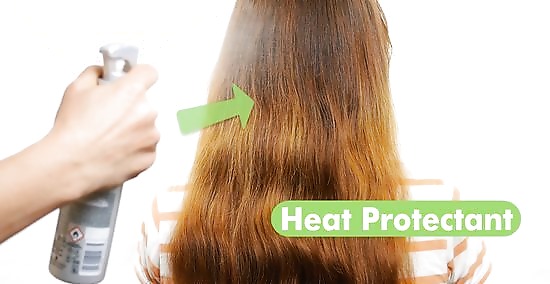
Use a heat protectant. Never apply any type of heat treatment to your hair without using a heat protectant first. You can purchase a heat protectant spray or gel at a salon or department store. Apply it to your hair according to instructions, working it in from your roots to your tips to ensure full protection. If you also tend to use non-aerosol hairsprays or styling gels when styling your hair, apply these as well. Aerosol hairsprays should be used after the hair is curled.
Doing Basic Curls
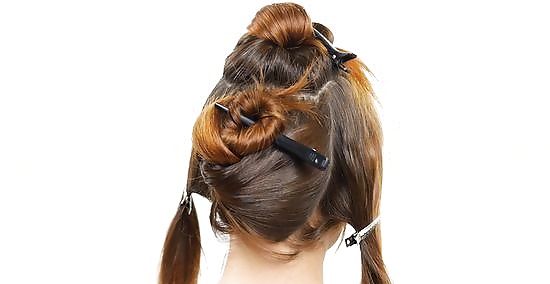
Section your hair. To do a basic set of curls, section your hair first. Use hair clips or hair ties to section your hair into four different sections There should be one in front, one in back, and two on the sides of your head. Make sure the sections are roughly equal.
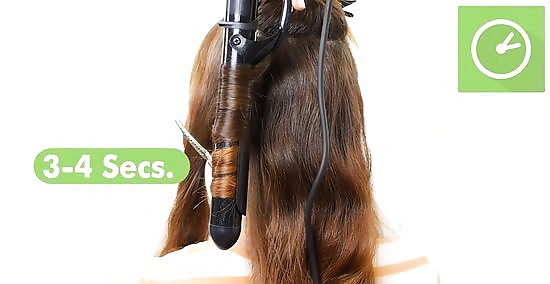
Curl your hair for three to four seconds. Un-clip your hair from one of the sections. It does not matter which section you start with. Take a strand of hair about an inch wide and hold your curling wand vertically at the side of your head. Starting with the tips, wrap your hair around the wand. Hold the hair for three to four seconds before releasing your hair from the wand. You should be left with a long, wavy curl. If the curl is tighter than you want, let it cool down before running your fingers through it to loosen it. Keep in mind that curls made with a curling wand do tend to loosen over time.
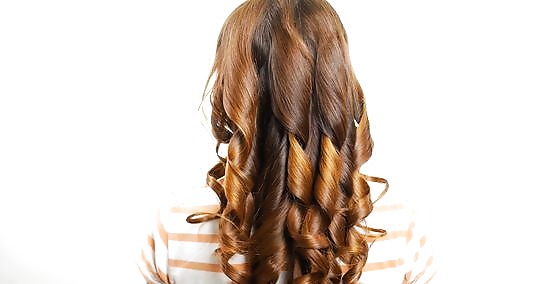
Curl each section. Keep curling your the section you started with strand by strand until it's fully curled. Repeat this with each section of hair until you have a full head of curls.
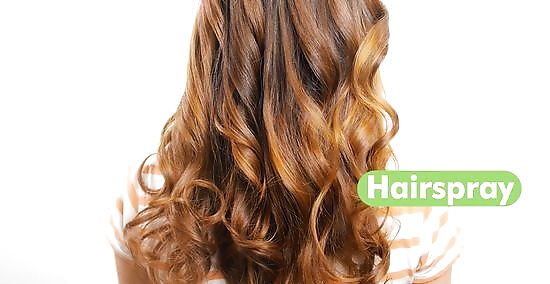
Mist your hair with a light amount of aerosol hairspray. This should help your look stay in place throughout the day. Make sure that the hair spray you use is an aerosol hairspray. Non-aerosols should be applied before curling.
Doing Beach Waves
Mist on a setting spray. You can buy a setting spray at a salon or buy it online. Mist your hair with a light amount of setting spray before you begin the curling process. This will help your hair mold more easily.
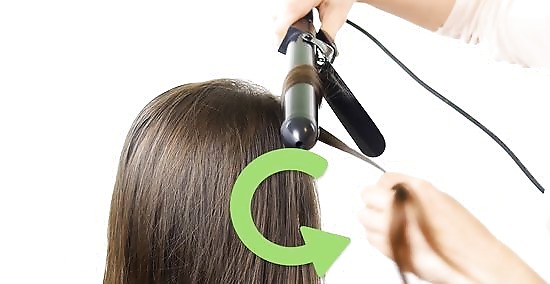
Curl your hair away from the face. Start towards the front of your head. For messy beach waves, work strand by strand. Grab a section that is longer than it is wide. Wrap your hair around the curling wand vertically, starting at the roots and moving down to the ends. In the front, curl your hair away from your face.
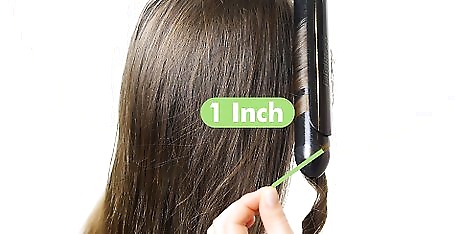
Leave an inch on the ends uncurled. As you wrap your hair around the wand, stop about an inch from the tips of your hair. Leave this inch uncurled for a loose, beach-like wave.
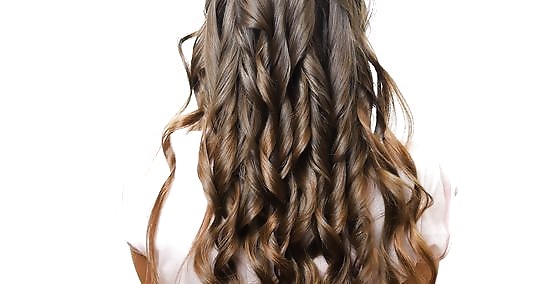
Curl towards your face in the back. As you finish curling the hair in front of your face, shake things up a little when you reach the back of your head. To create a natural appearance, curl your hair in different directions, both towards and away from your face. Other than the direction you're curling, curl using the same process as earlier. Remember to leave the last two inches of your hair uncurled.
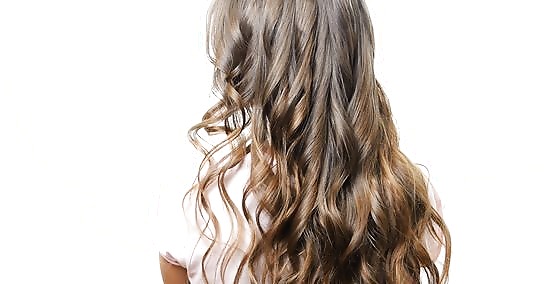
Finish off the look. Continue curling until you have a full set of beach waves. When you're done, run your fingers through your hair to loosen the curls to your liking. Professional hairstylist Jenny Tran recommends finishing things off "with a styling spray, which holds your hair in place without making it crunchy."
Using a Wand on Curly Hair
Apply a leave-in conditioner. Before doing curling your hair, apply a leave-in conditioner from the roots to the tips. This will help you mold your curls, encouraging them to stay tight.
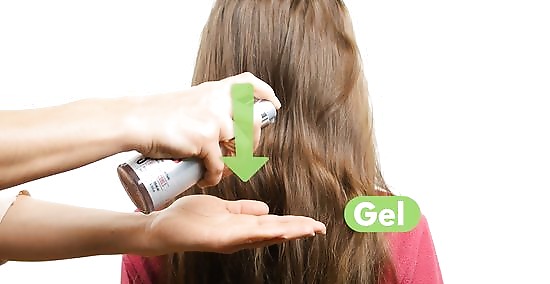
Scrunch the ends of your hair with gel. Apply a styling hair gel to your hair, working it in from the roots to the tips. As you apply your gel, scrunch up the ends of your hair using your hands. This should help refine your curls.
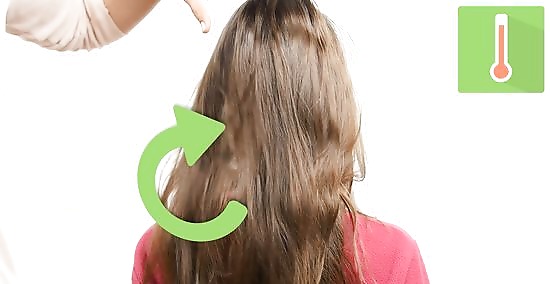
Blow dry your hair from the roots to your tips. Your hair should be completely dry before you start curling. As you blow dry the tips, mess them slightly with your fingers. This will encourage further curling.
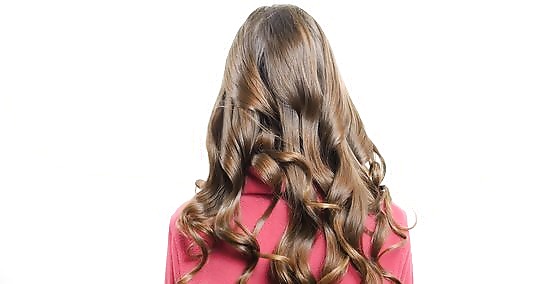
Wrap a small section of hair around the barrel. This section should be roughly one inch wide. Start at the roots, and wrap the ends around the barrel. Keep a firm tension as you do so. Let it rest for three or four seconds before releasing.
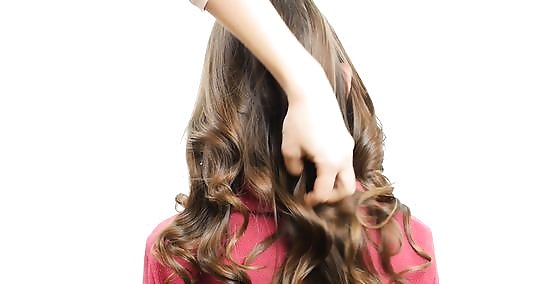
Brush out your curls if desired. Curling wands will create slightly looser, refined curls on curly hair. If you want even looser curls, you can brush them out with your fingers.
Set your look with hairspray. Take some hairspray and mist it gently over your hair. This will set your look for the day, keeping your curls intact.





Comments
0 comment