
X
Research source
This is great when making cutouts but you can also use it to create new shapes or even crop off parts of images you don't want. In this article, we'll teach you five ways to use the Slice tool in Cricut Design Space with easy steps that you can follow along with.
- You can only use the Slice tool with two layers; if you try to use more or less than two, it won't work.
- You must have two intersecting shapes, objects, or images to use the Slice tool in Design Space.
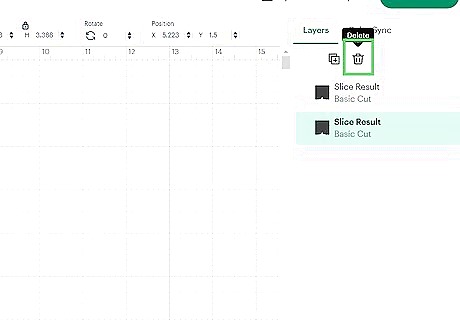
- After using the Slice tool, you'll notice you have a lot of extra layers. If you don't need these, you can delete them.
Cut Out Shapes
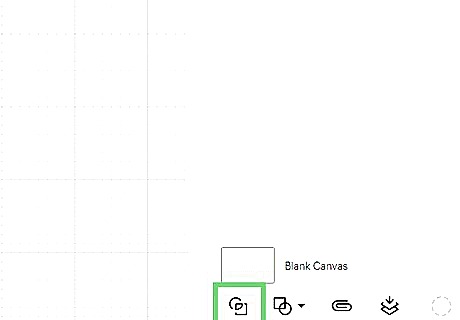
Add a shape to your project. For example, if you want to make a rectangular gift tag, you can add a rectangle shape to the canvas.

Add another shape you want to cut out. For example, you can add a text stencil that says the word "Happy Birthday," but this method works with any shape or text. If you're making a gift tag, like in the example, you can also add a small circle to cut out a hole in the gift tag.

Drag the shape you want to cut out over the first shape. You can manually line them up or use the Design Space "Align" option to center the shape vertically. If you're cutting out multiple shapes, you'll have to align them one at a time.
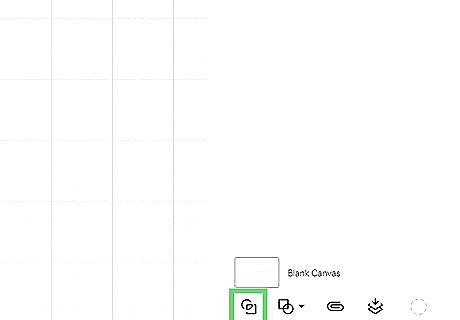
Select the background shape and the cut-out shape. You can only do Slices with two layers at a time, so if you have multiple shapes to cut out, you'll have to do them one at a time.
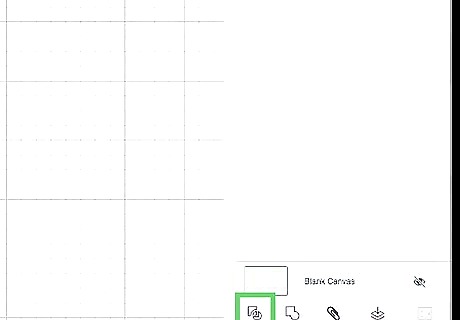
Click Slice at the bottom of the screen. You will see your layers change to "Slice Result" layers, and you will have a layer for the original shape, the background shape (minus the cutout), and the cutout shape from the background. Repeat this step for every additional shape you want to cut out from the background shape.
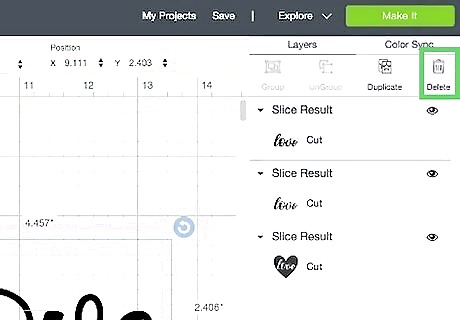
Delete the extra layers, if necessary. In the example, if you're trying to cut the word "Happy Birthday" out of a gift tag, you likely can delete the original "Happy Birthday" shape and the "Happy Birthday" cutout while leaving the background alone (as this will become your gift tag once you send it to the Cricut). However, if you plan on using these cutouts for a different part of your project, you should keep them on the canvas. If you also cut a hole out of your gift tag, you can delete the original circle shape and the cutout circle from the background.
Create a New Shape
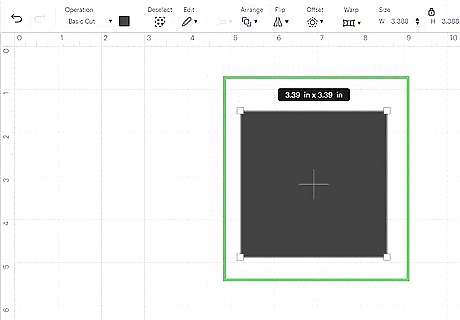
Add a shape to your project. If you want a shape that isn't part of the shape library in Design Space, you can create custom ones using the Slice tool.

Add a second shape to help you cut out the desired shape. For example, if you want to turn a square into an "L" shape, you can add two squares of the same size to your canvas.
Align your images to create the shape you desire. For example, if you want to cut an "L" shape out of two squares, you could align them so they intersect diagonally, with just a strip on the side and bottom of the background square left outside the intersection. You must have two partially- or fully-intersecting shapes to use the Slice tool.
Click Slice at the bottom of the screen. You will see your layers change to "Slice Result" layers. In the example, you would be left with two smaller square shapes and two "L"-shapes. Repeat this step for every additional shape you want to cut out from the background shape.
Delete the extra layers, if necessary. If you only want to make one shape, you can delete the extra layers. However, if you need those layers to finish creating your project, leave them on the canvas and use other tools to get your desired effect.
Crop a Shape

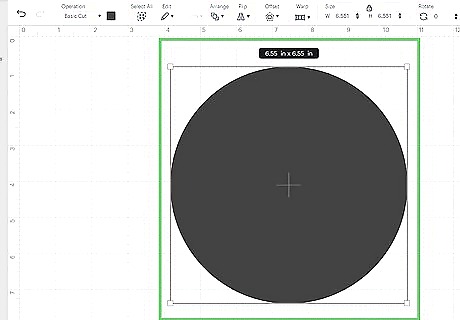
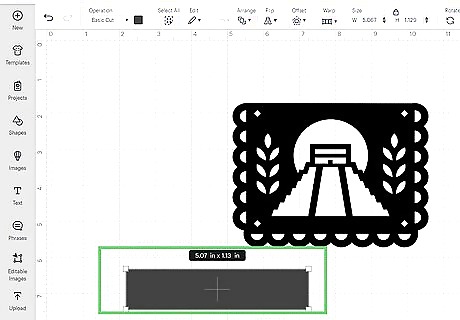
Add a shape or image to your canvas. If there's a shape or image from one of Cricut's libraries that you like but there's an extra part that you want to remove, you can use Slice to remove it.
Add a second shape that covers up the part you want to crop. Remember that any part of the original shape that intersects with the second shape will be cut, so be careful when lining the shapes up.
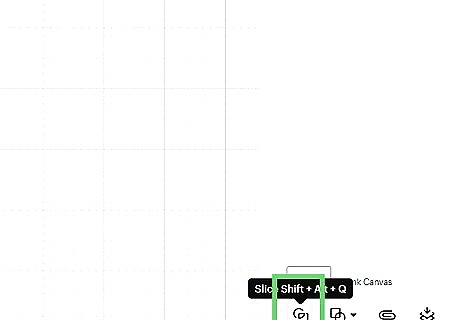
Click Slice at the bottom of the screen. You will see your layers change to "Slice Result" layers, and the image will be separated from the part you wanted to remove. Repeat this step for every additional shape you want to cut out from the background shape.

Delete the extra layers. You can delete the shape you used to help slice the background image and the extra parts of the image you removed.
Cut a Shape into Pieces

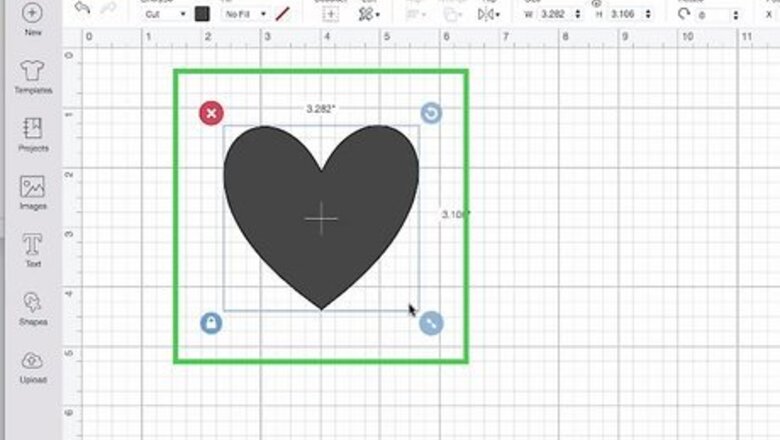
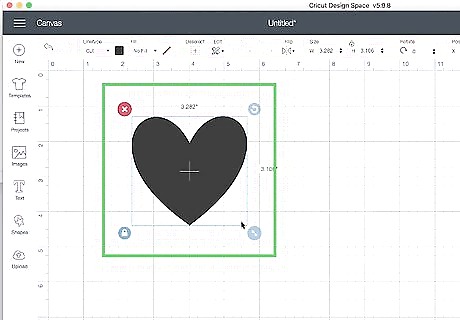
Add a shape to your project. If you want to cut a shape into pieces so you can rearrange it into a new shape or design, you can do that with the Slice tool.

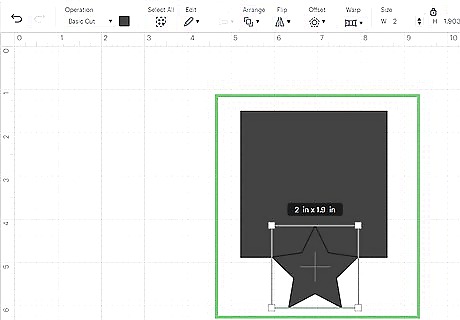
Add a second shape to help you cut out the desired shape. For example, if you want to cut the middle section out of a heart shape, you can add a rectangle.

Align your images to create the shape you desire. In the example, you can align the rectangle over the middle of the heart so you can cut the middle section out to fill with text or another image. You must have two partially- or fully-intersecting shapes to use the Slice tool.
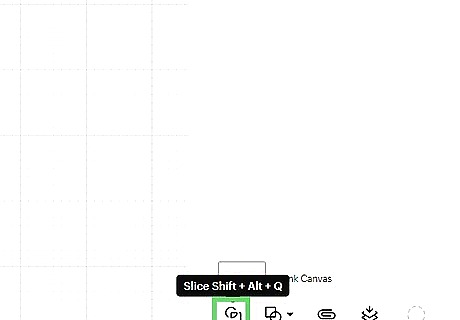
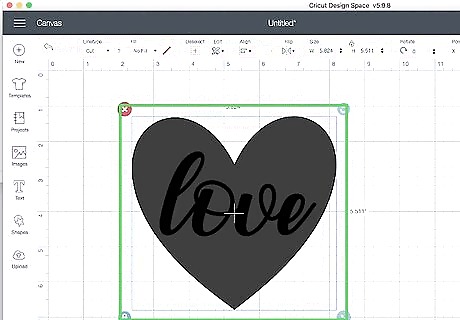
Click Slice at the bottom of the screen. You will see your layers change to "Slice Result" layers. In the example, you would be left with the top and bottom sections of the heart, the middle section, and the rectangle now split into three pieces. Repeat this step for every additional shape you want to cut out from the background shape.

Delete the extra layers, if necessary. Any layers that you don't need you can remove, leaving you with just the top and bottom section of the heart so you can fill in the middle part with text or another image.
Rearrange an Image

Add an image to your project. If you find an image in Cricut's library that you like but you want to rearrange it, you can do so with the Slice tool.
Add a shape to help you cut out the part you want to rearrange. If you want to rearrange a horizontal image, use a rectangle shape to cover just the part of the image you want to move.

Align the shape and image so the part you want to move is intersected. Remember that you must have at least two partially-intersected shapes to use the Slice tool.
Click Slice. You will be left with the original image (without the part you sliced), the slice from the background image, and some parts left over from the shape you used to slice the background image.

Delete the extra layers. Any extra layers created by the slicing process can be deleted.

Rearrange your image. Move the section of the background image that you cut into the spot that you want it to be. Consider using the Attach, Weld, or Flatten tools to link these two layers back together.


Comments
0 comment