views
X
Research source
Whisking Whites by Hand
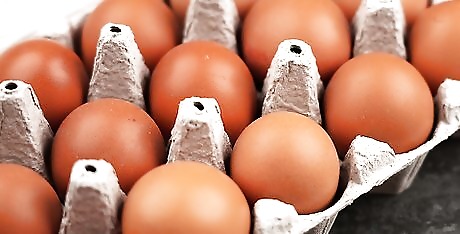
Set out the eggs. Place your eggs on your counter about 30 minutes before you intend to use them. Eggs whip to a greater volume when they’re at room temperature (between 68° and 70° Fahrenheit or between 20° and 25° Celsius. If you’re short on time, you can place whole eggs in a bowl of warm water for 5 to 10 minutes to bring them to room temperature quickly. If you only need egg whites for your recipe, separate the eggs while they’re still cold. The white and yolk will separate easier before they warm up to room temperature.
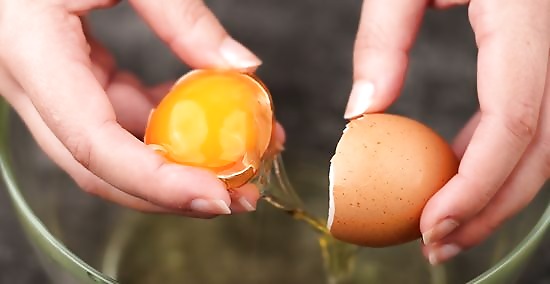
Separate the whites from the yolks, if necessary. Crack your egg as close to the middle as possible. Let the yolk settle in the bottom half of the shell and let the egg whites run into the bowl. Then use the shell halves to transfer the egg back-and-forth until all of the whites are in the bowl. You can also crack the egg into your opened hand. Keep the yolk in the palm of your hand while letting the whites slide through your fingertips into the bowls. Use a small bowl to catch your egg whites, then transfer them to your larger mixing bowl. That way, you can help prevent any yolk from getting into the rest of your ingredients.
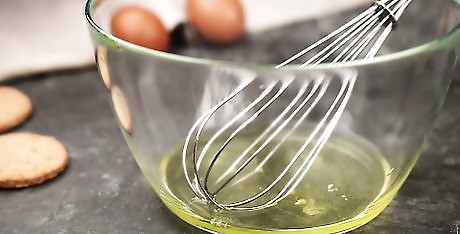
Figure out how much you need to whisk your egg whites. Depending on your recipe, your egg whites will need to achieve either soft, firm, or stiff peaks. Soft peaks are those just starting to hold their shape. If you stop whisking and turn your whisk upside down, the peaks will hold for a second before melting back into themselves. Some recipes ask you to whip the whites to a soft peak stage before adding other ingredients, like sugar. Firm, or medium, peaks hold their shape longer than soft peaks, but they gradually lose their form, and their peaks flop over. Stiff peaks stand firm when the whisk is turned upside down. The egg white mixture will be stiff and heavy at this stage. Recipes for meringues require you to whisk or beat the egg whites until stiff peaks form.
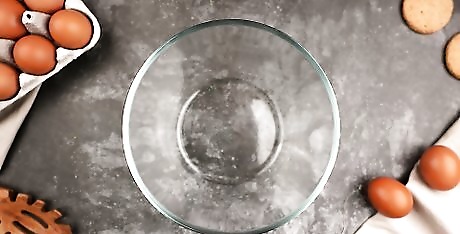
Select a clean, dry glass, copper, or stainless-steel bowl. Never use a plastic bowl to whisk egg whites. The tiny nicks and scratches in plastic bowls can interfere with the smooth whisking of the egg whites. Chefs prefer copper bowls, because tiny amounts of copper ions combine with the egg whites and help make the egg whites more stable. Additionally, it is difficult to overbeat eggs in a copper bowl. Copper bowls are expensive, so home chefs typically use glass or stainless-steel bowls.
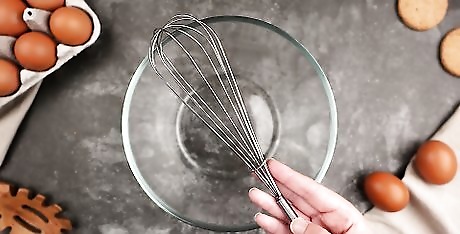
Choose a clean balloon whisk with many thin wires. Balloon whisks are characterized by their large, round heads, useful for beating air into egg whites efficiently. Whisks with at least eight sturdy, flexible wires are best for whipping egg whites.
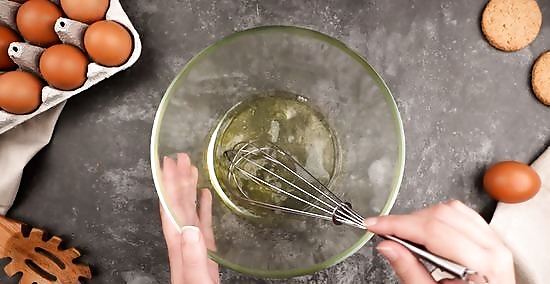
Hold the whisk firmly and begin to slowly whisk the egg whites. Use your other hand to hold onto the bowl. Use a circular motion and make about two rotations around the bowl per second. After about 30 seconds, your egg whites will begin to look foamy. You can also try using a figure-eight motion in this step. Keep your egg whites moving constantly and occasionally lift the whisk to incorporate even more air into them.
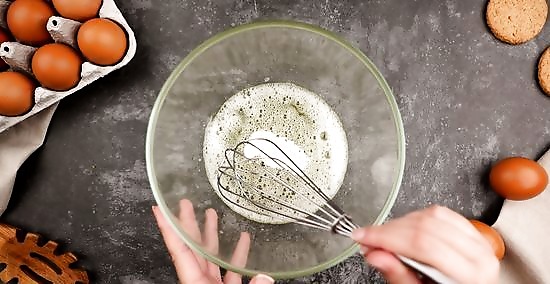
Add cream of tartar to your egg whites once they are foamy. This acidic by-product from the winemaking process adds stability to your egg whites. The addition of cream of tartar is not necessary if you are using a copper bowl.
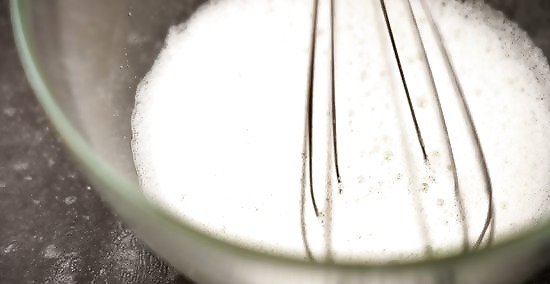
Increase your speed. Continue to whisk your eggs in a quick, circular motion; you should notice an increase in volume after 2 or 3 minutes of continuous whisking. As you continue to whip more air into your egg whites, you should reach maximum volume for them in 12–18 minutes. Whisking whites by hand to a stiff peak stage requires tremendous arm strength and much time. It will take several minutes to achieve stiff peaks when whisking by hand.
Beating Egg Whites with a Mixer
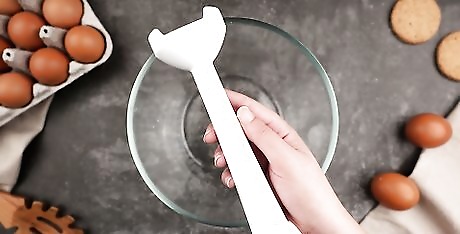
Select either a stand or a hand-held mixer. These electric mixers are essentially motorized whisks. They enable you to achieve the proper consistency for your eggs in a fraction of the time of hand whisking. Handheld electric mixers are less expensive than stand mixers, and they are easier to store. Stand mixers offer the advantage of keeping your hands free to do other jobs in the kitchen while your eggs are being beaten. Use the whisk attachment with your stand mixer.
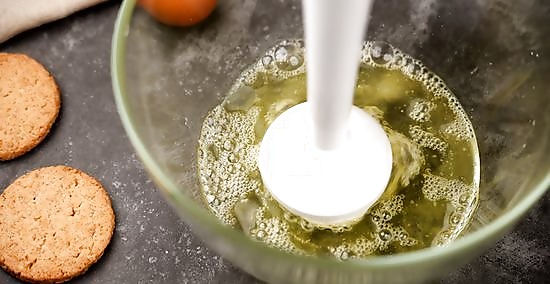
Whisk your egg whites at low speed until foamy, for about one minute. If you immediately start to whisk them at high speed, they will not reach their full volume. Add a pinch of cream of tartar at the foamy stage to help stabilize the whites.
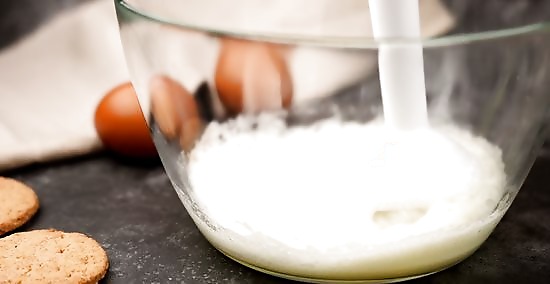
Increase the speed gradually and continue to whisk your eggs. Your egg whites should reach their full volume within a few minutes. Since handheld mixers are not as powerful as stand mixers, you may have to use the high speed to achieve the consistency required by your recipe. If using a stand mixer, which is quite powerful, do not go above the medium-high speed. Your mixture will have more stable, smaller bubbles if you don’t use the highest speed on your stand mixer.
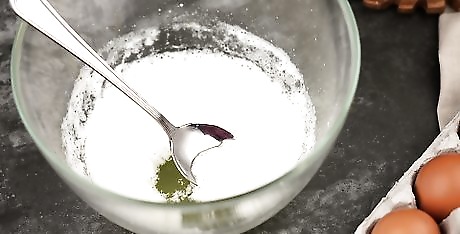
Keep an eye on your whites. It is easy to step away from a stand mixer, but doing so risks over-whipping your egg whites. Over-whipped whites look dry and curdled or grainy and clumpy. The structure of the whites will break down, and liquid will then weep out of the mixture. You can try to salvage overbeaten egg whites by beating in another egg white. This may help the mixture recover its structure. Otherwise, throw everything out and start again.
Beating Whole Eggs to Form Ribbons
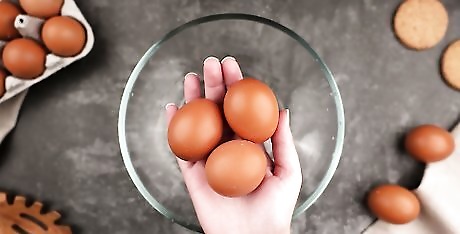
Select fresh eggs when baking. When beaten, fresher eggs will achieve more loft and greater stability than older eggs.
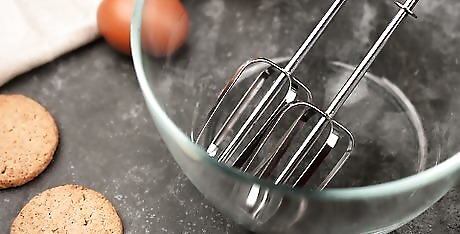
Use the whisk attachment on your stand mixer. This will help you achieve the ribbon stage more quickly than by using a hand mixer. If you use a hand mixer, be sure to circulate it through the mixture while beating to achieve the proper loft.
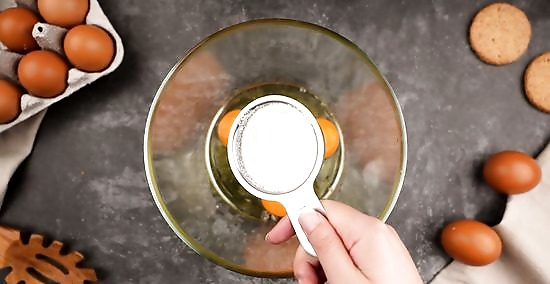
Combine eggs and sugar according to your recipe. Whisk your eggs and sugar together until the sugar is thoroughly dissolved. This will ensure that your egg mixture won’t become granular when heated, and the batter will have the necessary thickness and loft.
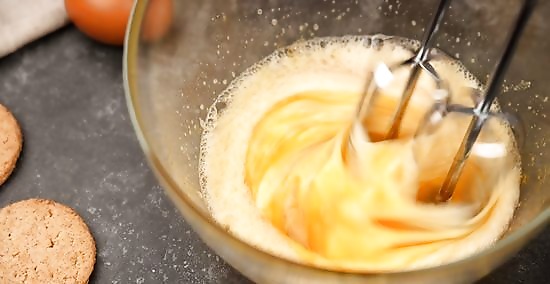
Continue beating until the mixture is pale yellow. As more air is incorporated into your mixture, the deep yellow color will lighten and your mixture will thicken.
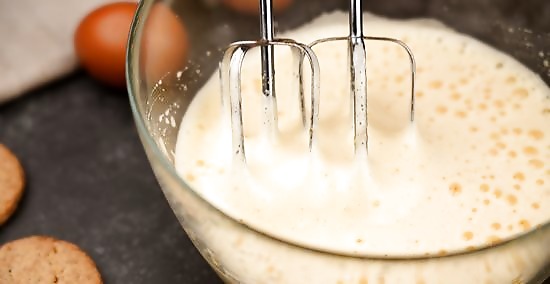
Check for ribboning. Once your mixture is the right color, lift a beater out of the bowl. If some of the mixture falls back into bowl and forms a ribbon-like stream that holds its shape for a few seconds, you have reached the ribbon stage. Batters that aren’t whisked long enough to attain the ribbon stage will result in dense, rubbery cakes.





Comments
0 comment