
X
Research source
- You can replace your own Nintendo Switch battery if you have a screwdriver, K-9 thermal paste, a new battery, and confidence in taking tech apart.
- Nintendo advises against replacing your own Switch battery, and the process will void your warranty.
- To get the correct replacement battery, you'll need to find your Switch's generation, which you can do by deciphering the model number on the back.
Replacing the Battery

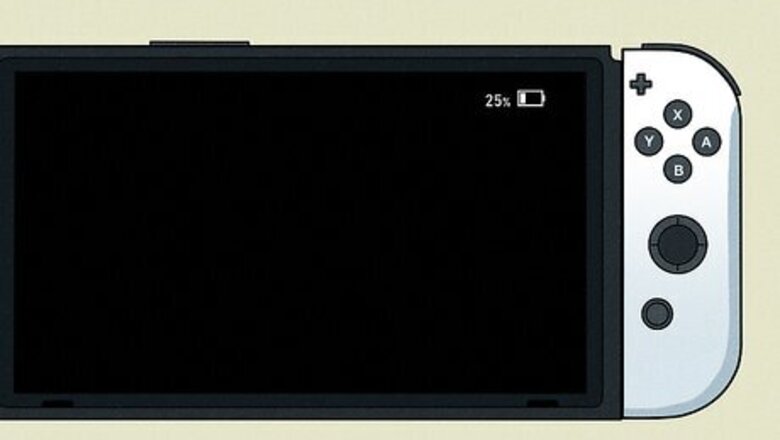
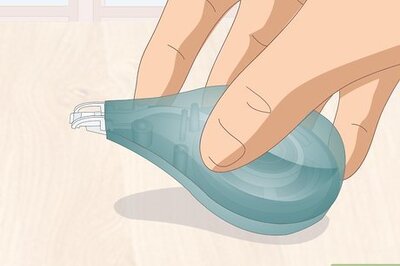
Make sure the battery is below 25%. This will reduce the fire risk if your battery is damaged during this process. If the battery is swollen, there's a greater chance that it will explode or catch fire. In that case, take the Switch to a professional, and don't attempt to replace the swollen battery yourself. If your battery smells bad or feels hot, don't attempt to remove the battery. Never breathe in fumes from a smoking battery, and take immediate action to reduce the fire hazards in the area. If the battery should catch fire, smother it with sand, use foam or CO2 fire extinguishers, pour cold water over it, cover it with a fireproof container, and stand clear.
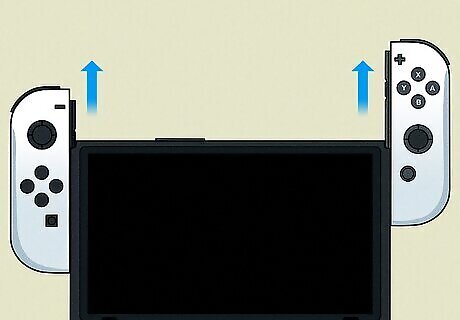
Remove the Joy-Con controllers. With your device off and below 25% battery life, press the locking mechanisms on either side of the Switch to take off the Joy-Con controllers.
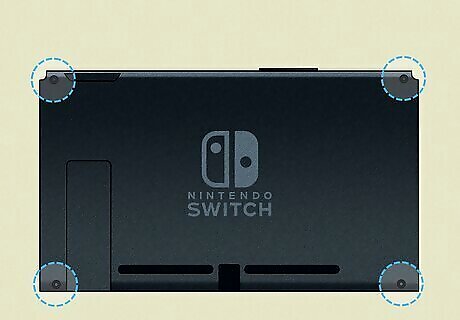
Remove the screws on the back. Turn your Switch over and unscrew the four screws holding the backplate on your console. Keep your screws organized since they can be different screws or vary sizes!
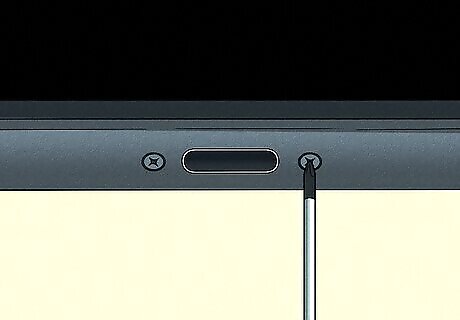
Remove the top and bottom screws. There are two screws that you need to unscrew: one at the top of your console and the other that's along the bottom edge.
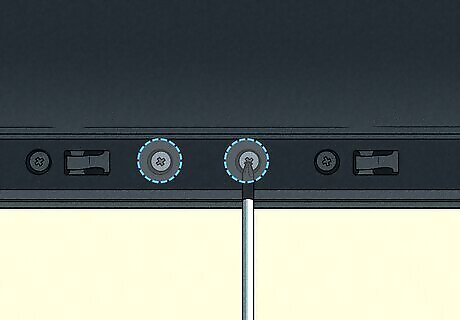
Remove two screws around the edges. Centered on either side of your Switch are two more screws that you need to remove. They are slightly longer than the other screws.
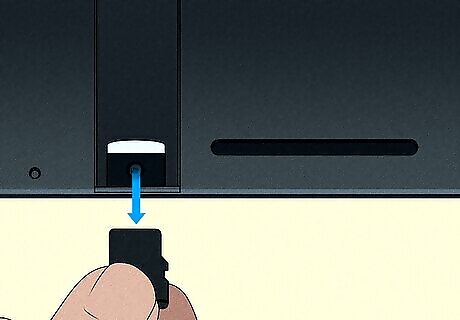
Flip up the kickstand and remove your microSD. If you don't have a microSD inserted in your Switch, don't worry about that part. You need to flip the kickstand up, however, to continue.
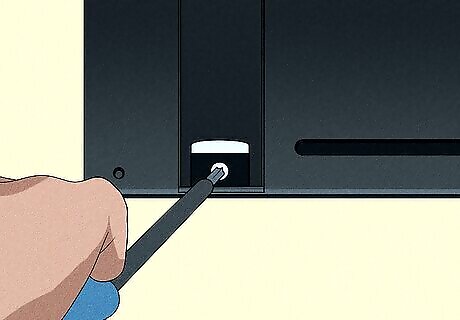
Remove the screw in the kickstand well. Unscrew this screw (it's smaller than the others) under the kickstand and close it.
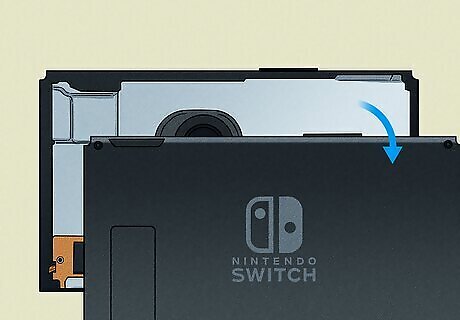
Pull off the back panel. This is the game cartridge flap. You should be able to pull it up to remove it.
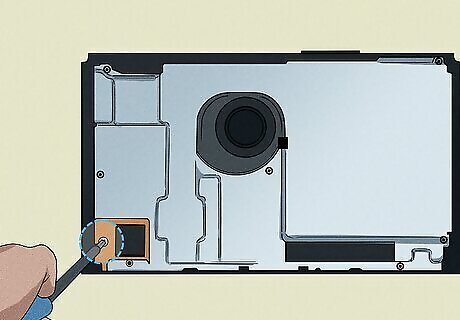
Remove the screw in the microSD card reader and pull out the driver. Once you've unscrewed the small screw inside the microSD card reader, you can pull the entire thing out. If you cannot remove the card reader with your fingers, use a small tool like a pair of tweezers to lift it.
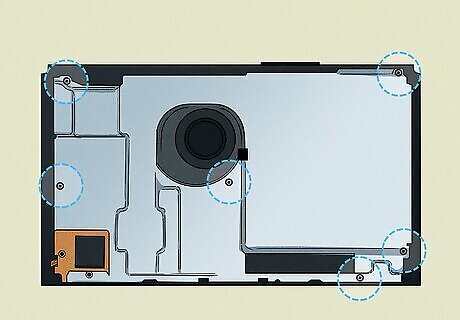
Unscrew 6 screws around the shield plate and take it off. You can pull off the shield plate after you've removed the 6 screws holding it into place. If you have a newer model, you most likely have a foam piece to remove. Use your fingers or tweezers to remove it. Don't yank it if it doesn't come off easily since it can tear. Instead, pull at different spots to remove it. If the shield plate is tough to remove, insert a plastic chip or spudger under it. You'll see thermal paste lining the other side of the shield plate. This paste prevents your Switch from overheating. You can reuse the thermal paste from the shield plate if it isn't dirty. If the paste doesn't look good, use K-9 thermal paste instead.
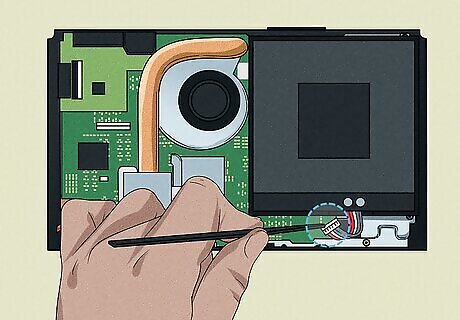
Disconnect the battery. Use a small and pointed tool like the pointy end of the spudger to pry off the battery connector. Pry it straight out of its socket so you don't bend anything. Don't pull the socket out of the motherboard. Use your tools to hold the socket down while you remove the connectors.
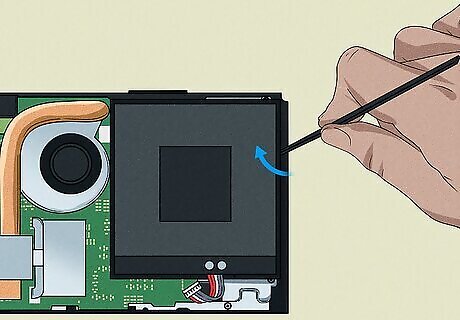
Remove the battery. Apply a few drops of adhesive remover or isopropyl alcohol (90% or higher) inside the battery well. Allow either liquid ample time to dissolve or loosen the adhesive, which may take 2-20 minutes. Since the battery can be challenging to remove, you might want to lift a corner using the spudger or plastic putty knife, then use floss to peel the battery away from the adhesive. Be very careful if you use heat to loosen the adhesive! Heating your battery incorrectly can cause it to explode or catch fire. Avoid bending the battery as you remove it.
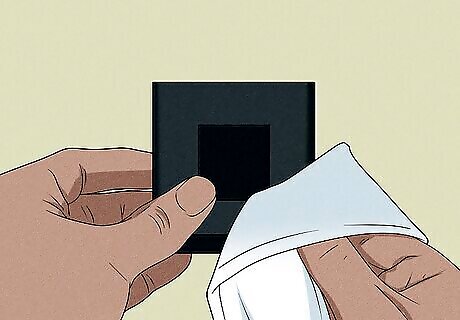
Clean the battery well of the remaining adhesive. Once the battery has been removed, you can clean the area so there's no more adhesive or liquid.
Insert your new battery and reassemble your Switch. You can follow this tutorial in reverse order to put your Switch back together. You'll need to reconnect the battery, replace the shield plate, put the microSD card reader back, screw in screws, put the cartridge flap back, screw in a screw in the kickstand well, and replace more screws.
Find Your Switch's Generation
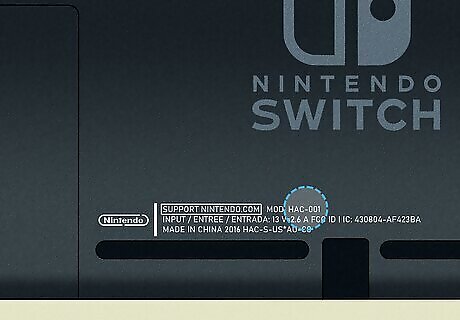
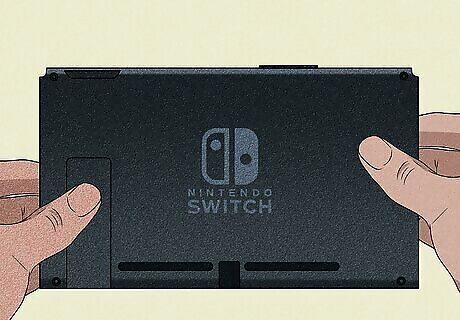
To get a replacement battery, you'll need to know which generation Switch you have. Just turn your Switch over so the front faces down and the back is visible. Look for "Mod" to find the model number. HAC-001: Original Nintendo Switch HAC-001(--01): New Nintendo Switch HDH-001: Nintendo Switch Lite HEG-001: Nintendo Switch OLED


Comments
0 comment