
- Converting from G-code to 3MF (or STL) may result in a 3D model file that isn't as detailed as the original.
- G-code files usually have extra information, such as supports or rafts, that should be removed during conversion.
- Voxelizer for Fab will consistently create the best results, but Gcode2l and 3DPea are both good online options.
Voxelizer for Fab
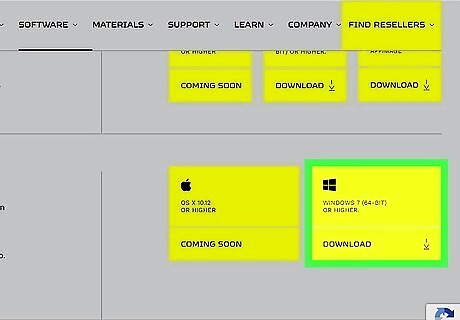
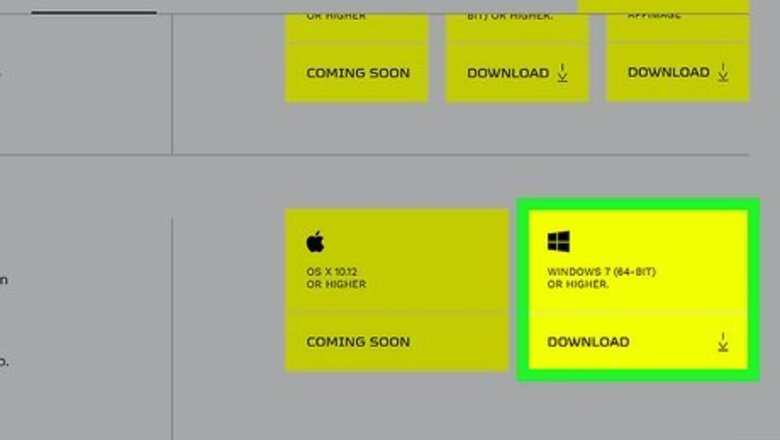
Download and install Voxelizer for Fab. Voxelizer for Fab is slicer software similar to Cura or PrusaSlicer, but Voxelizer for Fab is the only slicer that works the best for converting G-code to STL, which you can then convert to 3MF. Voxelizer for Fab can be downloaded on Zmorph3D's website.
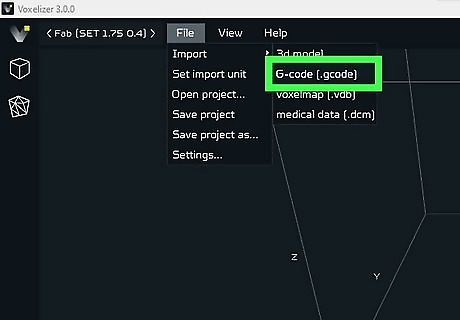
Import a G-code file into Voxelizer for Fab. You likely have a G-code file ready to try this method, but if not, make sure to grab one. Click on File > Import > G-code (.gcode). Navigate to where you've saved your .gcode file. Open the .gcode file into Voxelizer for Fab.
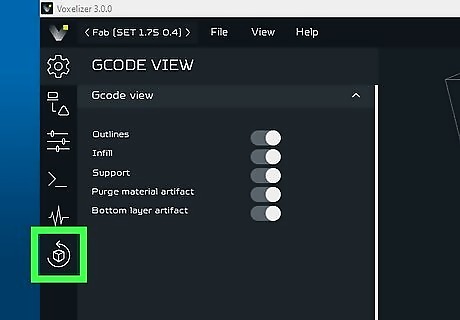
Click on the Voxelize menu in the left-hand sidebar. This sidebar has several options, and Voxelize will be the last one on the list.
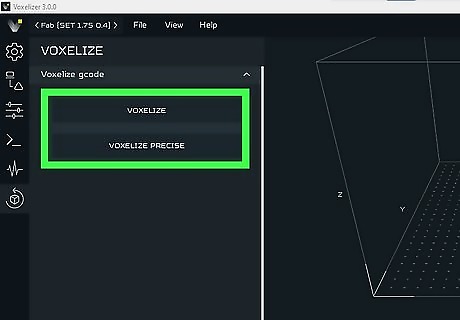
Select Voxelize or Voxelize Precise. Which option to pick depends on your model: Select Voxelize if your model is simple without many holes or sharp points. Voxelize smooths out your geometry, which means any intricate details will be removed. Select Voxelize Precise if your model is intricate with holes, sharp points or contours, or small details. Voxelize Precise retains these details compared to Voxelize.
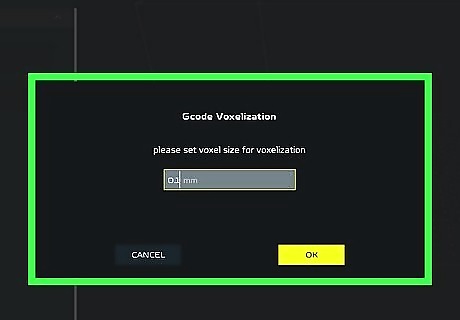
Select a voxel size. The default is 0.1mm, but you can raise or lower this value depending on your model complexity. The smaller your voxels, the more detail the model will have. After setting a voxel size, the voxelization process will commence.
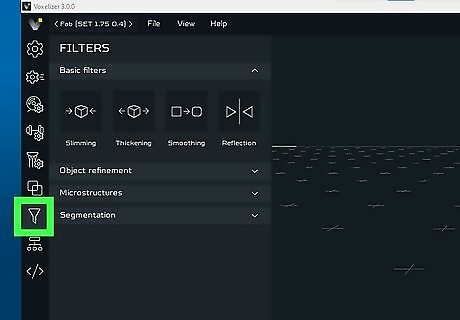
Refine your model after the voxelization process is complete. If your model looks good, you likely won't have to edit it further. But if you need to do any tweaks or if there are still extra printing supports present, you can refine your model with various filters. Click the Filters menu in the sidebar. Use the filters under Basic Filters to increase or decrease wall thickness, smooth contours, or mirror the model. Use the filters under Object Refinement to close holes or remove small objects such as brims or rafts.
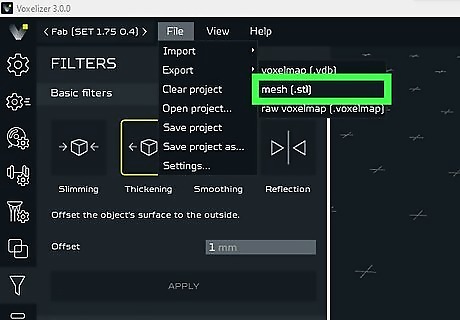
Export your model as an STL. Voxelizer cannot export directly as a 3MF file, but once you have the STL file, you can easily convert it to 3MF. If you're on Windows, download and install 3D Builder. You can open the STL file and save it as a 3MF. Use a website like IMAGEtoSTL, 3D-convert, or 3DPea.
Gcode2l
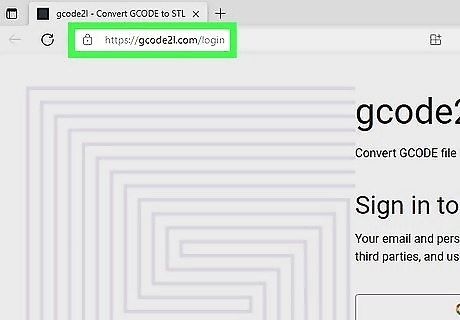
Go to Gcode2l's website. Gcode2l is an online G-code to STL converter. It's a convenient option that works entirely in your browser, but you may notice that the results aren't as clean as if you use an actual slicer such as Voxelizer for Fab. Gcode2l's website warns that there is no way to go from G-code to another file type without a loss in quality, so you should expect the resulting STL to be less detailed than the G-code file.
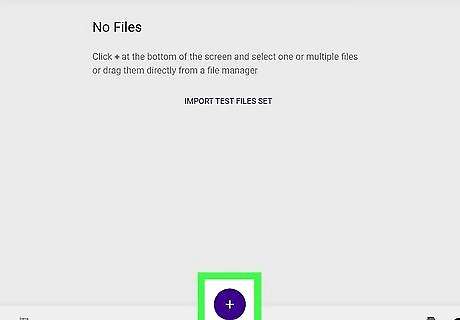
Click the blue plus sign button to add a G-code file. It's located at the bottom of your screen. You can also test the tool out by clicking Import Test Files Set in the middle of the screen. Once your G-code file has been uploaded, it's normal for it to say "No Preview" instead of displaying a preview image.
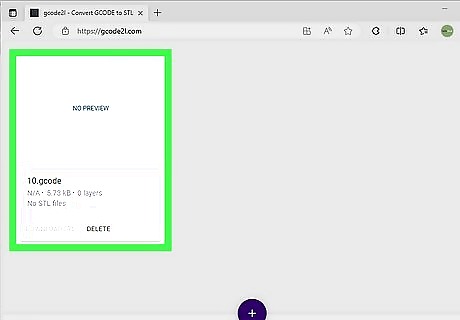
Click on the file to open the reconstruction menu. Gcode2l offers a few different parameters that you can adjust to fine-tune your converted STL model. There is no one-size-fits-all settings profile that will work for every model, so you will have to use some trial and error to figure out what will look best. Each of the parameters is explained below: Resolution: The STL's resolution can be adjusted from "detailed" to "rough." In general, smaller models do better with a more detailed resolution, and larger models should have a rougher resolution to avoid lengthy reconstruction times. Simplify: This slider will remove excess edges to decrease model complexity and file size. If you plan to use the reconstructed STL for printing, you should simplify the model. Otherwise, you can leave the slider at "off." Optimize: The optimize toggle tells Gcode2l to remove interior extrusions, which can save computer resources and speed up the reconstruction time. It can, however, increase the chance of unwanted artifacts left on the model. Skip: Skip will tell the reconstruction not to include a certain number of initial layers, which is a good way to get rid of a brim or raft. If you don't have a brim or a raft, you can leave this at 0.
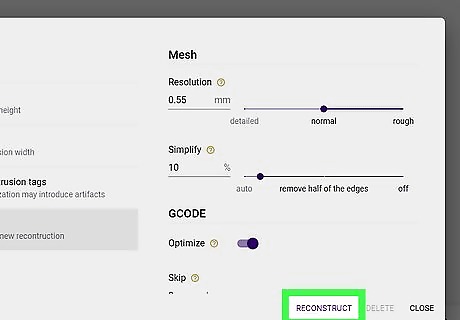
Click Reconstruct. Gcode2l will only allow you to use 4 GB of memory to complete a reconstruction job, and it cannot take longer than five minutes. If either of these limits are exceeded, the process will be terminated. The timers for both limits are displayed on the screen, along with progress bars for the reconstruction process. Once the reconstruction process has finished, the STL will be shown on the screen. If you're unhappy with the reconstruction, click the New button on the left-hand side to reconfigure your reconstruction parameters.
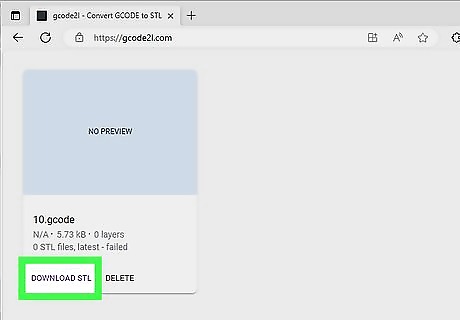
Click Download STL once you've got a result you're happy with. Gcode2l will only convert your G-code into an STL file, but once you have the STL file, you can easily convert it to 3MF. If you're on Windows, download and install 3D Builder. You can open the STL file and save it as a 3MF. Use a website like IMAGEtoSTL, 3D-convert, or 3DPea.
3DPea Online Converter

Go to 3DPea's online converter site. 3DPea has an online G-code to 3MF converter, but it doesn't work as well as a standalone slicer application or Gcode2l's online converter. However, if you have a small file or don't want to deal with converting an STL to a 3MF, this might be a good option for you.
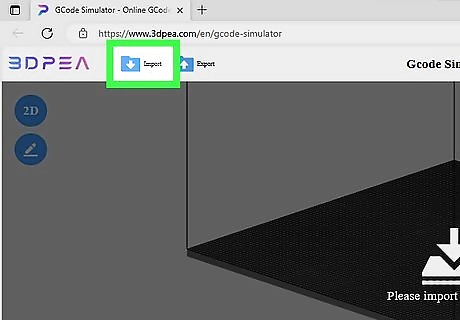
Click Import in the top bar. The website will prompt you to open a file. Navigate to your G-code file and import it. The file may take a while to load, especially if it's large. If you want to practice with an example file, you can click the Example button in the upper-right corner to import a sample G-code file.
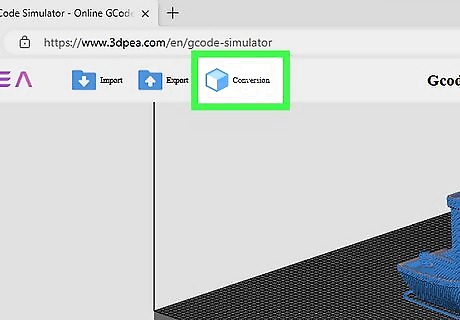
Click Convert in the top bar. This button isn't visible until you've got a G-code file imported into the converter.

Set your extrusion radius and accuracy. You'll likely have to try a few times to get the right parameters for your model, but in general, a higher extrusion radius will make the walls of the converted model thicker, and a lower accuracy will make the converted model more accurate to the source G-code file. If you don't like how the model looks after conversion, click the close button at the top of the preview pane.
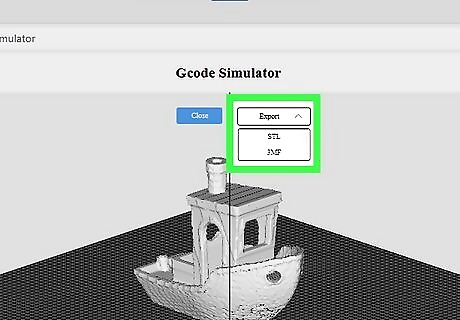
Click the "Export" dropdown and select "3MF". You can also export to an STL file if you prefer.
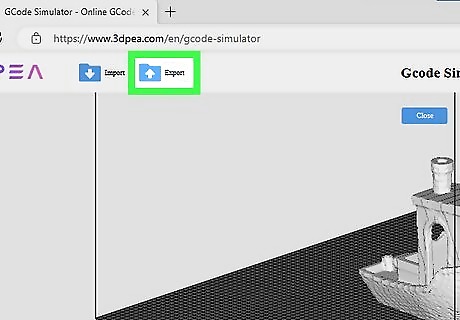
Click Export at the top of the page. If you opted to save as an STL but you need a 3MF later, you can either re-convert your G-code into 3MF using 3DPea, or you can convert the STL into a 3MF using one of the following resources: If you're on Windows, download and install 3D Builder. You can open the STL file and save it as a 3MF. Use a website like IMAGEtoSTL, 3D-convert, or 3DPea.


Comments
0 comment