views
- To indent, select one or more cells, click Home, then click the Increase Indent icon.
- You can also select the cells you want to edit, right-click the selection, and choose Format Cells… to manually input an Indent value.
- If text extends past the cell, use Wrap Text in the Alignment section to shift into multiple lines within the cell.
Using Increase/Decrease Indent Button
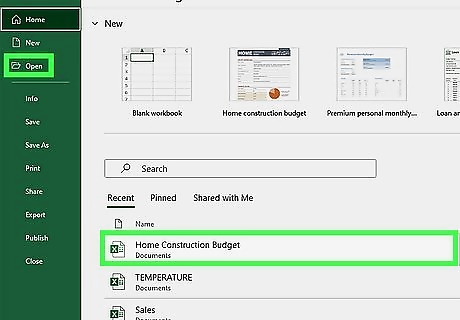
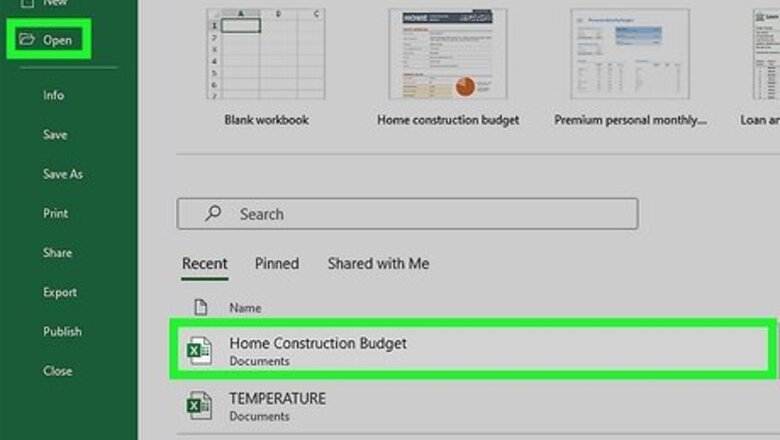
Open a project in Microsoft Excel. If needed, you can begin a new Spreadsheet. Microsoft Excel is available on Windows and Mac. You can also use the online web version at the Microsoft 365 website.
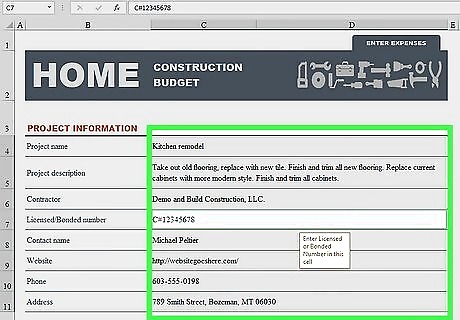
Select the cell or cells. The cells must contain the content you wish to indent.

Click Home in the top toolbar. This will open a new section of your toolbar.
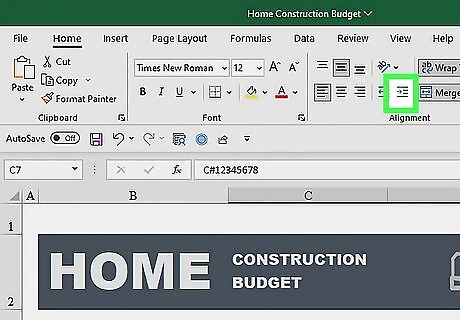
Click the "Increase Indent" icon. This looks like lines of text with a blue right-facing arrow. The text in the selected cells will be indented to the right. You can continue clicking Increase Indent to indent the cells to your preference. To remove an indent space, click the Decrease Indent icon. This looks like lines of text with a blue left-facing arrow. You can continue clicking Decrease Indent to position the cells to your preference.
Using the Format Cells Dialog Box
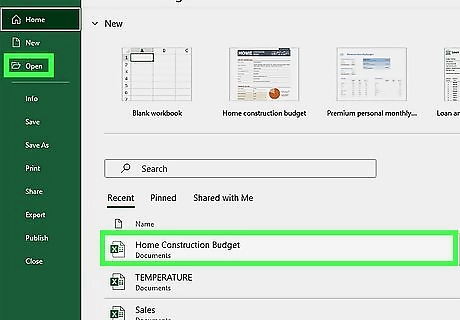
Open a project in Microsoft Excel. You can use Excel to make tables, type formulas, make graphs, and more.
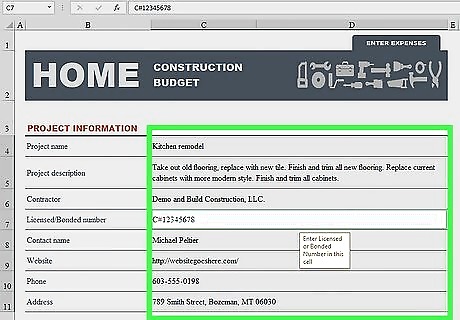
Select the cell or cells. The cells must contain the content you wish to indent.
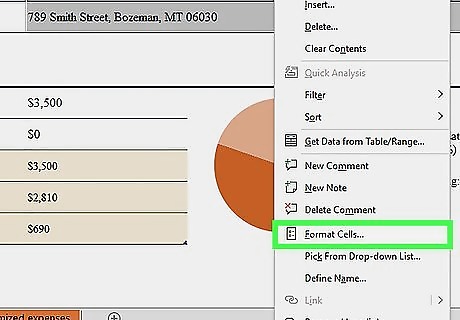
Right-click the cells and click Format Cells…. This will be underneath Clear Contents. You can also use the keyboard shortcut CTRL + 1 (Windows) or CMD + 1 (Mac). A pop-up window will open.
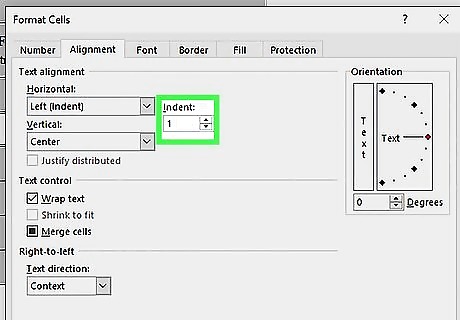
Adjust the Indent settings. By default, the Indent will be 0. Click the up arrow next to the box to adjust your Indent to 1 or higher. You can also manually type the number into the Indent field.
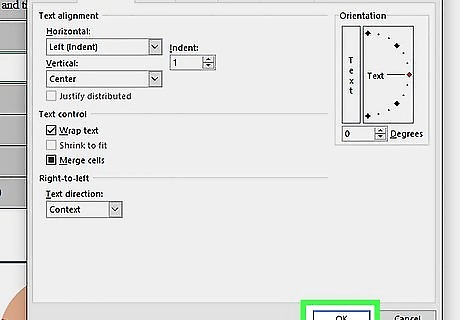
Click OK. This will be at the bottom-right corner of the window. Your cells will be indented.
Using Wrap Text for Multiple Lines
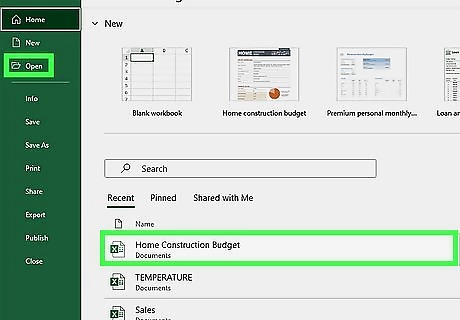
Open a project in Microsoft Excel. You can also create a new project. Use this method if your text extends beyond the right side of the cell.
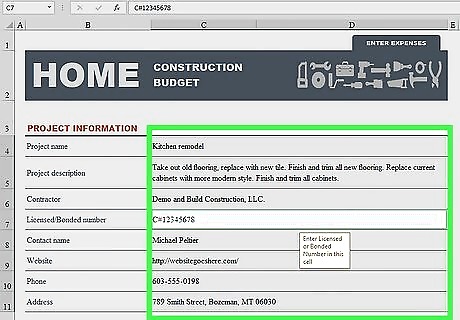
Select the cell you want to indent. You can select one or multiple cells.
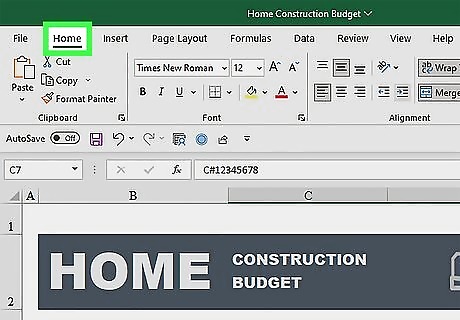
Click Home in the top toolbar. This will open a new section of your toolbar.
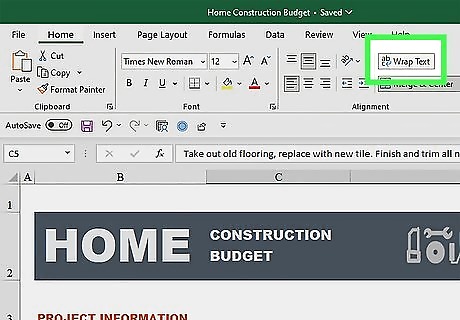
Click the "Wrap Text" icon. This looks like a blue left-right arrow in the Alignment section. The text will shift into multiple lines within the selected cell.
Indenting Individual Text Lines in a Cell
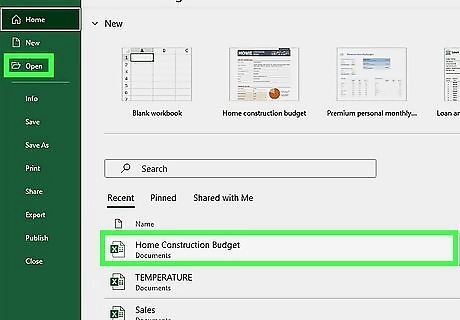
Open a project in Microsoft Excel. You can use a new or existing project.
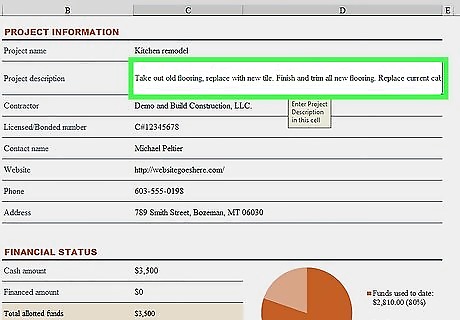
Select the cell you want to indent. In most cases, this is a cell with text that extends into another cell.
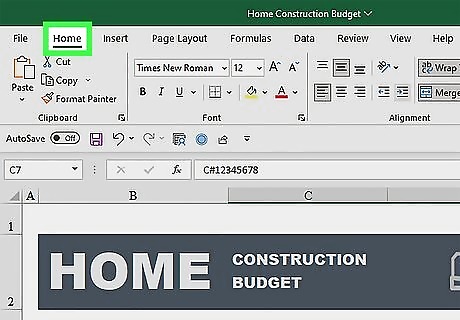
Click Home in the top toolbar. This will open a new section of your toolbar.
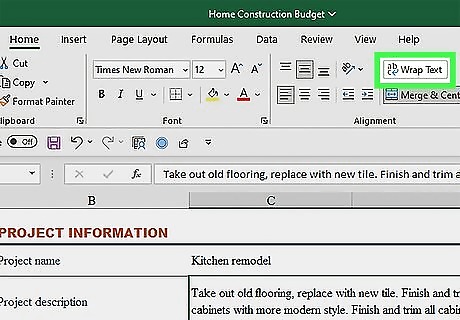
Click the "Wrap Text" icon. This looks like a blue left-right arrow in the Alignment section. The text will shift into two lines within the selected cell.
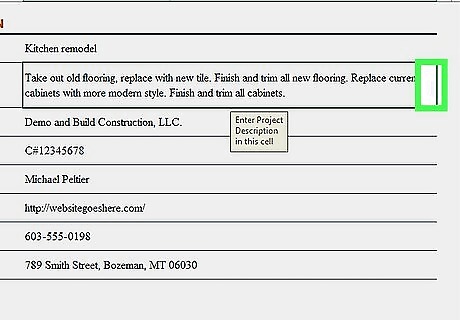
Click the space before the second line of text.

Press Alt+↵ Enter on Windows or ⌥ Option+⏎ Return on Mac. This will separate the two lines of text.

Press the spacebar to input a manual indent. You can add as many spaces as you'd like. To delete additional spaces, use the backspace or delete key. Your cell is now indented.


Comments
0 comment