views
Making Fake Nail Fangs
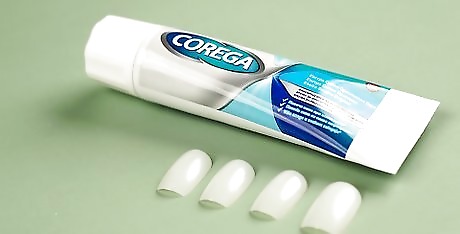
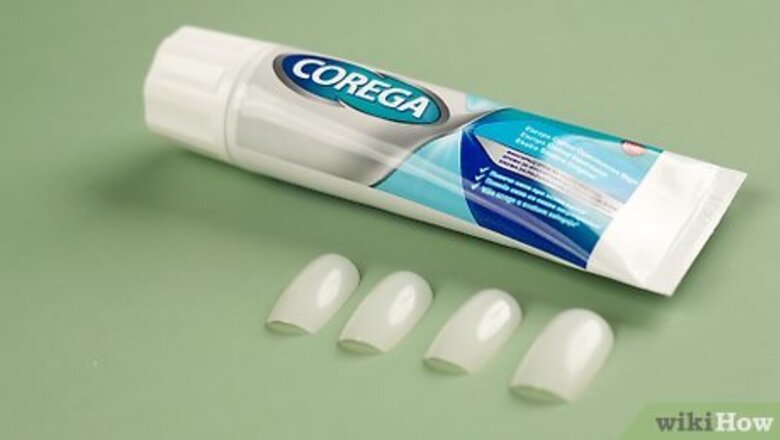
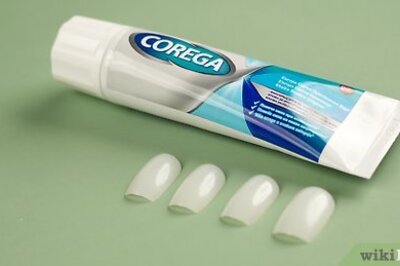
Buy fake nails and denture adhesive cream. To make your vampire fangs, purchase a set of white fake nails that matches the color of your teeth. You can find fake nails and denture adhesive cream at your local drug store, supermarket, or online. Many artificial nails come in a semi-sheer finish that looks similar to the tooth enamel, but you can also use a more opaque style. If you can’t find white fake nails, use a light nude or off-white color instead.

Select nails that match the width of your teeth. Hold a few different sized nails over your canine teeth to ensure your fangs fit properly. Start with the smallest nails in the set, then gradually increase the size until you find the best shape. Your canine tooth is the third tooth from the center of your mouth. It should look pointier than your other teeth. Be sure to use the same nail size if you want identical fangs.
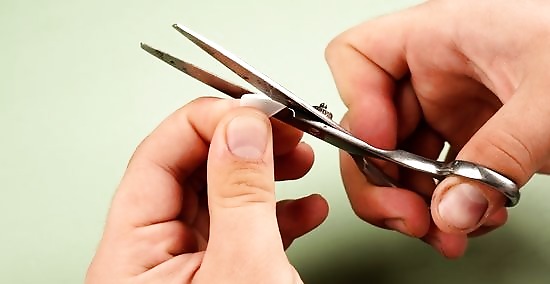
Cut the nails into a triangular shape. Use a pair of sharp scissors to trim each nail into a triangle. Hold the nail over your tooth to see how large the triangle should be, then keep cutting until you achieve your desired shape and size.
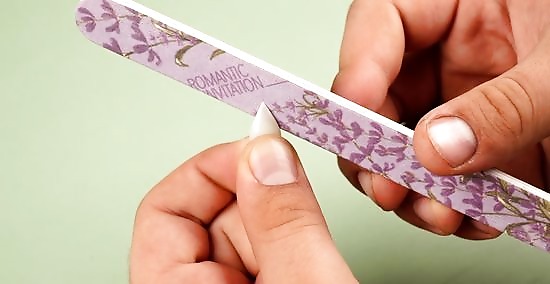
File the nails to a sharp point. Use a metal nail file to smooth out any rough edges and file each nail into a fang shape. To keep your workspace clean, place newspaper underneath the nails to catch any debris that may fall. As you’re filing, hold the nails against each other to ensure they’re the same shape. Alternatively, use sandpaper to file the nail into a sharp tooth shape.
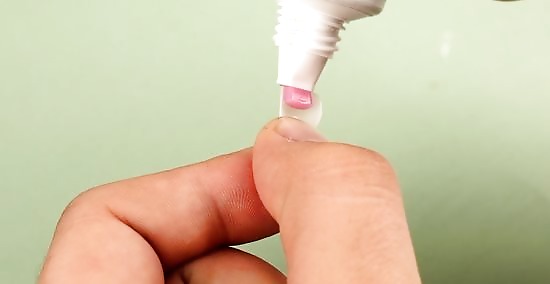
Stick the tooth on with a dab of denture adhesive cream. To help the adhesive stick better, dry your tooth and gum with a clean tissue. Add a small dot of denture adhesive cream on the back of the nail, and gently press it onto your tooth. Hold it in place for 10-15 seconds until the adhesive sets, then flash your best smile to look like a vampire! Avoid sleeping and eating with your fangs on—you don’t want to accidentally swallow them!
Using a Plastic Straw
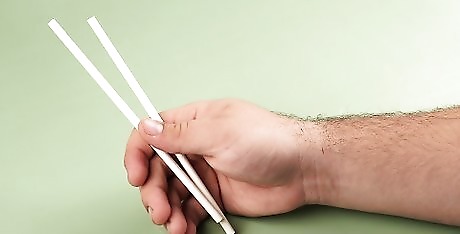
Find a white plastic straw. It’s perfectly fine if the straw doesn’t match the color of your teeth, especially if you’re just wearing them for a party or photo! If you’re really concerned about matching the shade of the straw to your teeth, you can always whiten your teeth with a whitening strip or pen.
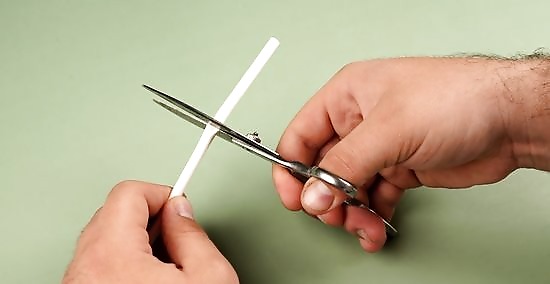
Cut off a small piece of the straw. Use a pair of scissors to cut off a piece of straw that’s about 2 inches (5 cm) long—this will serve as both fangs. If your straw is a bendy, you can simply cut off the top portion, right above the accordion bend.
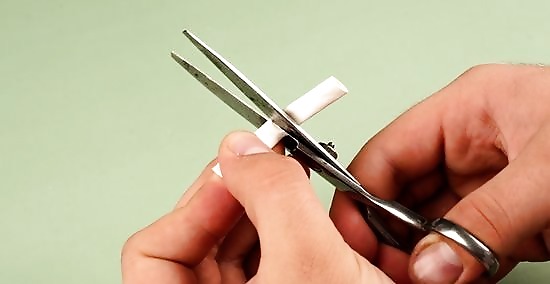
Fold the piece of straw in half and trim it into fangs. Bend the cut-off piece of straw in half, then use a pair of scissors to trim the bent side into a pointed, triangular shape, but leave the bent straw intact (so, cut your pointed tip all the way across the horizontal length of the straw). The pointed end will act as the tip of your fangs. The open ends of the straw will act as the base of your fangs (allowing you to secure the fangs over your teeth), so make sure you don’t cut too close to the open end of the straw.
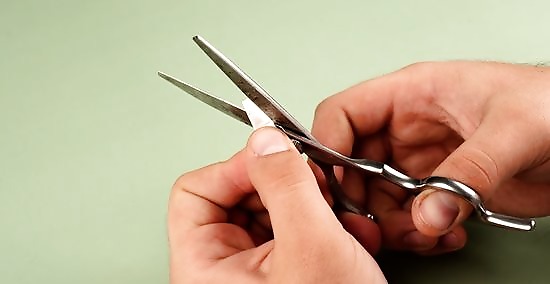
Pull the straw apart and cut off the back side of each fang. Rip the straw along the bent crease to separate it into 2 “fangs.” On each fang, there will be a “front” and “back” side (since the straw is circular). Trim off the back side of each fang so you’re left with a clean finish. If you leave the back side intact, you’ll be able to see a piece of straw behind your tooth when you wear your fangs, making them look less realistic.
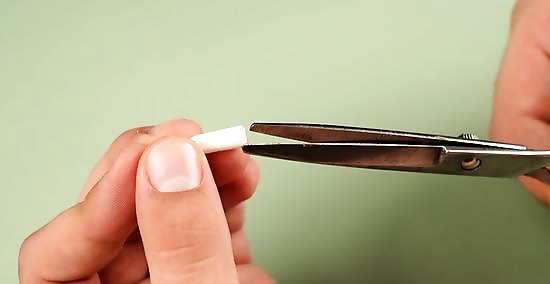
Cut 2 small slits at the base of each fang and wear them. At the base of your fang (the open end of the straw), cut 2 vertical slits on the outer corners to make the straw more flexible. This allows you to slide the fang over your tooth more securely. Then, feel free to dress like a vampire and show off your new fangs!
Making Realistic Acrylic Fangs
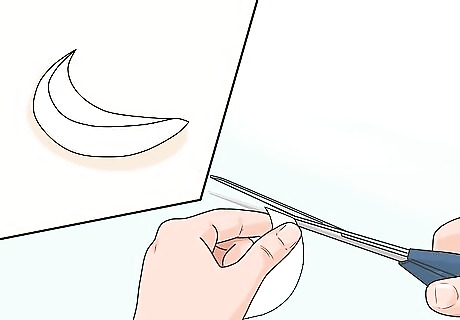
Create a mouth guard out of a paper cup. Use clean scissors to trim off the top portion of a paper cup, leaving the remaining base slightly larger than the height of your upper jaw. Then, cut off one side of the cup to make an opening that can slip into your mouth. Feel free to use (or purchase) a real mouth guard instead.
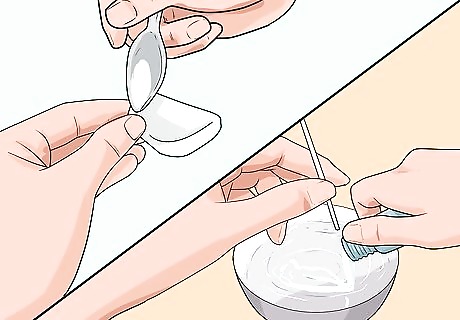
Make an alginate molding material and pour it into the mouth guard. Follow the instructions on your specific alginate powder, since the exact time and method can vary by brand. In most cases, you can combine one part alginate and one part water in a small dish, mixing the 2 ingredients together with any utensil. Once it’s combined, transfer the alginate mixture into your mouth guard. Alginate is a non-toxic molding powder made out of kelp. You can find it online or at your local art or dental supply store. Be sure to make your fangs as soon as the mold sets—alginate is delicate so it can crack within a few hours.
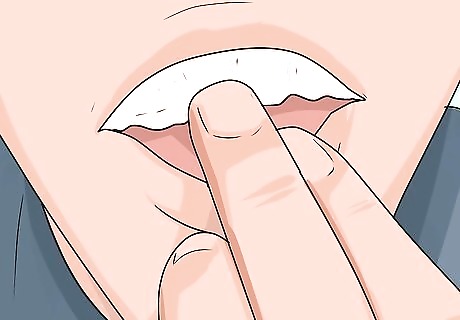
Make a negative of your teeth with the alginate mold. Slowly press the alginate-filled mouth guard into your upper teeth, making sure your teeth don’t hit the bottom of the mouth guard. Wait 3 minutes for the mold to become solid, then gently remove it by pulling down. If you want a more accurate way of determining when the alginate is ready to remove, place a small dot of it on your finger and watch for it to turn solid. If there are bubbles or broken pieces in the negative, it can interfere with the mold for your fangs. Make another batch of alginate mold and repeat this step.
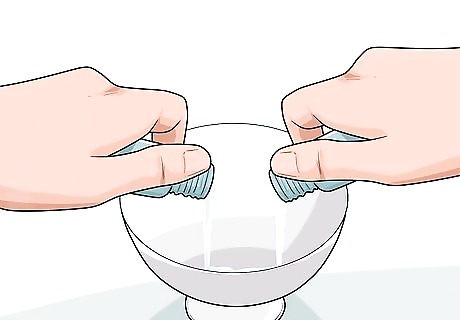
Make a positive of your teeth with a two-part plastic. In a glass bowl, combine 3 oz (90 ml) of liquid plastic with 3 oz (90 ml) of the other liquid plastic. Stir the ingredients together using a heavy-duty stirring rod or kitchen utensil. You can use any two-part cast plastic you like, but choose a non-toxic formula that dries hard and comes together quickly.
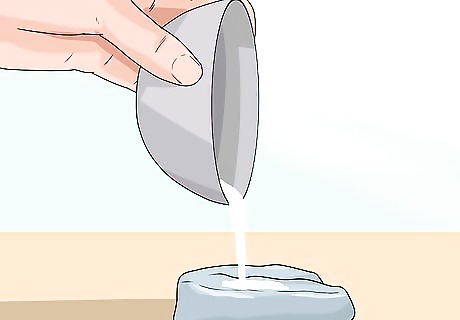
Pour the liquid plastic mixture into your negative mold. Immediately after the 2 liquid plastics are combined, pour the mixture into your alginate mold. Pour slowly and carefully to avoid trapping air bubbles in the cast, then follow the instructions of your product to let it dry. Within several minutes of being poured, the plastic will turn white and hot—do not touch it with your bare skin! After the plastic sets, wait an additional 10 minutes before removing it from the mold. This gives the inside plenty of time to dry, ensuring the plastic model of your teeth is solid.
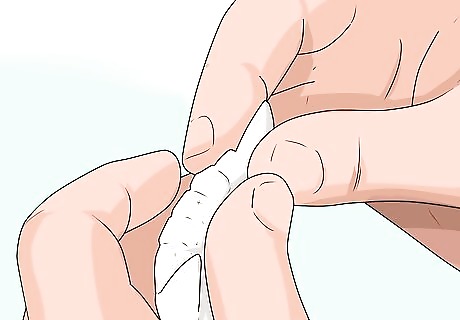
Sculpt the fangs onto the model. Once you remove the plastic model of your teeth, add a small blob of casting clay over the area where you want to create fangs. Use a small, sharp tool to shape the clay into your desired fang shape. For more secure fangs, add a small "cap" of clay over the teeth directly behind the fangs.
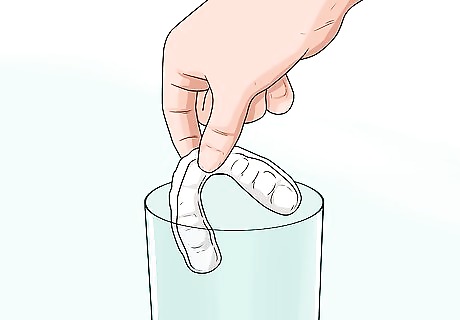
Soak the model and fangs in soapy water. Add dish soap into a small bowl of water, then soak the plastic model and clay fangs for 10 minutes. This prevents the alginate from sticking to the clay in the next step.
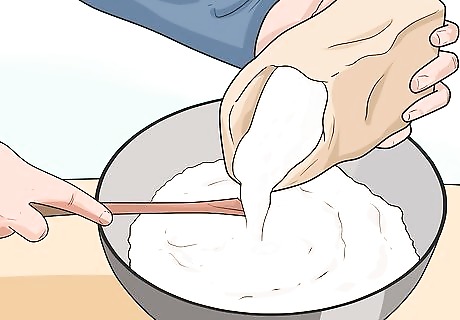
Create a second alginate impression with the plastic model and fangs. Make another batch of the alginate molding mixture, but use the plastic model with clay fangs (instead of your real teeth). Press the model into the alginate softly to avoid dislodging the fangs, then slowly lift it out once it sets. Inspect the alginate to make sure there are no bubbles or broken pieces.
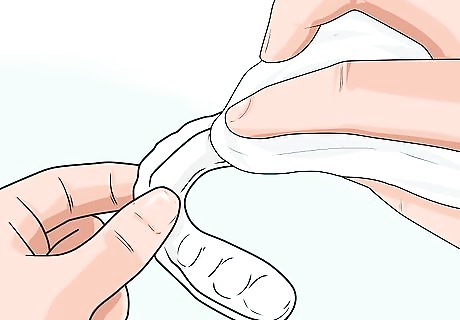
Remove the clay fangs and wipe the model with petroleum jelly. Gently pull off the clay fangs, then use a cotton swab to wipe petroleum jelly (Vaseline) over the plastic model. Apply a thin layer of petroleum, without leaving any lumps. The jelly will make it easier to remove the acrylic fangs once they've set.
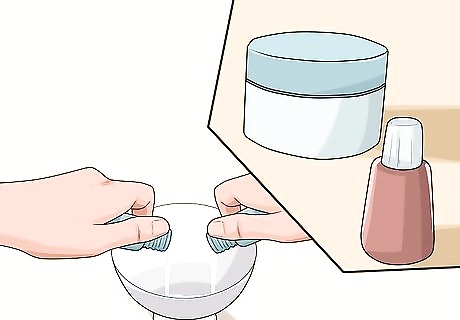
Mix acrylic powder with acrylic liquid to make your fangs. In a disposable cup, combine equal parts of nail acrylic powder with the accompanying liquid. Stir the ingredients with a disposable utensil until it turns into a paste. When you lift the utensil, it should drag up a string of acrylic. Since you only need enough acrylic mixture to fill the fang holes of your alginate mold, just eyeball a small amount of powder and liquid. Add more powder if the mixture is too runny, or more liquid if it is too hard. The acrylic may become warm as it mixes, so avoid direct contact with your skin. Be sure to mix the acrylic in a well-ventilated area, and don’t use any equipment you plan to reuse.
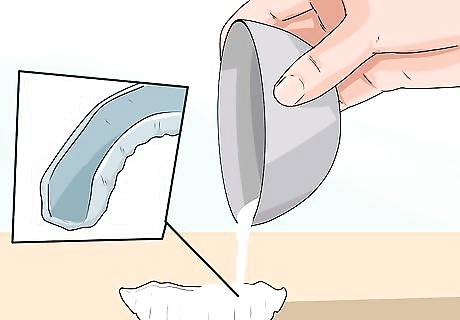
Pour the acrylic into the fang holes of the alginate mold. Slowly pour the acrylic paste to avoid leaving air bubbles, and stop pouring right before you hit the rim of the mold (so it doesn’t overflow).
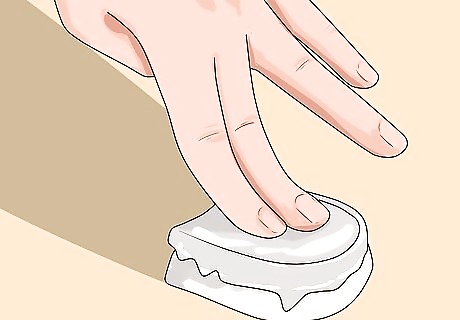
Press your tooth cast into the mold and let the acrylic harden. Gently push your ordinary tooth cast (without the clay fangs) into the alginate mold. The teeth of the mold should push right into the acrylic, letting the acrylic harden and adapt to the shape of your teeth. Watch the leftover acrylic in your mixing bowl to gauge how much the acrylic has hardened, then remove the cast when the acrylic is mostly hard. Even though the acrylic is a little rubbery, it should still keep its shape when you slip it off.
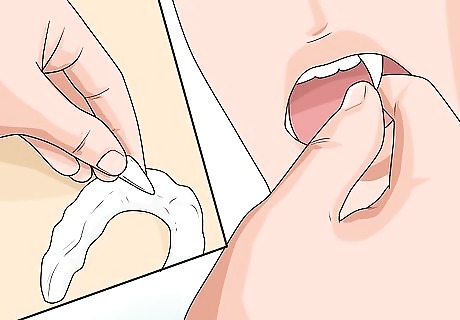
Slip the acrylic fangs over your canines. Since each fang is custom-fit to your teeth, you can simply press them in place with your fingers, while slightly sucking in your mouth. If the fangs do not stay in place on their own, however, hold them in place using denture glue, braces wax, or a small dot of gum.
Trying Out Other Household Items
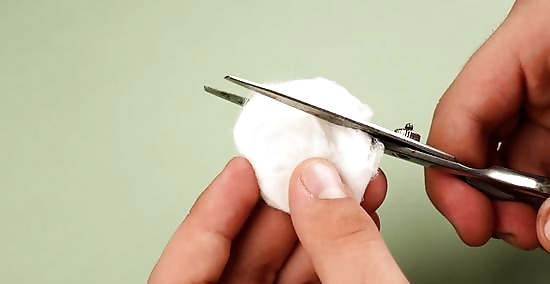
Make vampire fangs from cotton balls. Wet a cotton ball, then use scissors to trim it into 2 fang-like triangles. Hold the triangles over your teeth to see if you need to trim off any excess, and cut them until you achieve your desired shape. When you’re ready to attach the cotton, dry your tooth and gum area, then stick them over your canines for instant fangs. When the cotton is damp, it should stick to your teeth without any glue, giving you enough time to snap a quick photo. If you plan to wear your fangs for longer, apply a thin coating of denture adhesive powder over the back of the fang, then press it over your tooth—the moisture from the cotton activates the adhesive and makes it sticky.
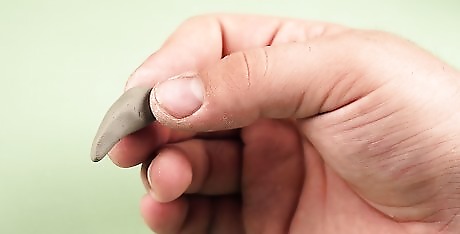
Form vampire fangs from white non-toxic clay. Mold the clay into a pointed "fang,” then hold it over your tooth to see if it’s the right shape and size. Press the clay over the front and back of your tooth for a custom fit, and set it aside to dry overnight. Once it’s completely hardened, add a drop of denture adhesive in the hollow part of the fang and press the fang over your tooth for 15-20 seconds. Feel free to coat the tip of the fang with fake blood for a spooky finish!
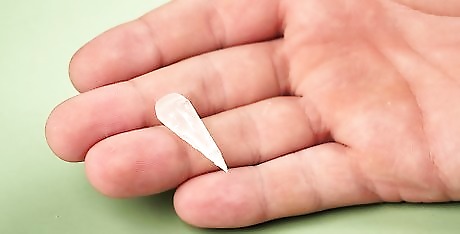
Work around your braces by using braces wax. If you have braces, make vampire fangs by molding a strip of braces wax into a triangular shape. Once you’re happy with the look of your fangs, stick the wax between your canine teeth and your braces wire. Since the wax is a sticky self-adhesive, it should stay in place as long as you don’t eat or drink anything. For a more realistic looking fang, combine the wax with a little bit of white non-toxic clay, then press it directly onto your tooth.
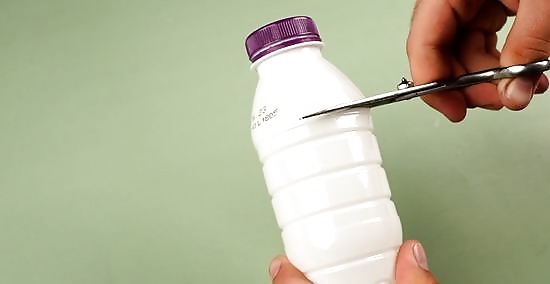
Cut fangs from a white plastic bottle. Use a sharp pair of scissors to trim 2 triangular fangs from the bottle, then use a metal file to smooth out any rough edges on the plastic. Hold the fangs up to your teeth to see if they’re the right shape and size, and keep trimming them until you’re satisfied. To attach your fangs, add a drop of denture adhesive to the back of the fang, then press it firmly on your tooth for 15-20 seconds.
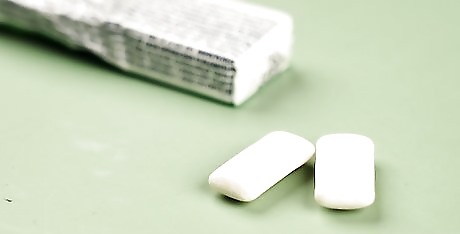
Create vampire fangs out of chewing gum. Chew 2 sticks of white chewing gum until they’re soft and sticky. With clean hands, divide the gum into 2 equal pieces, then wrap each piece around the front and back of your canine teeth. Use your nails to make sure the gum only covers your canines (and not your surrounding teeth), then shape the gum into a pointed “fang.” You might want to push your fang slightly forward so it doesn’t get crushed by your bottom teeth.
Making Simple Fork Fangs
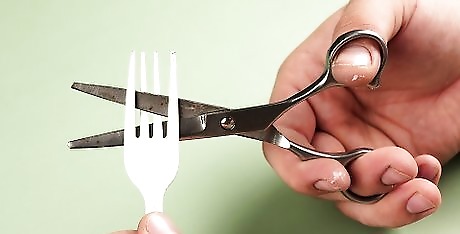
Break off the 2 middle tines of the fork. Use your fingers to gently bend the two middle tines, or prongs, of a white plastic fork, until they snap at the base. Tines are the points or “teeth” of the fork that allow you to pierce food. Alternatively, remove the tines by cutting them off with sharp scissors or a utility knife.
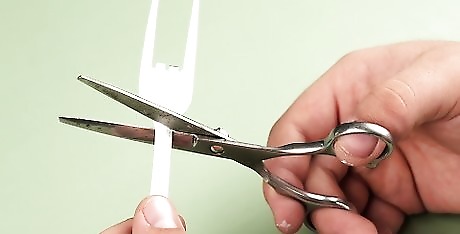
Cut off the handle and the top part of the fork. Using sharp scissors, trim the fork halfway between the handle and the base of the tines, right at the spot where the fork begins to curve. Remove the piece in a straight horizontal line, or go back with a utility knife to clean up the edges. The remaining piece should be fairly boxy rather than being rounded.
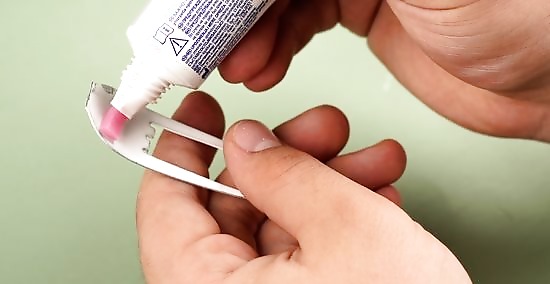
Stick braces wax along the bridge of the fangs. Apply a small dot of wax to the horizontal bridge of the remaining fork, near the portion that curves in. This part was originally the front of the fork. If you don’t have braces wax, use chewing gum or any other sticky food to attach the fangs.
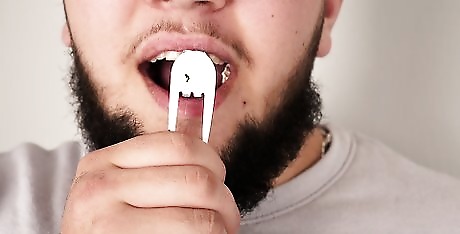
Attach the fangs to your upper front teeth. Stick the makeshift fangs onto your front teeth with the wax pointed in. Press gently to secure the wax and the plastic teeth, and make sure that the fangs are centered at the front of your mouth. You should be able to see an even amount of your 2 front teeth in between the fangs.




Comments
0 comment