
Gift Package
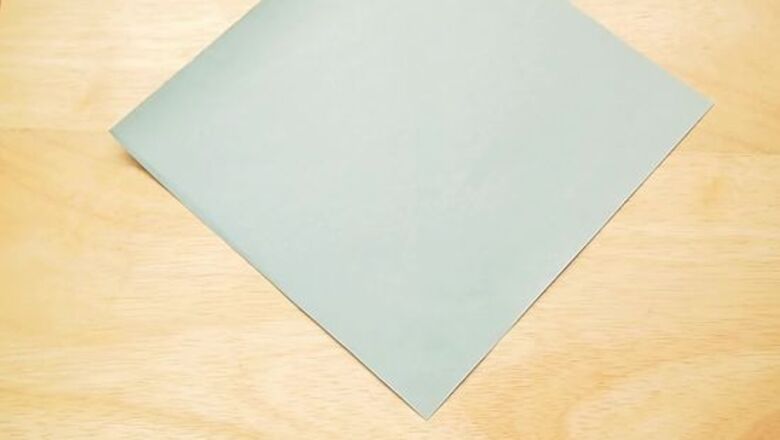
Take a square piece of paper with the corner facing you. You can find a range of origami paper on Amazon. If you want a colored envelope, make sure the colored side is facing down.

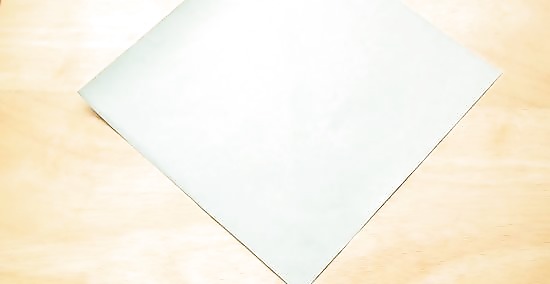
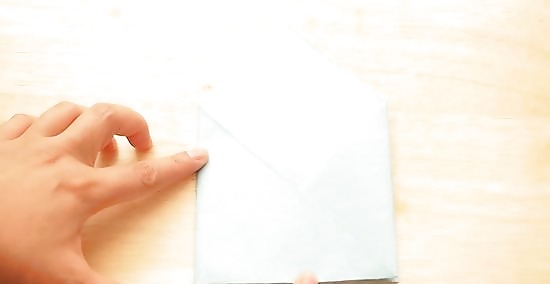
Fold the paper in half, from corner to corner across the square.
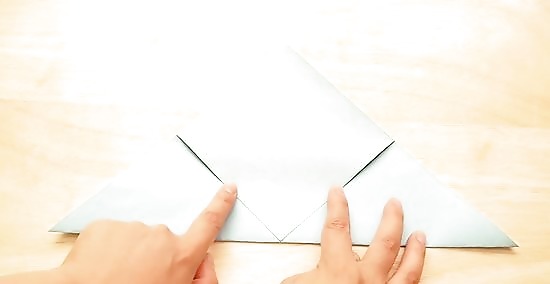
Take the top corner of the first layer and fold it down to the bottom edge.
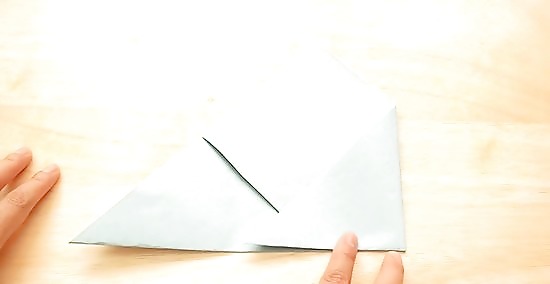
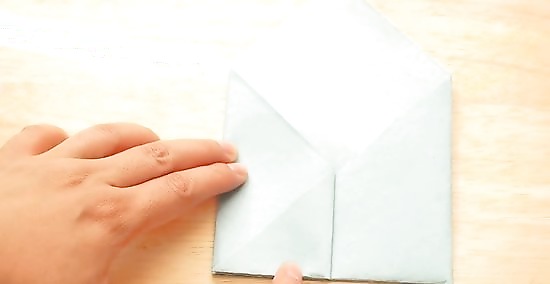
Fold the right corner one third over to the left. You do not have to be exact, just try to be as accurate as possible.
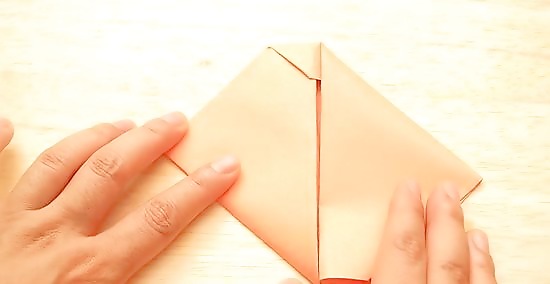
Take the left corner and fold it over to the other end. Now the bottom portion should be square shaped.
Fold the point of the flap over the other flap back to the left edge of the model.
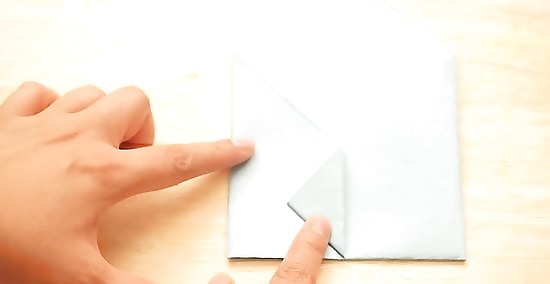
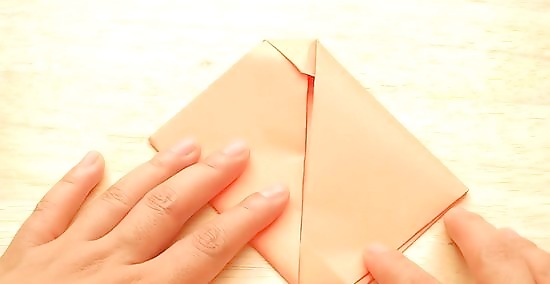
Fold the point of the flap up to the top corner of the flap. Unfold. This is a crease to help guide the next step.
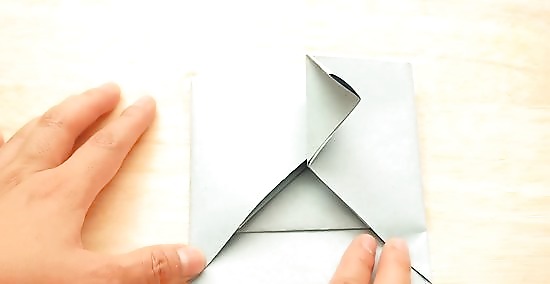
Turn the model 180 degrees. The point of view in the photo will now change.
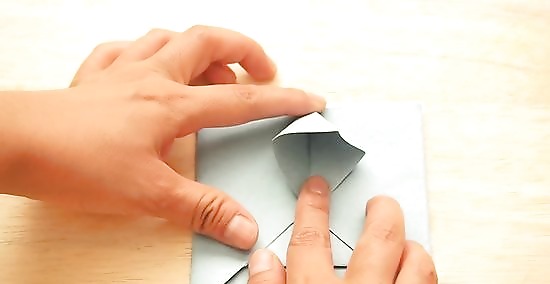
Open the folded portion of the flap.
Make a squash fold on this flap. Make sure you flatten it well, as this will help secure the envelope closed.

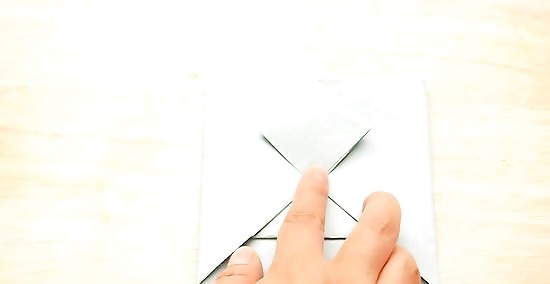
Change the position back so it is "upright." Or turn it back 180 degrees.
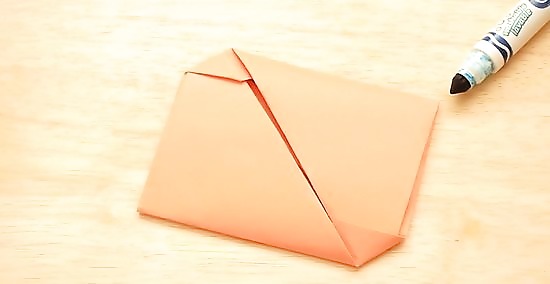
Fold the very top point down to the bottom edge. Or, the bottom edge of the square you formed by "squashing."
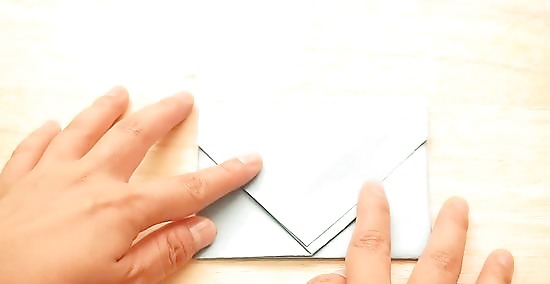
Put the top flap (the portion you just folded down) into the "pocket" that was formed by the squash fold.
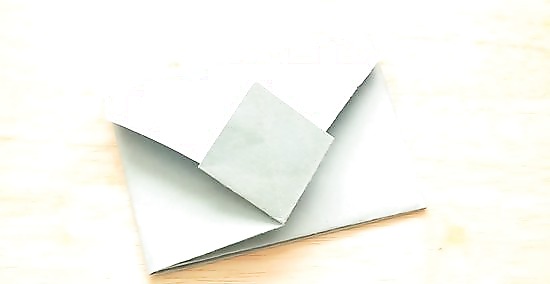
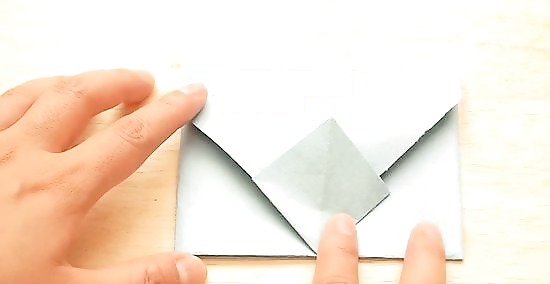
Flatten the model. Ensure that the model can hold itself together.If you want , you can decorate with stickers or small drawings ...
Hidden Message
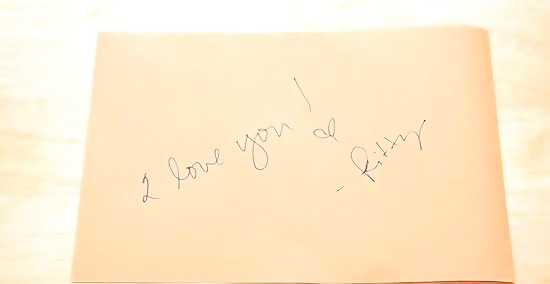
Take a plain piece of printer paper and write or type your message.

Fold it in half hamburger style so it looks like this. Make sure the message is on the inside.
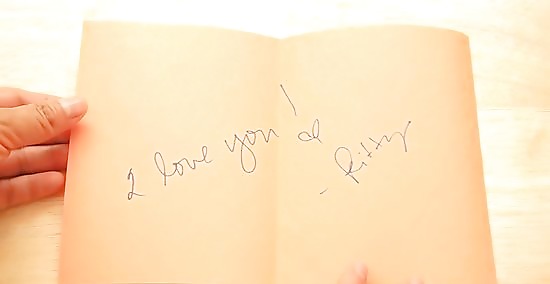
Unfold the piece of paper.
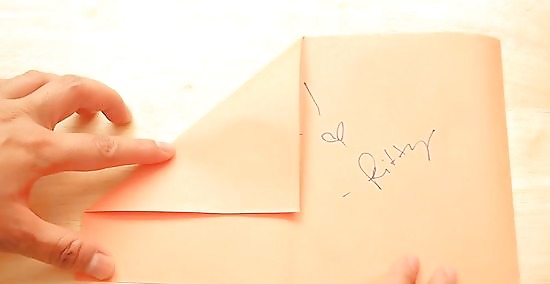
With the writing facing you, take one side of the paper, and fold it at a right angle so that the edge is touching the first crease.

Do this with the other side.

On one side of each right triangle, there is an open space. With one side, fold that space over so that it is touching the right triangle.

Do this with the other side.

Then take one side and fold it over at a right angle against the first crease.

Do this with the other side so it looks like this.
Then take one of these last triangles. You'll see a small flap under the tip of it. Slide the tip of it underneath the little flap.
Slide the tip of the other triangle underneath the flap found under it. Now it's done. It should look like this.
If you plan on mailing the envelope, you can write the address on the back.If you want , you can decorate with stickers or small drawings ...


Comments
0 comment