views
Diagnosing the Problem
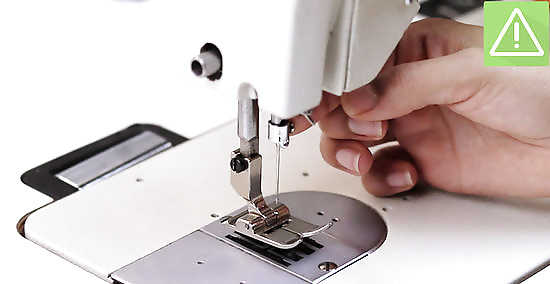
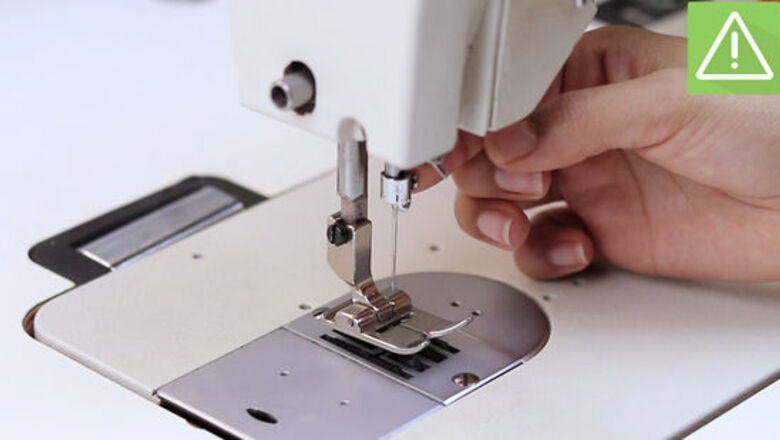
Check for other potential problems. Check other factors that may masquerade as a timing problem first; there's no sense in taking your machine apart if you don't need to! Be sure that your needle is not bent or broken and that it is inserted completely and screwed down tightly. Check that your bobbins are installed correctly. If they're upside-down or backward, your machine might not work correctly. Check that your needle, thread weight, and fabric are compatible. A heavier fabric requires a larger needle and thicker thread.
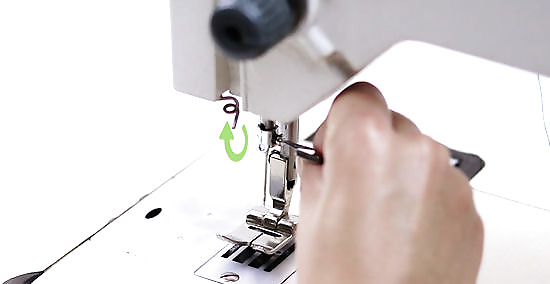
Check for a timing issue by performing a timing test. By testing the alignment of the needle and the shuttle hook, you can determine whether your machine needs a timing adjustment. Leave the needle threaded, but remove the switchplate, base cover(s), and bobbin case. Turn the hand wheel slowly to ensure that the shuttle hook is smoothly catching the thread. If it does not, you may need to adjust the timing. Use a ruler to measure the timing settings. Use the hand wheel to put the needle in the lowest position, then raise it 3/32 of an inch. The shuttle hook should meet the needle just above the eye while it is in this position. If it does not, you may need to adjust the timing.

Prepare the machine for work. If you have determined that you need to adjust the timing, be sure you are ready to work on your machine. You may need move the stitch position to a straight stitch, ensuring that the needle descends through the center of the switchplate hole, or you may need to move your needle to the widest zigzag position. Check with your manufacturer’s guidelines. If you haven’t already, remove the needlebar cover, the switchplate, the bobbin, and the cover from the base of the machine. Gather any tools you may need, such as a small screwdriver, sewing machine oil, and a bright work light.
Adjusting the Timing
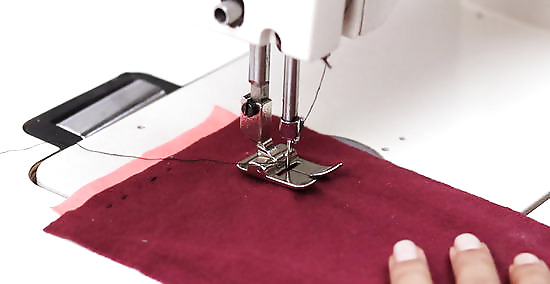
Set the needlebar height. Most machines have marks on them that indicate the appropriate height for the needlebar. Consult your manual for specifics on how to access and loosen your needle bar. If timing marks are present, loosen the needlebar and slide it up or down to align the top timing mark just below the bottom of the timing bar bushing. If timing marks are not present, lower the needle completely with the hand wheel, then raise it 3/32 of an inch (2.4mm). Adjust the needle’s height so that the needle eye is 3/32 of an inch below the point of the hook.

Set the hook timing. Adjusting the hook timing varies between manufacturers and models. The general approach, however, is to adjust the distance between the hook and the needle. Using the handwheel, lower the needlebar to its lowest position. Loosen the gears in the base of the machine. Make adjustments until the hook and needle are an appropriate distance apart, anywhere from 0.04mm to 0.1mm or 0.01-0.16, depending upon the machine.

Re-Check for timing accuracy. By re-testing the alignment of the needle and the shuttle hook, you can determine whether your adjustments have improved the machine’s settings. If you removed the thread from the needle, re-thread it. Continue to work with the bobbin area exposed. Turn the hand wheel slowly to ensure that the shuttle hook is smoothly catching the thread. If the hook catches the thread every time, your timing has been fixed.
Reassembling and Testing the Machine
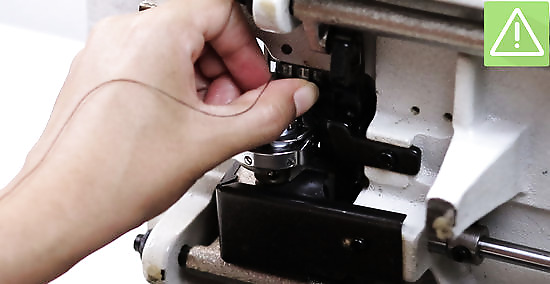
Re-assemble your machine. Carefully tighten all screws securely, and be sure there are no “leftover” parts that have not been replaced.
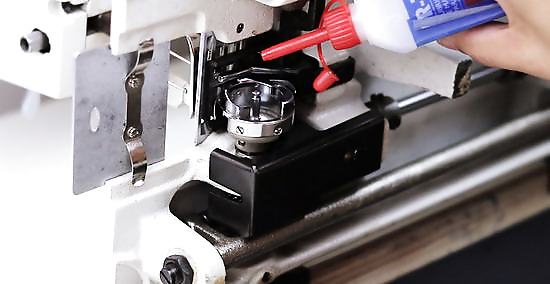
Clean and oil any exposed gears while your covers are still off. Remove any lint or debris from gears and feed dogs. Consult your manual to find the specific areas that require oiling. Only use sewing machine-specific oil on your sewing machine.

Replace the covers and switchplate.
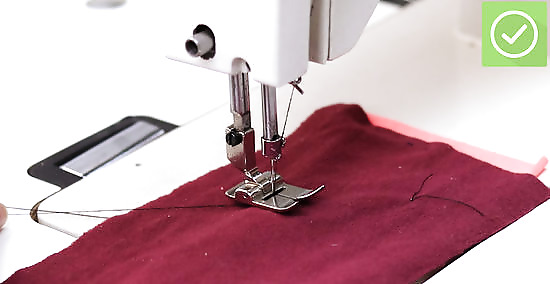
Test your adjustments. Re-thread your machine and sew a test piece of material. The stitches should be even, with no skipped stitches or broken needles. If the problem has not been resolved, you may need to make further adjustments or consult a sewing machine repair person.




Comments
0 comment