views
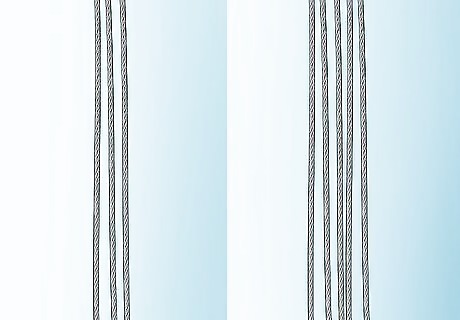
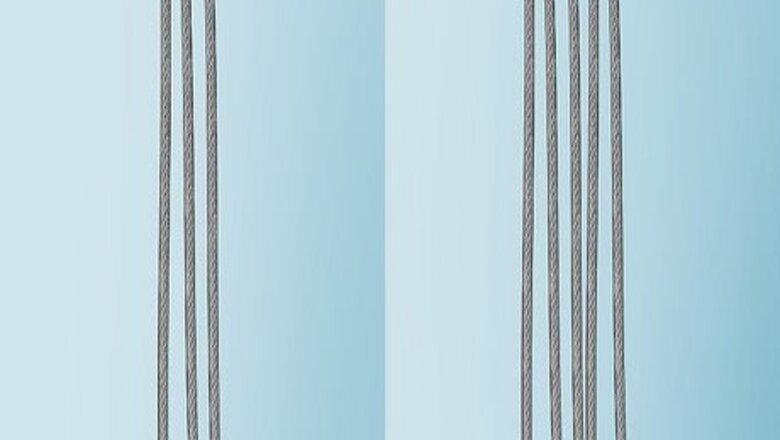
Know how many strands of wire you'll be braiding. The complexity of the braiding process will depend on the number of strands of the wire. The number of strands to be used will also depend on the nature of the application in question. Generally, wires with more strands which have been braided together will be stronger and thick in diameter. Before you begin this process put on your gloves and separate the strands of wires you would wish to braid. Clamp one end of the wire strands and ensure that they have been secured properly in preparation for the braiding process. Attach a clamp to the top of all the strands and use a screwdriver to tighten the screws in the clamp. This is to ensure that all the strands are secured firmly. The strands of wires will be attached together to one end point. To braid wire rope, you will begin from that end where all the wire strands diverge from.
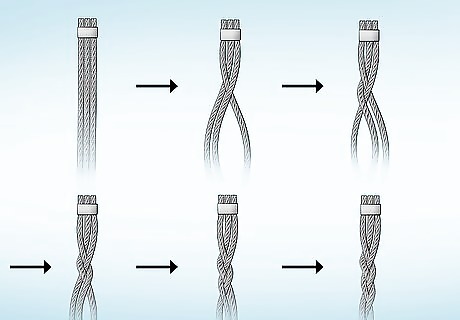
Separate the strands of wire. With all the strands of wires separated and the hands fully protected with the gloves you can begin to braid the wire rope. Three strands of wires; assuming that you have started with the left strand, place it in between the other two strands of wires such that the strand of wire which was initially on the left becomes the strand at the middle. Then, place the right strand in between the other two strands such that it becomes the middle strand of wire. Then, pull and return the old middle stand, which will now be on the left side over again to be the middle strand again. Continue with this process as you tighten them each time to make a tight braid. Five strands of wires; this is a more advanced technique of the braiding process. To braid wire rope with five strands, you must be well conversant with the process involved in braiding the three and the four wire strands first. As the number of strands increase, the process becomes more and more complicated. First, you have to separate all the five stands of wires. Take the three middle strands of wires and do only one stitch of a three strand braid. That is, assuming you start with the one on the left; place it to the center to become the middle strand, take the one on the right and put it to the center to be the middle strand and finally, the one which was initially the middle strand and now the left strand should be taken back to be the middle strand.
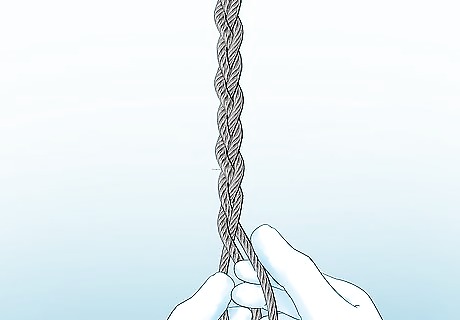
Pull the wire strands correctly. With the two outside strands of the previous step’s braid; pull the strand which was on the left and pull it over the outside strand on the left. Again, pull the one which was on the right and pull the strand over one outermost strand on the right side. This process may seem complicated as the number of wire strands increase. As a rule of thumb; begin with the three strands since it is easier to follow before proceeding to the next level. You can begin by practicing with thread which is softer to turn and twist before opting for wires. Similarly, it is advisable to begin the process by doing it for wires with smaller diameters before going for wires with slightly thicker diameters. It is such a simple process though if you master the basic concepts. During this process, other equipment such as pliers also become essential since you use it to tighten the braid by pulling the strands each time.
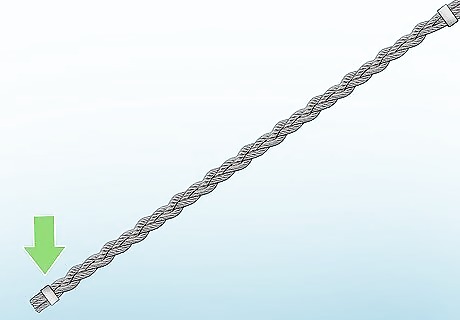
Secure loose ends. After you have reached the desired length of the wire rope, you must secure the loose ends. Generally, this is a simple DIY procedure. The process in industrial set up is not different from the DIY procedure. The only difference comes in the kind of machines which are used to accomplish the process. Most braiding machines have been automated with the advancement in technology. The DIY procedure is really tiresome if you have to braid a very long peace of wire. Moreover, different metals have different strength which may make it cumbersome when it comes to braiding stronger wire ropes. In fact, the DIY process is not just suitable for most wires with thicker diameters.




Comments
0 comment