views
Building a Triangular House
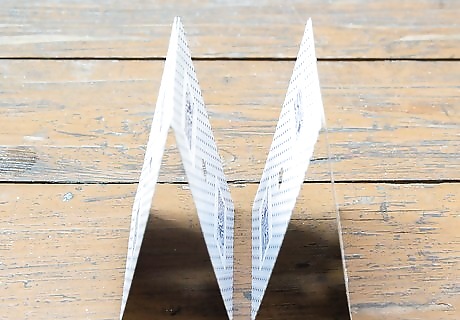
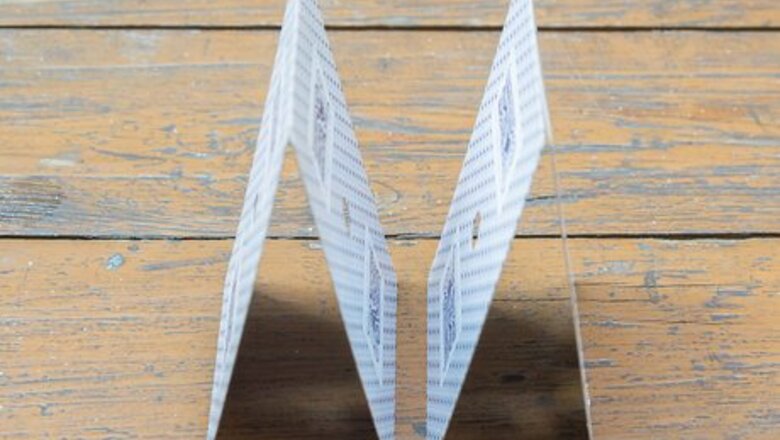
Form the first triangle. This "truss" is the basic structure of the pyramidal design. Prop two cards together into an inverted "V" shape. The top edges of the cards should meet, and the bottom edges should be evenly spaced apart from a central axis. Spend some time practicing this process. You'll need to repeat it over and over again in the construction of your house.
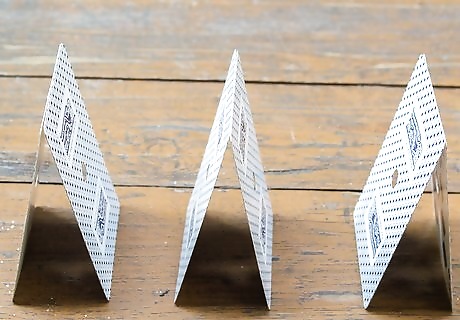
Build the foundation. Create a steady line of triangular trusses, two cards each. The point of each triangle should be no more than one card's length from the point of the next triangle. The number of triangles in the foundation determines the possible height of your house of cards: each "floor" will be built upon one less triangle than the floor below. For instance, if you build a three-triangle foundation, you'll be able to go up three "floors" before the house reaches a point; if you build a six-triangle foundation, you'll have more space to build, and you'll be able to go up six floors. Start with a three-floor house. Brace each new triangle against the base of the adjacent triangle. Eventually, you should have three triangles (using six cards, total) that are all touching.
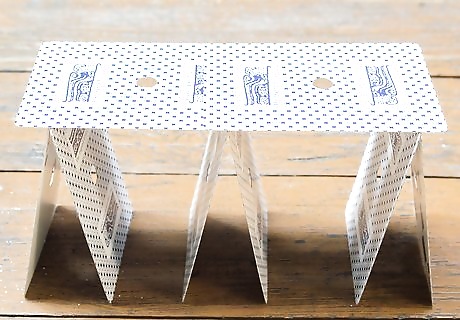
Brace the triangles. Gently lay a flat card on top of the first two triangles (say, 1 and 2). Make sure that the card is perfectly balanced between the points. Now, lay another card between Triangles 2 and 3. You should have a "foundation" of three triangles with two flat cards on top. This takes eight cards, total.
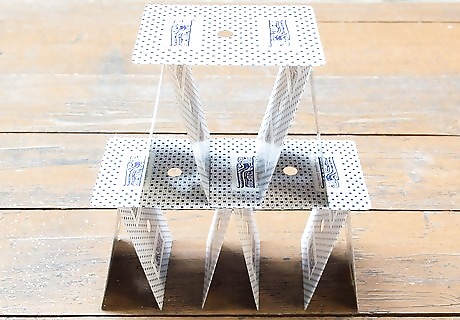
Build the next layer of cards. If your foundation comprises three triangles, the next "floor" up should use two triangles. Try to stack each new triangle at the same angle as the two triangles below, for the sake of structural integrity. Place the base of each card above the point of a lower triangle. When you have formed these two triangles, lay one flat card on top between their points. Be extremely careful. If you built the foundation well, it should be strong enough to hold up these new cards – but you will need to keep from knocking the whole thing over with a tremble or sudden movement. Stack the new cards lightly and cautiously. When you've finished laying the second "floor", your tower should comprise thirteen cards: five triangles and three flat cards.
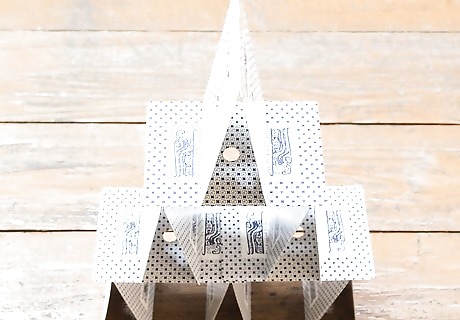
Add the point. To complete your house of cards, you just need to stack one more triangle atop the structure. Slowly and carefully prop two cards together at the same angle as all of the prior triangles. Hold them in place until they are completely even, and pull your hands away when you feel confident that the point will stand on its own. If the structure stands, you have built a house of cards!
Building a Four-Card Cell
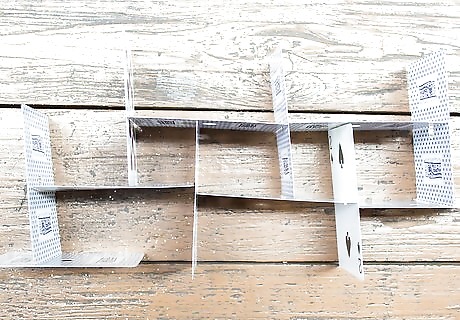
Form the cell. First, arrange two cards into a slightly-off-center "T". Hold the cards, one in each hand, so that their flat faces are perpendicular to the table. Lean them against each other to form another almost-T. Next, place a third card against the middle of one card to form another "T". Close the box with a fourth card and "T", so you have four cards pressed against each other with a square space in the center. This is the basic four-card cell or "lock box". It is one of the most structurally stable foundations that you can lay for your house of cards. Think of this cell as a pattern that you can repeat throughout your design.
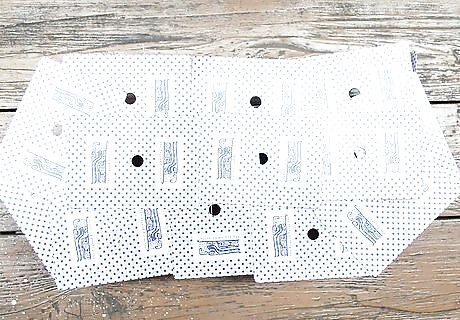
Build a "roof" or "ceiling". Overlap two cards flat on top of your four-card cell. Then, lay two more flat cards (rotated at a 90-degree angle) to complete the roof. A "double-ply" flat layer will make your eventual structure much more stable.
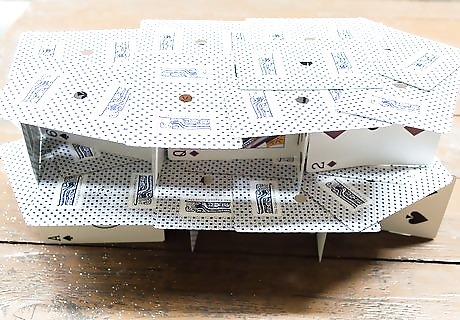
Add a second story. Carefully construct a second four-card cell on top off the flat layer. You now have a stable two-story card structure. Feel free to keep adding stories until you run out of cards, or until you think the structure is tall enough. The four-card cell is a very strong root, so you should be able to stack many levels atop the foundation. Try adding "wings" to the house by attaching more T-shapes to the ground floor. Whenever you put down a card shape that is perpendicular to the table surface, make sure to lay a flat card layer on top as a "ceiling". This will make the cards more structurally sound, and it will make the whole building look more like a house. Get creative. The sky's the limit with this method – so see how big of a house you can build!
Troubleshooting
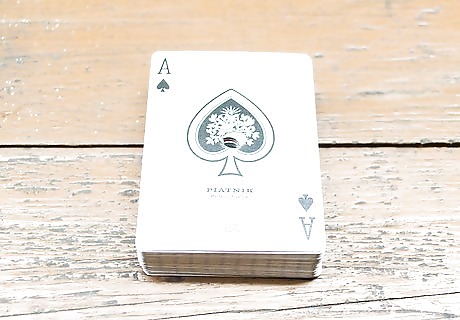
Use cheap cards. Expensive pro-quality cards are usually smooth and glossy, and they are prone to slipping apart. Cheaper cards tend to be grainier and less slippery, and thus better for sticking together.
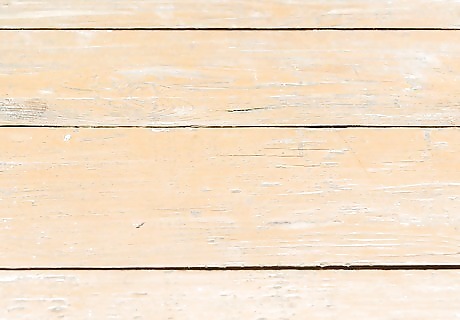
Choose your surface carefully. Pick a safe, sturdy space that will not shift while you're stacking cards. Try building upon a slightly textured surface, like a billiards table or an unfinished wood table. A smooth surface like a glass table could cause your cards to slip. Consider using a tablecloth or a place-mat to add texture to a smooth surface – but be aware that these unfixed foundations are prone to shift unexpectedly. Make sure that there isn't a draft! Build your house of cards indoors, away from open windows, doors, fans, and vents. You don't want to lose all of your hard work to a ill-timed gust of wind.
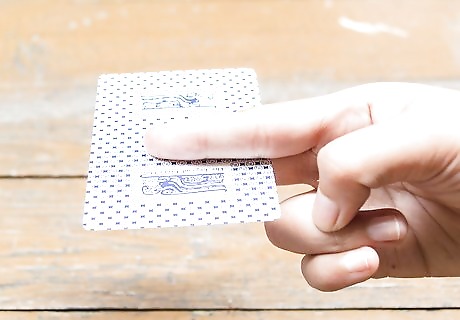
Stay calm. A shaky hand or a sudden twitch can make your house crumble. Hold each card gently but firmly between two fingers of your dominant hand. Try to "float" it smoothly into place. Try placing cards when you are between breaths, or at the "bottom of your breath" – in the moment just after you exhale. Take deep breaths, and pay attention to the brief space that occurs between exhalation and inhalation. Your body is at its stillest during this moment, and you may find it easier to keep your hand steady.





Comments
0 comment