views
Learning How a Combination Lock Functions
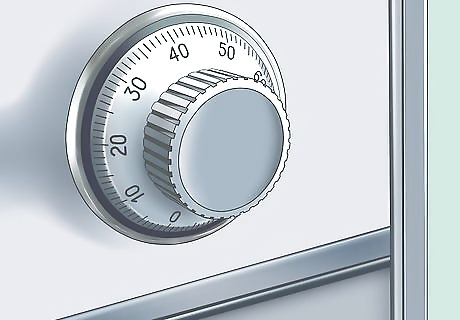
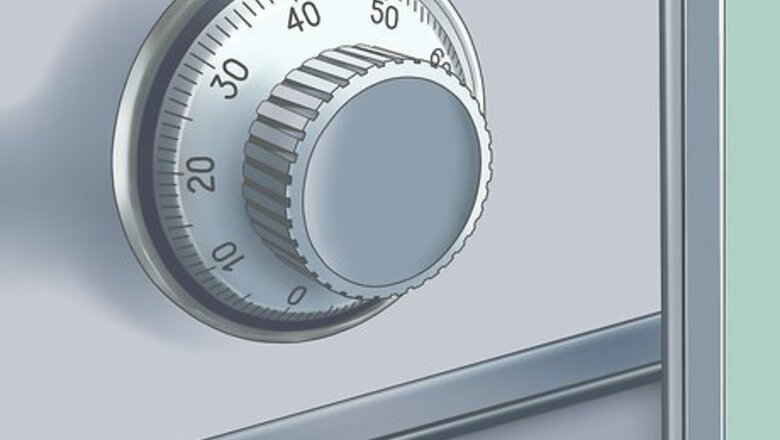
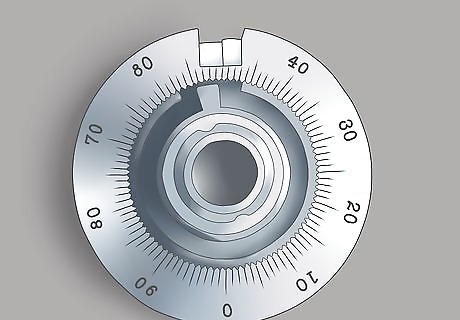
Start with the combination dial. The face of a combination lock is a circular, rotatable dial. Numbers are written around the circumference, usually beginning with 0 at the top and increasing as you go around the dial clockwise. Aside from physically breaking into the safe (which is very hard to do), correctly inputting a series of numbers into the combination dial is the only way to open a safe.
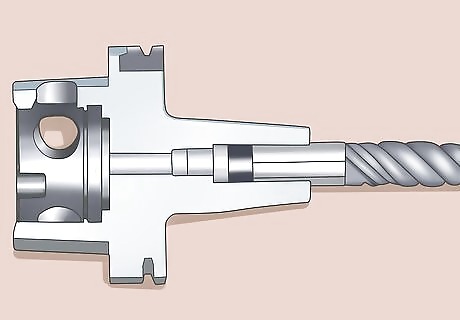
Know how the spindle works. This is a small, simple cylinder attached to the combination dial. When you rotate the dial, the spindle rotates as well. The spindle and other parts are not visible even with the safe door open.
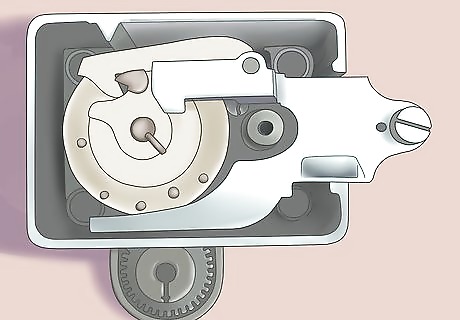
Know how the drive cam is connected to the spindle. Located on the far end of the spindle (opposite the combination dial), this circular object is threaded onto the spindle and rotates with it. A small drive pin extending from the drive cam serves to catch against the wheels (see below) and set them rotating.
Understand a safe's wheels. Also called tumblers, these circular objects encircle the spindle but are not attached to them. They must be caught by the drive pin in order to rotate. A combination lock has one wheel for each number in its combination (typically 2–6). For instance, a lock with a 3-number combination (e.g. 25-7-14) has three wheels. Knowing how many wheels there are is important for cracking the safe, but there are ways to discover this number without knowing the combination (see later parts). Small tabs on the wheel called the wheel fly catch against the drive pin or next wheel and sets them rotating. This term is not important to remember for this guide; just know that the drive cam makes contact with the wheels to set them spinning.
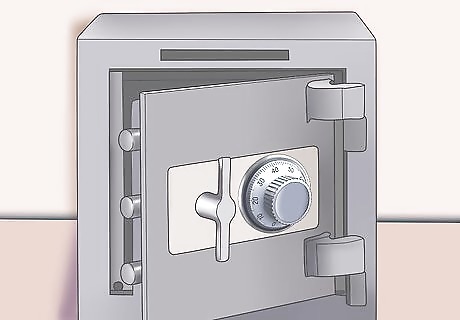
Visualize the fence. The fence is a small rod resting gently atop the wheels. (It does not prevent them from turning.) The fence is connected to a lever mechanism responsible for keeping the safe shut. As long as the fence remains in place, the safe is locked. Older texts may refer to this as lock drop, drop-pawl, or dog (an obsolete term for any object that holds or blocks another).
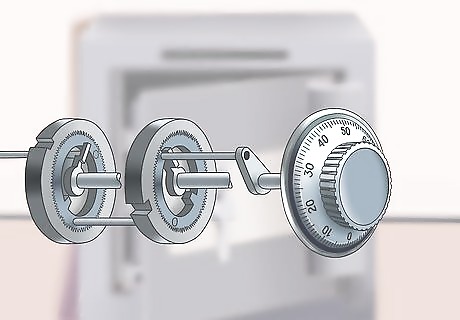
Understand how wheel notches come into play. Each wheel has a notch (also called a gate) at one point along its circumference. When each wheel is rotated so the notch is at the top, the fence falls into those notches. The lever moves, and the door mechanism is unlocked. You can see why there is one wheel for each combination number. When you dial the first number, the first wheel is rotated to a position with its notch directly below the fence. You then reverse the direction of your rotation to disengage with that wheel and turn the next to its correct position. The drive cam also has a notch for different reasons. The intended purpose is not important to know for this guide, but remember that this notch will "click" every time it slips past the lever (stationary part attached to the fence). (Extra information for the curious: once the fence falls and releases the locking mechanism, the drive cam notch catches onto the bolt physically blocking the door and pulls it out of the way.)
Continue to the appropriate section based on your available knowledge. If you already know how many numbers the combination consists of, skip directly to section entitled "Testing the Numbers." Otherwise, read on to learn how to "Finding the Combination Length."
Finding the Combination Length
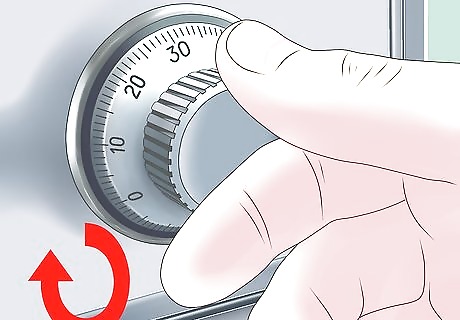
Turn the dial several full revolutions clockwise. This will reset the lock and ensure that all wheels are disengaged.

Place a stethoscope near the dial surface. Believe it or not, this Hollywood trope is actually used by professional locksmiths. Placing the stethoscope in both ears and the bell end against the safe wall amplifies the sounds you're listening for. The mechanism you're listening to is located directly behind the dial, but obviously you cannot cover up the dial since you'll need to turn it. Try moving the stethoscope between different spots adjacent to the dial as you spin the combination until you find the most audible location. Metal safes reverberate the sounds and make them easier to hear. These are a good choice for a beginning hobbyist.
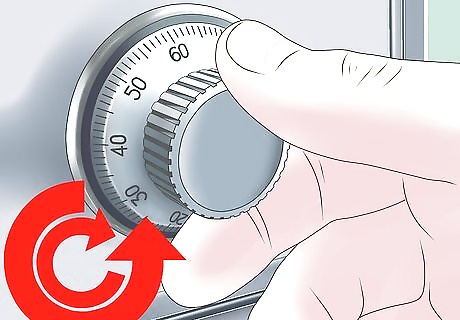
Rotate the dial counterclockwise and listen carefully for two clicks near each other. Rotate slowly and be ready to note the dial positions. One click will be fainter than the other, since the notch making the sound is sloped toward one side. You're listening for the sound the drive cam notch makes when it slides under the lever arm (see Learn How a Combination Lock Functions). Each side of the notch "clicks" as the lever passes by. The drive cam's contact area is the name of the area on the dial face between these two clicks.
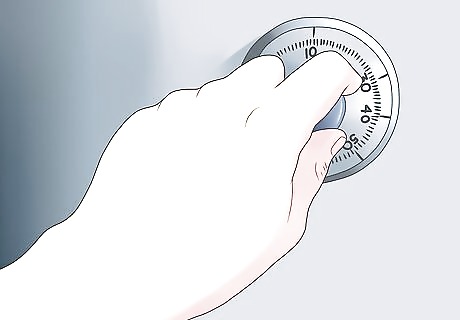
Reset the lock again and repeat. Turn the dial several revolutions clockwise, then listen again as you turn slowly counterclockwise. Clicks can be faint or obscured by other sounds. Repeat the process two or three times and confirming the pattern of two nearby clicks in a consistent small region of the dial face.
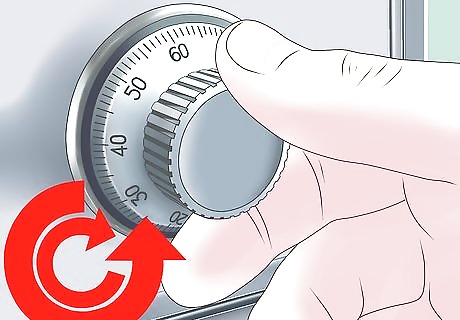
Dial counterclockwise until the dial is opposite the sound of the two clicks. Once you've found the site of the two clicks (the contact area), move the dial to the point 180º across from it, exactly opposite the dial face. This is referred to as parking the wheels. You've placed the wheels in this location and can now count them as you "pick them up" by turning the dial.
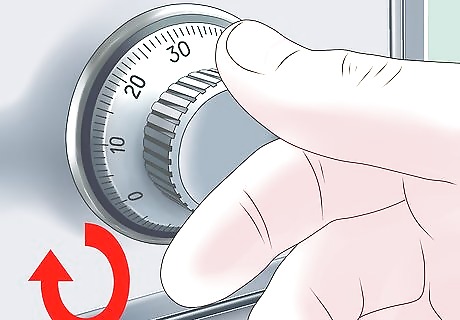
Turn the dial clockwise and listen each time you pass the original point. Turn slowly and pay close attention each time you pass the point you "parked the wheels". Remember to listen when you pass the "parked" position, 180º from the original "contact area" you found earlier. The first time you pass that position, you should hear a click as a wheel is engaged and begins to spin with the drive cam. Each subsequent time, you will hear a click only if there's an additional wheel to be "picked up".
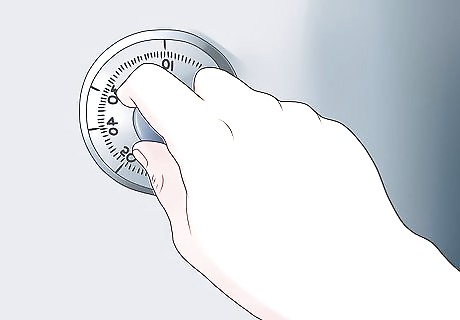
Keep rotating and count the number of clicks you hear. Only count clicks audible in that "parked" region. If you hear many clicks or clicks in the wrong position, you may have made a mistake while "parking". Try again from the beginning of this section and make sure you are resetting the dial completely by giving it an extra few rotations. If you are still encountering the same problem, the safe you're using could have anti-cracking technology. You may need to call a professional locksmith.

Write down the total number of clicks. Once you rotate past that point and hear no additional clicks, note the number of total clicks. This is the number of wheels in the combination lock. Each wheel corresponds with one number in the combination, so you now know how many numbers you need to enter.
Searching for the Combination Numbers

Set up two line graphs. You'll need to record a lot of information in order to crack a safe. Not only are line graphs an easy way to do so, the shape of the graph will aid you in finding the data you'll need.

Label each graph. Each graph's x-axis should cover a span from 0 to the highest number on the dial face, spaced out enough to clearly graph points 3 numbers apart or closer. The y-axis only needs to cover a span of about 5 numbers, but you can leave it blank for now. Label one graph's x-axis "starting position" and its y-axis "left contact point". Label the second graph's x-axis "starting position" and its y-axis "right contact point".
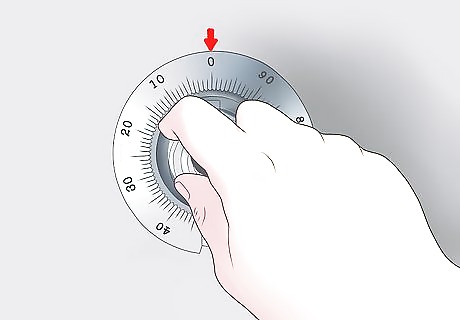
Reset the lock, then set it to zero. Spin the dial several rotations clockwise to disengage the wheels, then set it at the zero position.
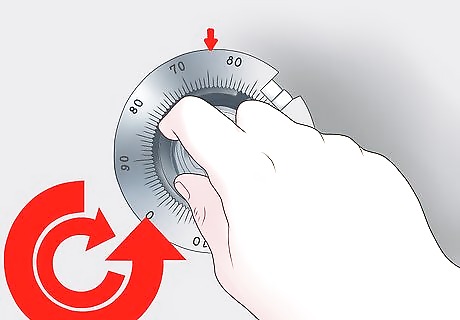
Rotate slowly counterclockwise and listen. You're trying to find the contact areas where the drive cam connects to a wheel (see Learn How a Combination Lock Functions).
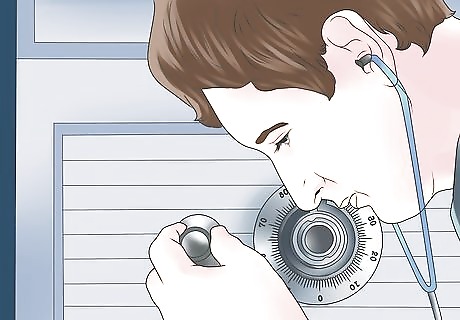
When you hear two clicks close together, note the position of the dial at each click. Make sure to note the exact number you heard each click. You'll need two separate points, usually within a few numbers of each other.
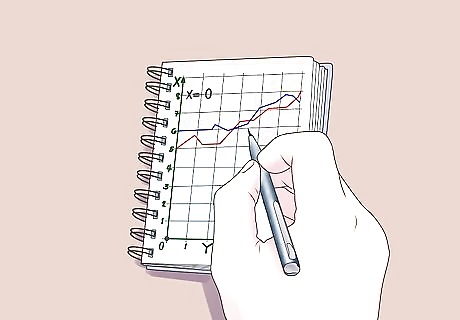
Graph these points. On your "left contact point" graph, make a point at x=0 (the number the dial began on). The y-value is the number on the dial where you heard the first click. Similarly, on your "right contact point" graph, mark a point at x=0 and a y value where you heard the second click. You can now label your y-axes. Leave enough room to graph a spread of 5 numbers on either side of the y-value you just recorded.
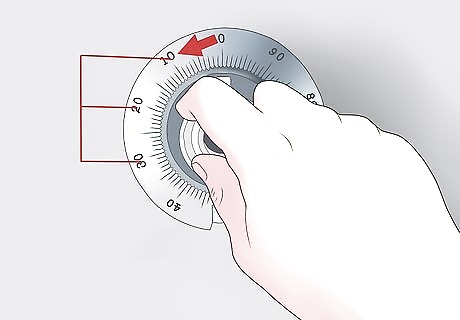
Reset the lock and set it 3 numbers left of zero. Spin the dial clockwise a few times and set it 3 numbers further clockwise of zero. This new number is the next x-value you'll record.
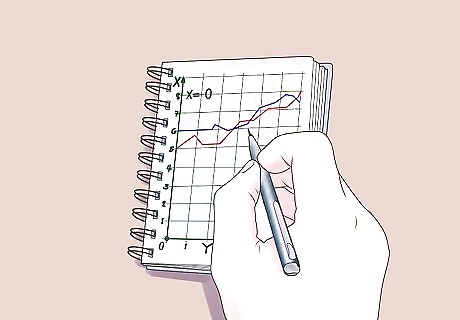
Continue recording the location of the two clicks. Find the new y-values of the first and second clicks when you start at this location. They should be near where you heard them last time. When you've recorded the second location, reset the lock again and set it an additional 3 numbers counterclockwise.
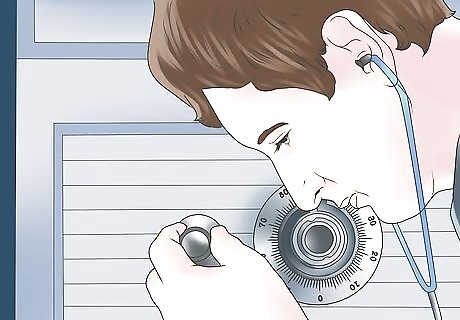
Keep testing until your line graphs are done. Once you've mapped the entire dial (in increments of 3) and are back at the zero position, you can stop testing.
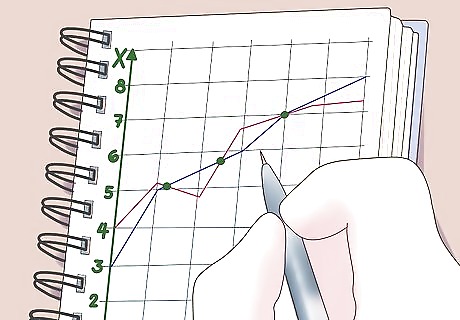
Look for points on your graphs where the two y-values converge. At certain x-axis points the difference between the left and right contact point values (y axis) will be smaller. This is easier to see if you lay the two graphs one above the other and literally find the points where the two graphs are closest together. Each of these points corresponds with a correct number in the combination. You should know how many numbers there are in the combination, either because you've used this safe previously or because you followed the instructions for Find the Combination Length. If the quantity of converging points on the graph doesn't match the quantity of numbers in the combination, make a new graph and see which points are consistently narrow.
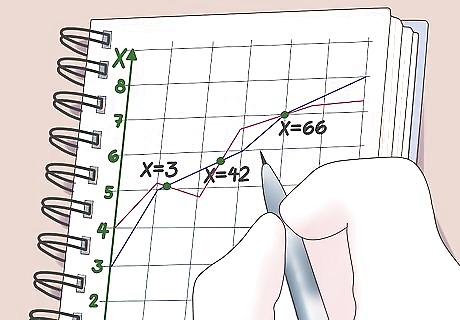
Write down the x-values at these locations. If the y-values on the two charts are closest together when x=3, 42, and 66, write down these numbers. If you successfully followed these steps, these numbers should be the ones used in the combination, or at least close enough to work. Note that we do not know which sequence of these numbers is the correct one. Read on for additional testing and tips.
Testing Your Results
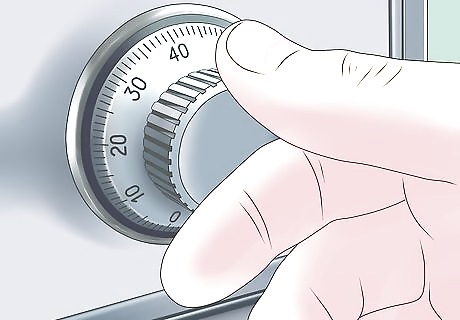
Try every possible sequence of the numbers you located. If you wrote down 3, 42 and 66 at the end of Search for the Combination Numbers, test the combinations (3,42,66);(3,66,42);(42,3,66);(42,66,3);(66,42,3); and (66,3,42). One should open the safe. Remember to attempt to pull open the safe door after each complete combination! You don't want to be absent-minded and move on to the next combination before checking for success. Remember to reset the dial between each attempt by spinning it several times. If your dial has more than 2 or 3 wheels, you'll probably want to write down each combination in advance and cross them out as you go.
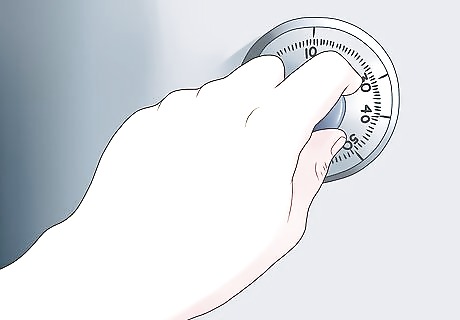
Try combinations using adjacent numbers if the safe won't open. Most safes allow for a 1 or 2 number margin of error while dialing, which is why you only needed to test every 3rd number. It's possible your safe is more exact, especially if it is more expensive. For example, if the digits you wrote down are 3, 42, and 66, you'll need to try every combination of [2, 3, or 4] + [41, 42, or 43] + [65, 66, or 67]. Don't get confused and start testing combinations like (41, 42, 65); each combination should contain exactly one number from each bracketed trio. This is really only practical for a 3 digit combination or less (requiring a maximum of 162 attempts). For a 4-digit combination, the number balloons to a maximum of 1,944 attempts. This is still much faster than trying every possible combination, but will waste a lot of time if it turns out you made an error in your cracking attempt.
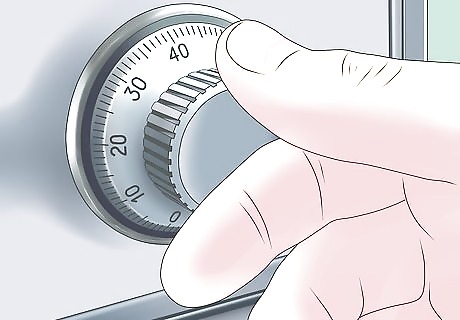
Try again from the beginning. Cracking a safe takes a lot of patience and effort! Find the Combination Length, Search for the Combination Numbers, and Test Your Results all over again. Keep your old graph and notes handy. If your new attempt gives the same partial results (for instance, 2 of the 3 numbers are the same ones you tested before), it's much more likely those results are accurate.






Comments
0 comment