views
Dyeing Your Roots Darker
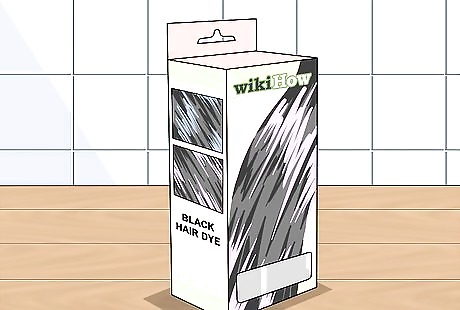
Find a boxed dark hair color that suits you. Look at the side of the box to see what the shade will look like based on your current hair color. Black will almost always turn out black, regardless of your natural hair color, but other shades may not turn out what's on the box. This method is also known as "reverse ombre." Instead of bleaching your ends lighter, you are dyeing your roots darker.
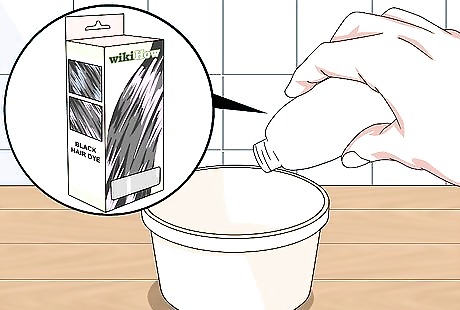
Prepare the dye according to the instructions. Each brand will be a little different. In most cases, you will need to empty the dye into the bottle of developer, close the bottle, then shake it. Some kits also contain a tube of conditioner--set this tube aside for later.
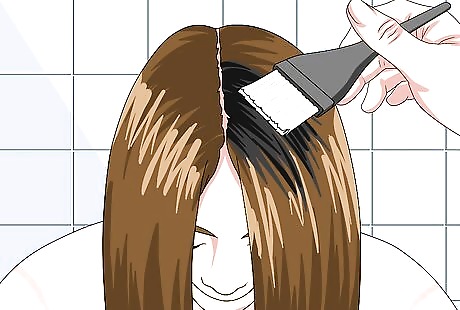
Apply the dye to either side of your part. Use the handle of a rat-tail comb to part your hair down the center. Apply the dye to one side of the part. You can do this with a special applicator brush, or you can apply the dye straight from the bottle. If you used an applicator brush, lightly feather the dye down your hair as far as you want. If you didn't use an applicator brush, comb the dye downward using a comb.
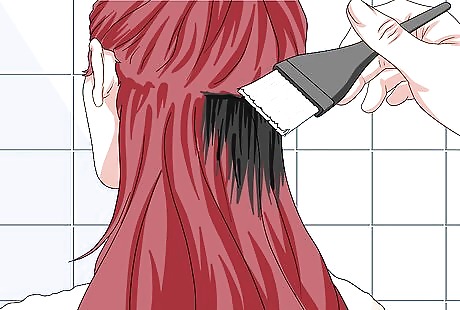
Create a vertical part and apply the dye to either side of it. Use the handle of a rat-tail comb to create a vertical part on the left side of your head. Apply the dye to either side of the part using the same technique as before. Start as close to your face as you can.
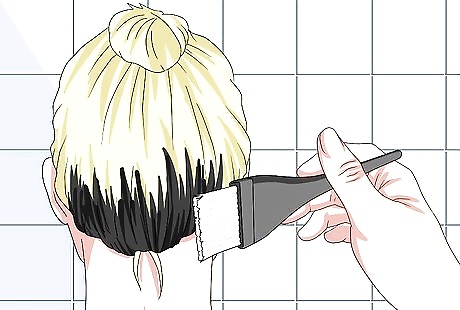
Work your way towards the back of your head. Continue creating vertical parts down the side of your head, and applying dye to them. Stop when you reach the back of your ears. At this point, you can do the right side of your head, or move onto the next section.
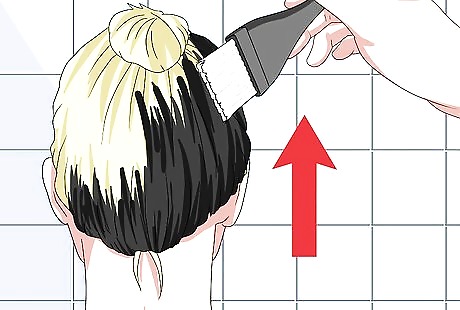
Continue with horizontal parts on the back of your head. These parts should extend from the last vertical part to the center-back of your head. Start with the parts from the back of your neck, then work your way up towards the crown of your head.
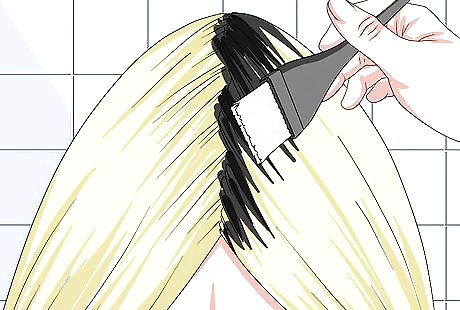
Create a vertical part down the back of your head, and apply dye to it. Once you have finished this part, repeat the entire process on the right side of your head: vertical parts until you reach your ears, then horizontal parts until you reach the back-center of your head.
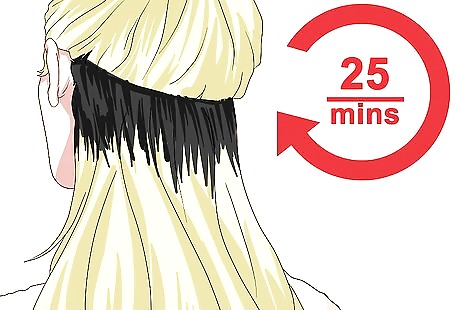
Allow the dye to process for the time recommended on the box. Again, each brand will be a little different. In most cases, however, this will be around 25 minutes. Avoid tucking your hair under a shower cap, or you will risk getting dye on the ends of your hair.
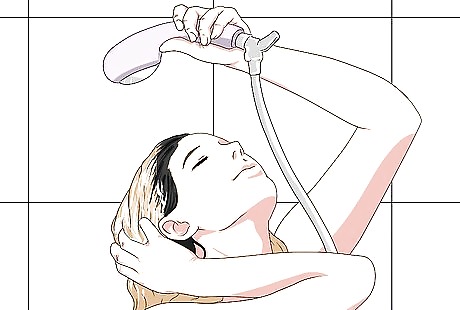
Rinse the dye out using cool to lukewarm water. Cold water would be the best, but not everyone can handle that. Avoid using hot water, as this will cause the dye to wash out. Do not use any shampoo.
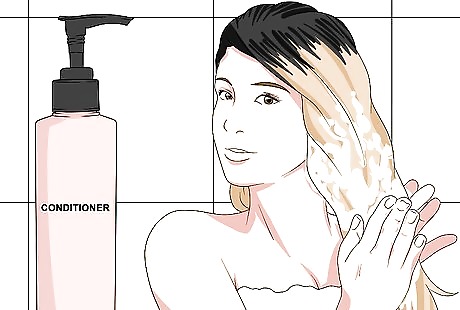
Follow up with conditioner. If your kit included a tube of conditioner, apply a generous amount to your hair now. If your kit did not come with a conditioner, use a sulfate-free conditioner mean for color-treated hair. Leave the conditioner in you hair for the time recommended on the tube (2 to 5 minutes), then rinse it out. If you got dye on the ends of your hair, rinse it out with hot water and shampoo. This may not remove all of the dye, but it will help fade it.
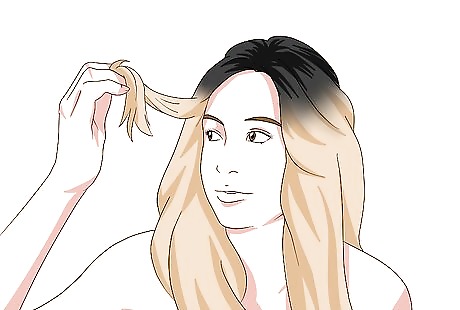
Dry and style your hair as usual. You can use shampoo the next time you wash your hair, but make sure that it is sulfate-free and intended for color-treated hair. Always follow up with conditioner, and limit the heat-styling. If you must heat-style your hair, apply a heat-protectant first.
Darkening Your Roots without Dye
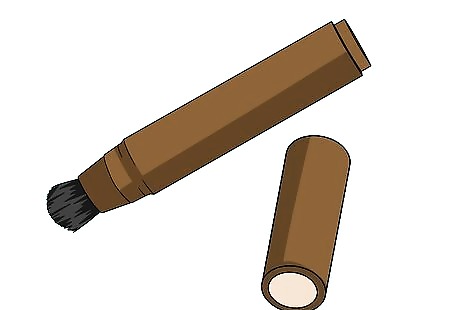
Use a dark-colored root touch-up pen, powder or wand. You can find these products online and in well-stocked salons and beauty-supply stores. The pen looks like a felt-tipped eyeliner, while the powder looks like eyeshadow. Hair mascara contains a wand that looks like a mascara brush. These are intended to be used in hair for covering up roots between dye jobs. These kits will contain all of the products you need to apply them. Follow the application instructions included with your kit as each brand will be different.
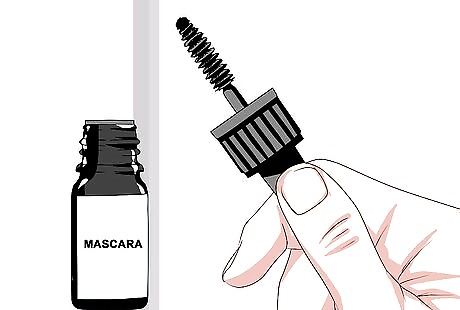
Try makeup in a pinch. Makeup products, such as mascara, eyebrow pencil, tinted brow gel, or eyeshadow are all great options. They aren't going to be as concentrated or long-lasting compared to root touch-up pens or powders, but they work in a pinch. Apply mascara with a clean spoolie; don't use the same one you'd use on you lashes. Apply eyeshadow with a larger brush. You can even use a flat paintbrush that has kanekalon, sable, or taklon bristles.
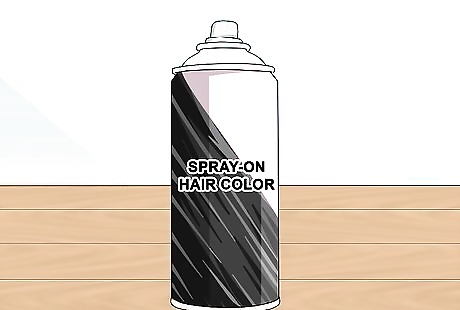
Use a spray-on hair color. Spray-on color is a cheap, quick option that comes in many natural or bright colors. It won't last very long, however. You can find sprays online and in salons and beauty-supply stores. To use the spray-on color: Hold the can 2 to 3 inches (5.08 to 7.62 centimeters) from your roots. Spray on the color using a sweeping motion. Wait for the spray-on color to dry Brush your hair to further blend in the color.
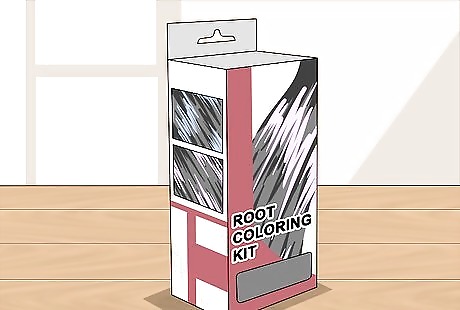
Use a root-coloring kit. They are a miniature versions of hair dye kits. They come with dye and developer, as well as a fine-toothed, flexible comb. Prepare the dye according to the directions on the package, then apply it to your roots. Allow the dye to process for the recommended time on the package, then rinse it out. Root-coloring kits are typically semi-permanent and can last several washes.





Comments
0 comment