views
Defining Your Classroom Style
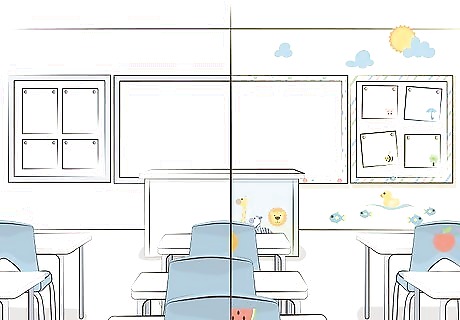
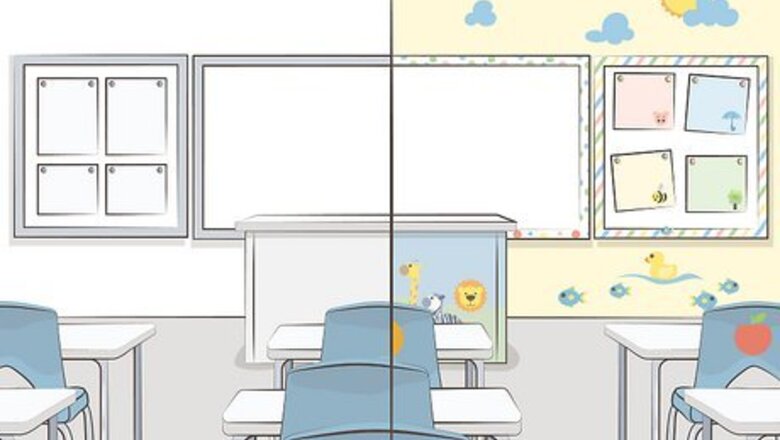
Decide what type of atmosphere you want to create. Base your classroom style around your teaching philosophy. For example, do you want your classroom to have a homey feel or professional look? Do you want your students to feel calm or energized? Let these types of questions determine what type of atmosphere you want to create. A homey classroom might have friendly, warm decor, while an professional classroom might stick to basic colors and a few educational posters. A calm classroom might be minimalist, while an energetic classroom might have bright colors and lots of posters.
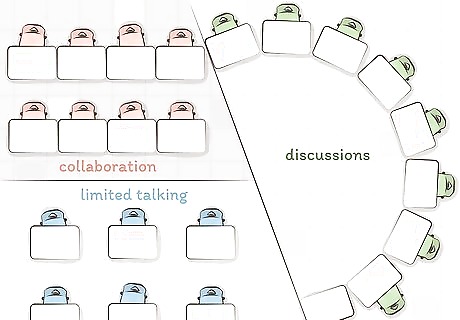
Choose a furniture arrangement that suits your teaching style. Consider how you want your students to interact with you and each other. You might choose rows to limit talking, desk groupings to encourage collaboration, or a giant desk circle to facilitate classroom discussions. You could even create a system for different types of desk groupings, but your room should be set up to allow this. Make sure your desk, bookshelves, and organizational furniture are placed so that they don't get in the way of your desk arrangements. For example, you might put your desk at the front of the room so you can overlook the classroom and create authority, or you might put it in the back of the classroom to avoid intimidating your students. Putting it on the side might create a good balance between being visible to students and keeping them at ease.
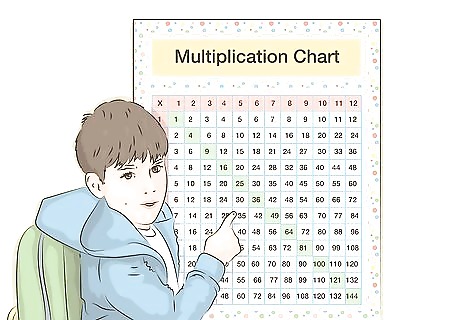
Match your decor to the age of your students. It's important that your decor matches the age of your students because it can impact how they learn and behave in your class. You want young children to feel excited and unafraid, while teens need to feel engaged and responsible. Younger students often benefit from bright colors, fun shapes, and educational reminders. For example, you might put up multiplication charts. Middle school children might respond well to inspirational posters and a set up that allows them to be independent. High school students might not respond well to cutesy decor. Instead, a balance between homey and professional can work well for them.
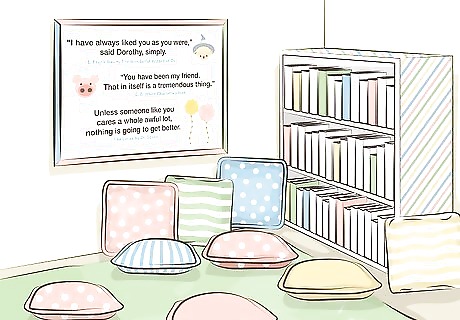
Incorporate your subject matter into your decor. Your decor can help your students get into the right frame of mind to learn by reflecting the subject you teach. Choose posters, photos, and colors that correspond to your subject or subjects. If you teach older children, your entire room might reflect your subject. For instance, a history teacher might choose inspirational quotes from historical figures, and they might decorate their walls with different timelines. For younger students, you might create different areas of the room for each subject. Since they'll be learning many subjects in one room, your classroom should reflect all that they'll learn. For example, you might have a reading corner, a math wall, a word wall, a history timeline, and a science corner.
Making Decorations for Your Room
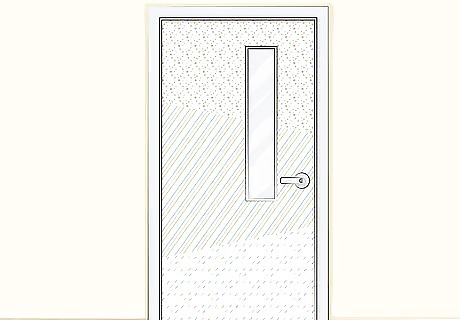
Use wrapping paper to make a cover for your door or bulletin board. Get a large roll of wrapping paper and roll out a piece large enough to cover your door or bulletin board. Cut out holes for the doorknob and window if your door has one. Then, use masking tape to attach the paper to the door or staples to attach it to a bulletin board. If you want a solid-colored cover, use a large roll of butcher paper. You can normally find butcher paper at the supermarket or craft store in white, brown, black, and occasionally seasonal colors like red, green, or yellow.
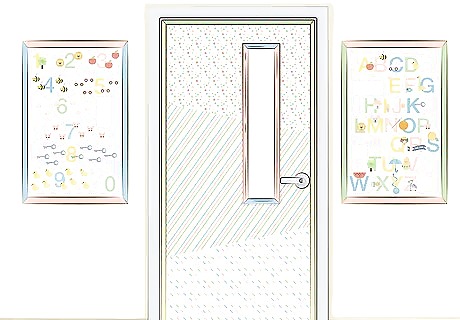
Create borders and frames using colored masking tape. Whenever you hang posters or pictures, or decorate a bulletin board or your door, use a roll of masking tape to make a straight or zig zag border. Simply rip off the length that you need to cover one side, and smooth it out with your hands in a straight or zig zag line. Once you have the frame made, trim the edges of each piece to complete the frame or border. You can find colored masking tape and painter’s tape at most home improvement stores and craft stores. There’s also special crafting tape, called washi tape, that’s great for making borders and frames.
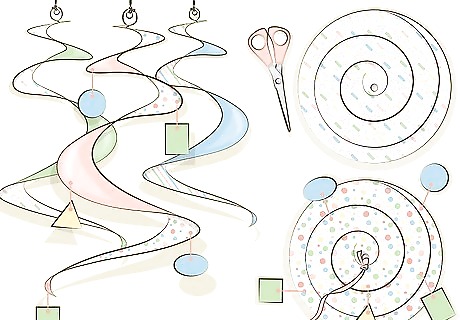
Make paper whirligigs to hang from the ceiling. Whirligigs are a fun and easy classroom decoration that kids can make themselves. Decorate a few colored paper plates, and then cut them in a spiral pattern starting from the outside to the center of the plate. Punch a hole in the center and use a string or ribbon to hang the whirligigs from the ceiling. This is a great craft project to do with your students when the seasons change. You can update the decorations in your room and the students will be able to see their whirligig on display!
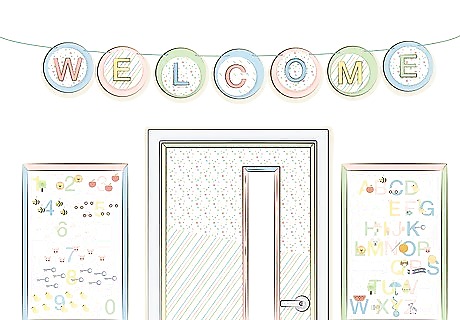
Craft a paper circle welcome banner for the front of the room. Cut 7 circles out of construction paper, and write one letter of the world “Welcome” on each circle. Then, punch one hole on the left and right sides of the circle, and string a piece of ribbon through the holes to make the banner. You can hang the banner above the doorway or even on your door. For more depth, you can cut larger circles out of a different color to “frame” the back of each circle. Don’t be afraid to make a few different banners for different times of the year, like “Happy fall!” or “Spring has sprung!”
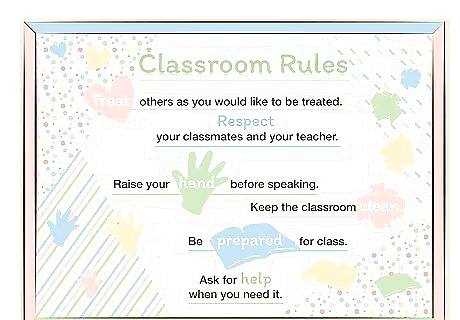
Write your classroom rules and objectives on a poster for your room. Every room should have a set of clearly defined classroom rules that are visible to the students. Additionally, your state might require that you display objectives for student learning or standards for students to meet. Make the posters colorful and interesting to fit in with the rest of your classroom decor. For example, in a math classroom, you might have posters of the different equations that students will need to complete their problems. Make sure you cover these up during quizzes or exams, if necessary. This is especially important if the posters may contain answers. In a science classroom, you can hang up posters that demonstrate proper lab behaviors and lab rules.
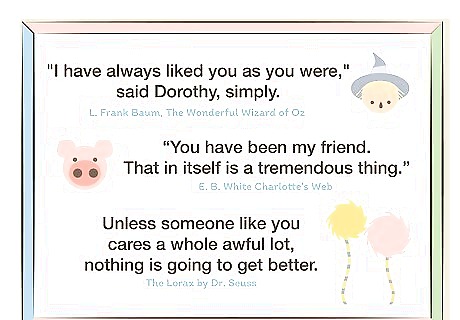
Decorate the walls with pictures that correspond to the class subject. Make sure each of the decorations on your wall has a purpose, since too much decoration can be distracting. Choose quotes, inspiring figures, and class-related images to decorate the walls and encourage students to be interested in the class. If you teach English, you can hang up a wall of pictures with quotes from novels that you’ll be reading in class. In a chemistry class, you can put a poster of the Periodic Table of Elements at the front of the room, since you’ll likely be referencing it throughout the year.
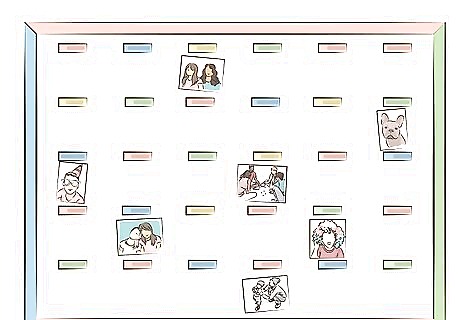
Turn one of the bulletin boards into a “wall of fame” for students. Write each student’s name on a card and hang it on a bulletin board. At the beginning of the year, ask each student to bring in a picture of someone or something that’s important to them. Then, have the students help you hang up their picture under their name and talk about it with the class. This is a great icebreaker for younger children and can help them to feel more relaxed in your classroom, since they’ll have a reminder of something they love in the room.
Staying within a Budget
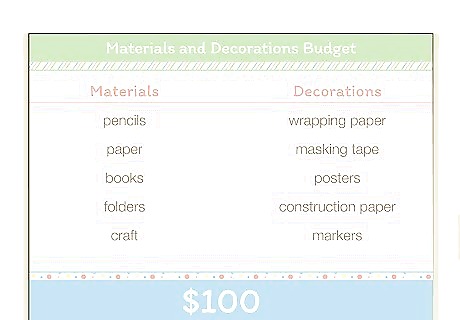
Aim to spend around $100 or less on decorations for the year. Some schools give teachers a small budget for decorating, while others require them to use their own money. Decide on the amount of money you feel comfortable spending on materials and decorations. For most classrooms, $100 is a reasonable decoration budget for the year. Remember to prioritize classroom materials before decorations. Items like pencils, paper, books, and folders are much more important to your students’ success than colorful bulletin boards and posters. Often, the school will only provide a certain amount of these items, and the teacher will be required to purchase any additional items. Keep in mind that even with a small decorating budget, you can still make your classroom an exciting and welcoming environment for your students.
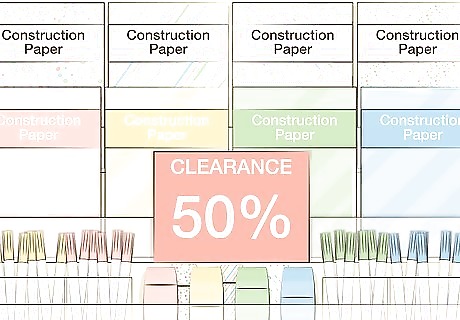
Visit discount stores to get deals on decorating supplies. Buying construction paper, tape, and markers can get pretty expensive. Check out discount stores like dollar stores, and look in the clearance section of the craft store to get these items on sale. Don’t forget to ask the store associate if they offer a discount for teachers, as well! Some items, like holiday decorations, will go on sale right after the specific holiday is over. Head to the craft store a few days after the holiday has passed to get deals on themed decorations for next year!
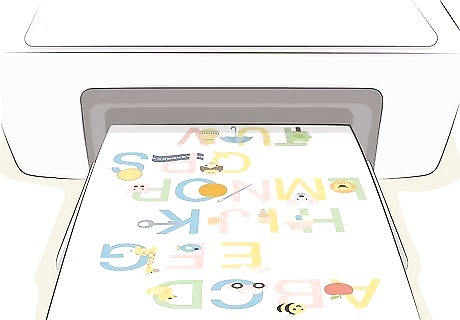
Print pictures from the internet to hang on your walls. Posters and pictures can be extremely expensive, but most teachers have access to a printer. Look at your class plan for the year and find images of important ideas, figures, and topics throughout the year. Then, print them all out and trim the borders before hanging them on the walls with tape. For a more polished look, you can create little “frames” for the images by adding a construction paper background that creates a border around the picture. As another option, you can look for cheap frames at a local thrift store or at garage sales. For instance, if you teach a history class, you can print out black and white pictures of historical figures and hang them at the front of the classroom. Throughout the year, you can point to the various pictures as you talk about that figure. By the end of the year, you can ask your students to name all of the figures on the wall.
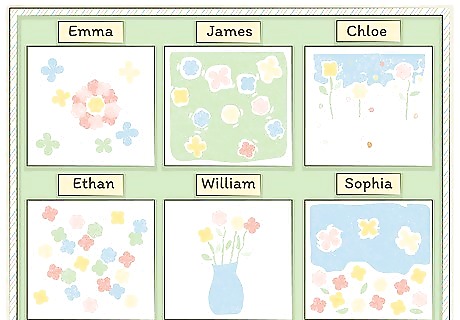
Display student projects and work throughout the classroom. As the year goes on, you might want to change your decorations, but you don’t need to buy new ones. Instead, change a bulletin board to showcase student projects, papers, or class activities. Include a small explanation of the assignment and be sure to hang up every students’ work. If you’re allowed to, take pictures of your class throughout the year as they work on projects and finish assignments. Then, print out the pictures and add them to the bulletin board for a “work in progress” section. Remember that you should never hang any assignments that contain grades on the papers.
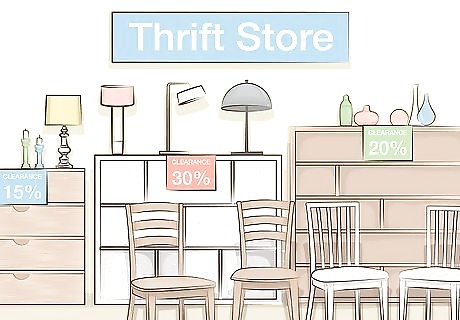
Purchase pieces of furniture and extra decorations at a thrift store. If you need an extra table for your room or a bookshelf to hold extra books, head to a thrift store, consignment store, or flea market. Pick an item that’s in working condition, but remember that it doesn’t need to be perfect since it will probably get some marks from being in your classroom anyway! Keep in mind that it’s normally cheaper to paint an old piece of furniture than buy a new one. However, you can sometimes find good deals in the clearance section of furniture stores.
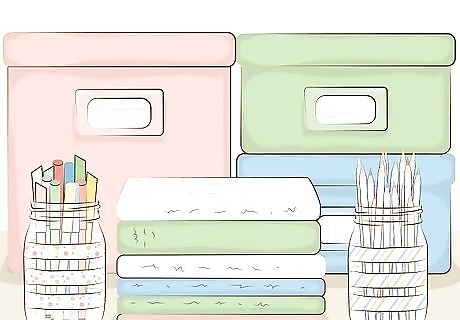
Repurpose household items to use them in your classroom. Items like empty jars, magazines, old books, bins, trays, and even boxes can be used in your classroom. Make sure you thoroughly clean any item that you plan to bring into your classroom, and remove identifying information from magazines and books. For example, you can use empty mason jars to hold pencils, markers, and rulers on a student station. You can use old magazines and damaged books for making collages and decorations. Items like boxes and bins are great for adding storage to a smaller room without spending a lot of money.
Decorating with a Purpose
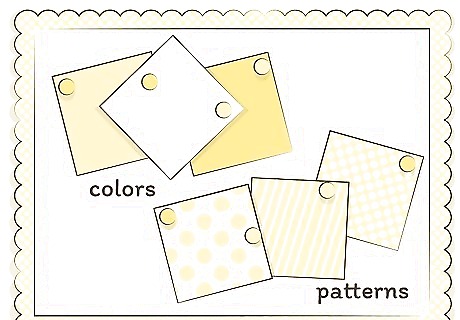
Pick a color scheme to inspire bulletin boards and other decor. To keep your boards from becoming too distracting pick 1-2 colors for decorating. Then, use the colors throughout the room to make it feel cohesive and purposeful. For example, you can select yellow and white for your color scheme, and make your bulletin boards white with yellow trim. Then, you can add pops of yellow throughout the classroom to draw students’ attention to important items. If you teach biology, you might pick green and navy blue for your colors. Then, you can make one bulletin board green with blue trim and another blue with green trim. Pick posters that show images of trees, lakes, and other Earth-inspired images. You can also use your school’s colors as your room’s color scheme for an easy source of inspiration.
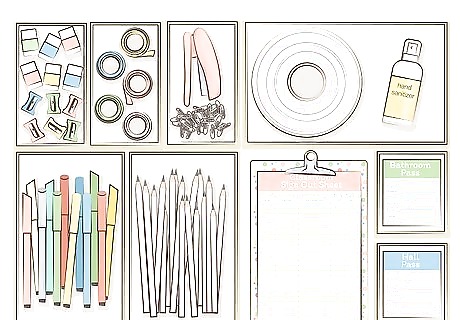
Create a station for extra materials that your students might need. Set up a “student station” at the front or back of the room that has extra pencils, a pencil sharpener, tape, a stapler, hand sanitizer, tissues, and paper clips for the students to use. That way, they won’t have to ask you if they need extra supplies or forgot a pencil for class. You can also put bathroom passes and sign-out sheets on this table so students can go here before using the restroom during class.
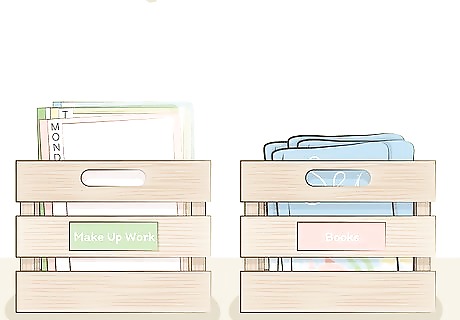
Use crates to hold file folders, books, crafts, and papers. It’s hard to control clutter in the classroom, but multipurpose crates are a great solution. Look for a set of 2-3 on sale and position them throughout the room. Label them so students know what is supposed to go inside. For example, you can make a crate labeled “Make Up Work,” and hang 5 folders inside of it labeled Monday-Friday. Then, throughout the week, put the extra papers from class activities in the corresponding folder so students who miss class can go there to gather their materials. If your class is reading a novel, you can put all of your class copies of the book in 1-2 crates at the front of the room so students can retrieve the books before they read in class. This will keep the books safe and in the same place.
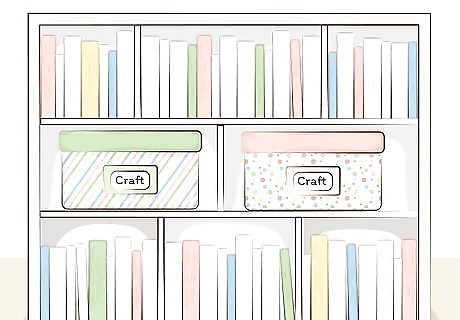
Set up a bookshelf to hold items that don’t have a place. Many classrooms don’t have built-in shelving, so you might have to bring your own. Find a sturdy bookcase and fill it with books for the class or other classroom items that your students might need occasionally, but not every day. This will keep them out of the way but still accessible. For instance, you can put arts and crafts supplies on a bookshelf and ask students to retrieve them as needed. In an upper-level class, you can place supplemental sources and reference books on the shelves to encourage students to further their learning.
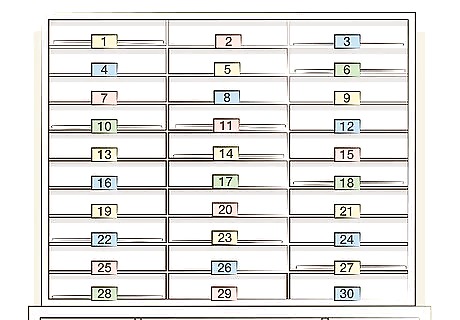
Get student mailboxes for younger students to ensure they take papers home. Assign each student a number that corresponds to a slot on the mailbox, and place all of the papers that need to go home in their box. Have them collect their papers in a folder at the end of the day or week, and then check to see if any students forgot their papers. This also helps to reduce the amount of class time spent on passing out informational papers for students’ parents.




Comments
0 comment