
Installing VLC
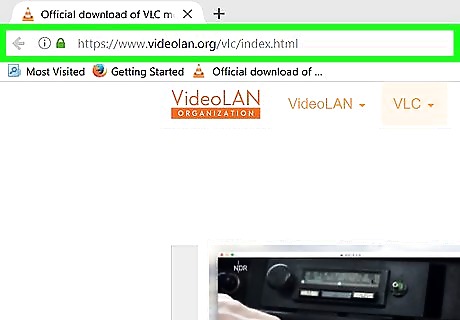
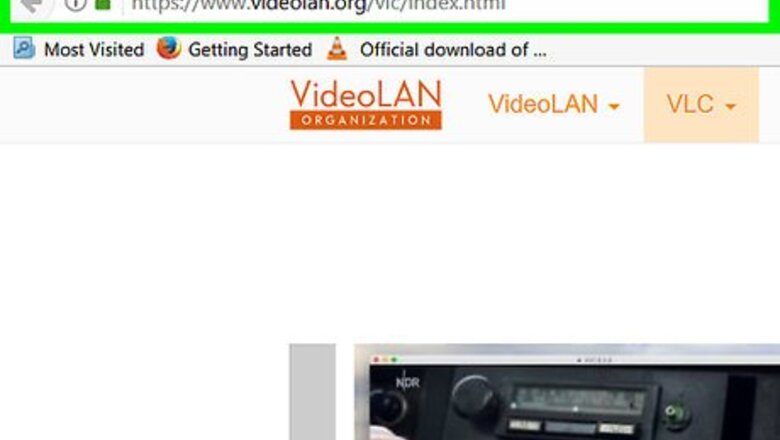
Go to VLC Media Player's download site. Do so by typing http://www.videolan.org/vlc/index.html into your browser's URL bar, or by clicking the provided link.
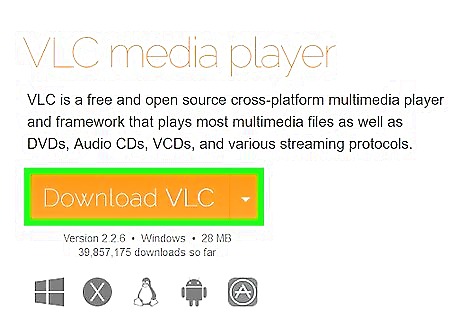
Click Download VLC. It's an orange button in the upper-right side of the VLC download page. Doing so should prompt VLC to begin downloading to your computer, though you may first need to select a save location depending on your browser. VLC's download site should automatically determine your operating system (e.g., Mac or Windows). If it doesn't, click ▼ right of the Download VLC button and select your operating system.
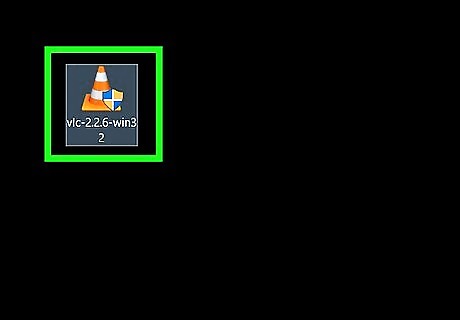
Double-click the VLC setup file. It's an orange-and-white, traffic cone-shaped icon in your computer's default "Downloads" folder (e.g., the desktop). On a Mac, you'll instead open the VLC download folder. You can locate the VLC setup file by typing "vlc" into Start or Spotlight on Windows or Mac, respectively.
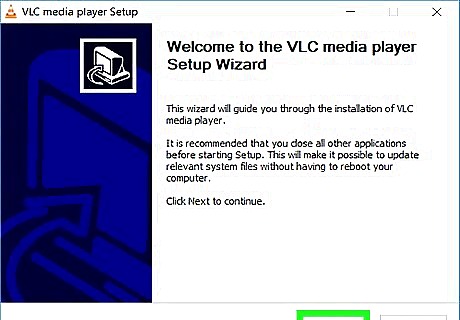
Install VLC Media Player. To do so: Windows - Click Next in the bottom-right corner of the window until VLC begins installing, then click Finish when the setup completes. Mac - Drag the VLC Media Player icon into your Applications folder.
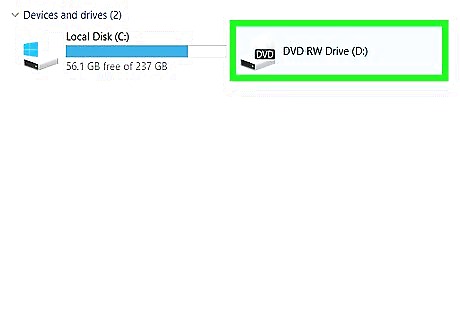
Insert your CD into your computer. Typically, this process will entail pressing a button on or below the CD tray, placing the disc label side up in the tray, and then pushing the track back into the computer. Some Notebook computers and Macs manufactured in the last few years don't have built-in CD drives, but you can purchase an external CD drive for less than $100.

Open VLC Media Player. You'll do so by double-clicking the VLC traffic cone icon. Once VLC opens, you're ready to proceed with extracting your audio CD's contents.
Extracting Audio

Click Media. This tab is in the top-left corner of the VLC window. Doing so invokes a drop-down menu.
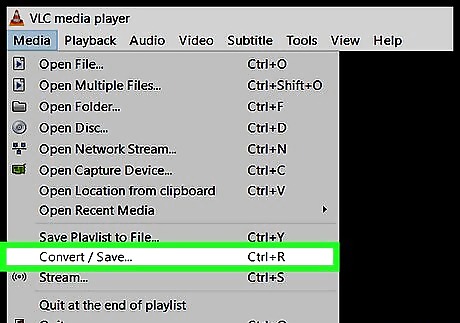
Click Convert / Save. It's toward the bottom of the drop-down menu. A pop-up window will appear after you click this option.
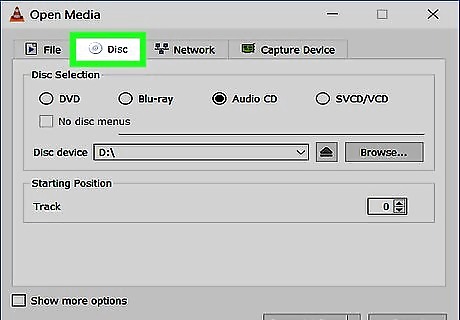
Click the Disc tab. You'll find it at the top of the pop-up window.
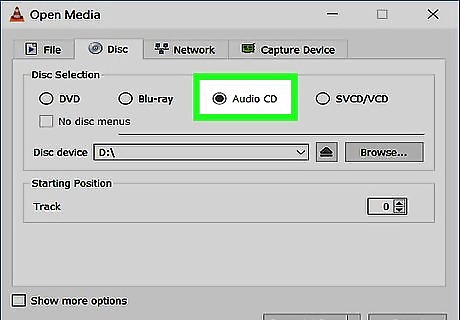
Select the "Audio CD" circle. It's near the top of the window. This will ensure that the audio extraction process is tailored to a strictly audio CD format.
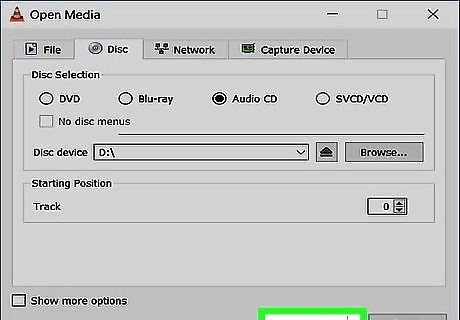
Click Convert / Save. This button is at the bottom of the pop-up window.
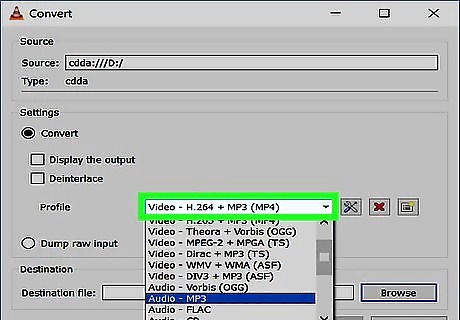
Click the "Profile" box. It's to the right of the "Profile" heading that's near the top of the pop-up window. Doing so invokes a drop-down menu.

Scroll down and click Audio - MP3. This option will allow you to save the extracted audio from your CD as an MP3 file, which is a commonly used audio file. While you can't play the extracted audio file with iTunes or Groove, saving it as an MP3 will allow you to burn it to a CD if you so choose. You can also click Video - H.264 + MP3 (MP4) to save the audio file in a VLC format, which will let you open the file in VLC by default as long as VLC is your default video player.
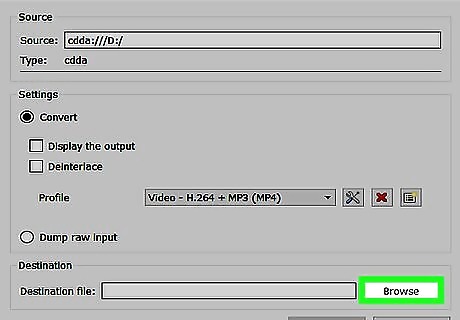
Click Browse. It's near the bottom of the pop-up window. You'll be able to select a save location for your audio file from here.

Select a save destination. You can do so by clicking a folder in the left-hand pane.
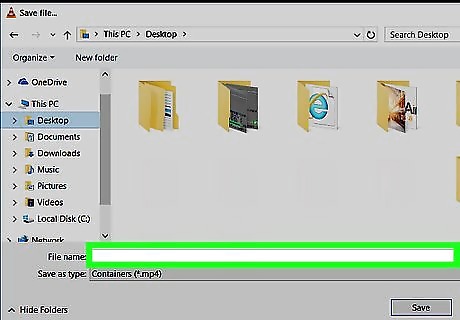
Type in a file name, then click Save. This will confirm your audio file's save location.

Click Start. It's at the bottom of the window. Doing so will begin the extraction process, which should only take a few seconds. When the disc begins playing in VLC, the extraction is complete. Once you see your audio file appear in the save location you specified earlier, it's ready to be played.


Comments
0 comment