views
Shaping the Nail
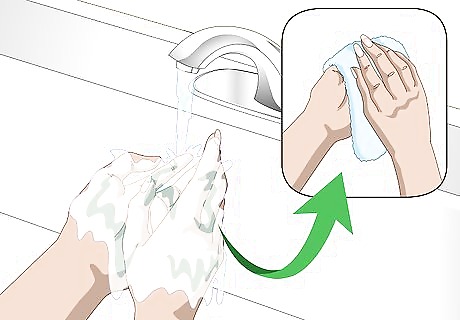
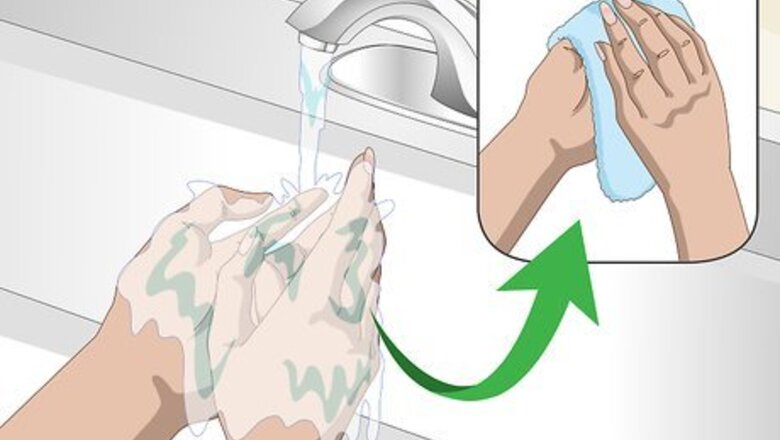
Wash and dry your hands. Cleanse your hands with warm water and gentle hand soap to get rid of extra oil on your nails and hands. Rinse your hands, and dry them completely with a towel. Wait 3-5 minutes before filing as wet nails can be more easily damaged than dry nails.
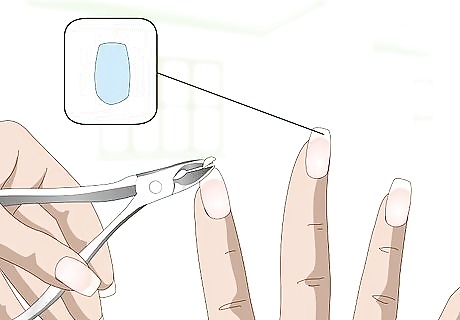
Trim your nails into a squoval shape. If your nails aren't already close to being squoval, you may want to start by trimming them into the correct general shape. Use a sharp, clean pair of manicure scissors to trim off angular edges and any unwanted length to create a rough squoval template. Trim slowly and carefully, making sure not to cut into your skin. You can use a picture for reference if you are unsure about the exact shape you are trying to achieve. You will be able to refine the shape more when you file.
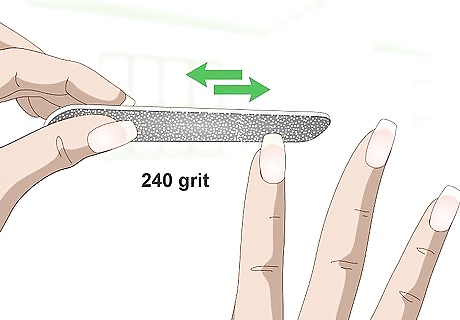
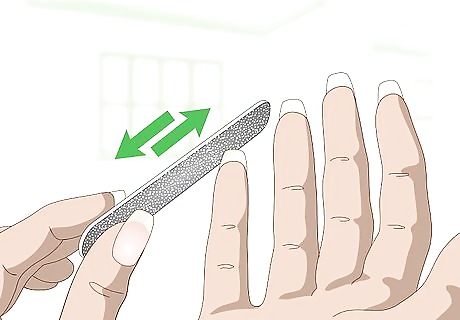
File the top edge of each nail straight across using a 240-grit file. This top edge is called the “free edge” of the nail, where the nail ends at the tip of the finger. Hold the file between your thumb and index finger, making sure it is positioned at a slight angle to the nail's edge. Run the file across the free edge in one direction 3-4 times, taking care to avoid filing against the skin of your finger. Be gentle at first, to make sure your nails are strong enough to handle the filing. If you do get breakage while you’re filing, stop immediately and apply strengthening nail oil to the nail. Wait 1-2 weeks to try filing again. Avoid using a back and forth motion to file, as this can cause cracking and splitting.
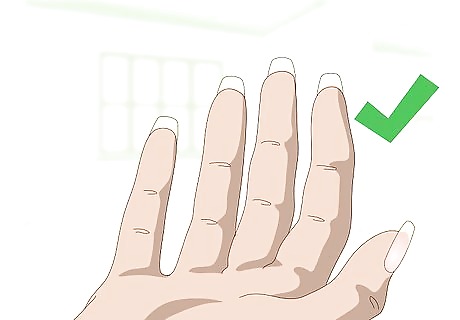
Check your nails from underneath to make sure the free edge is flat. Position your hands with the palms up and look at your nails. From this angle, check to make sure the tops of your nails are not slanted to one side or another. If they are slanted, you can use your 240-grit file to make adjustments as needed. Check the nails again once you feel they’re straight.
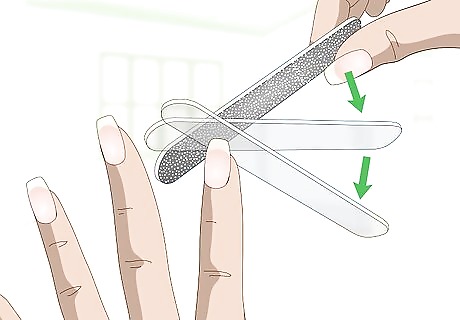
Hold the file under the nail corner, tilt it 45 degrees, and round the corner. In a smooth, rounding motion, pull the 240-grit file over the corner to create a rounded edge. Do this 3-4 times, then check your work. The corner should be rounded, not flat or sharp. If it’s not rounded, file 1-2 more times using the rounding motion. Then, repeat on the other side. Try to make both corners even, rounding off slightly to the flat edge of the nail. It’s okay if you over file your first time, the nail will grow back over time.
Smooth out the areas where the corners meet the free edge. Bring your 240-grit file back to the top of your nails, and use it to soften the transition between the flat top and the rounded sides. After each stroke of the file, check your work. It’s important to do this gradually to prevent over-filing, which can result in a more rounded look.
Finishing the Look
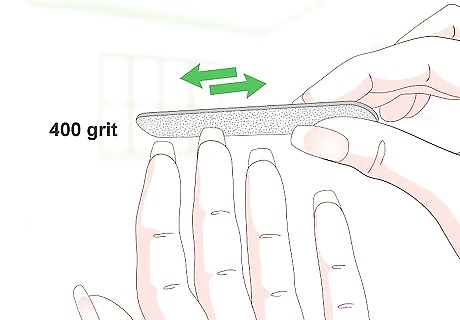
Slide the 400-grit nail file over the top of each nail to finish the edge. Hold the 400-grit file perpendicular to the tip of your nail. Using a very small amount of force, pull the file over the edge to the top of the nail 1-2 times. This will create a “finished” edge to protect your nail. Do this very gently to avoid cracking and splitting.
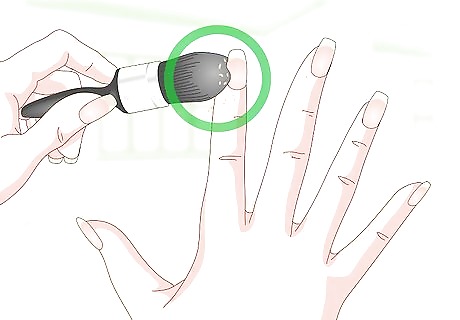
Remove any stray nail filings with a dust brush or cotton ball. Brush over your nails with a soft dust brush or a cotton ball to remove nail dust and lift any loose pieces of nail. Wipe under each nail, as well, to remove dust and filings. If you have small pieces of nail leftover from filing that are still attached to the nail, use your 240-grit file to very gently remove the pieces by running the edge of the file over them 1-2 times. This will cause them to detach from the nail. Be careful not to change the shape of the nail as you do this.
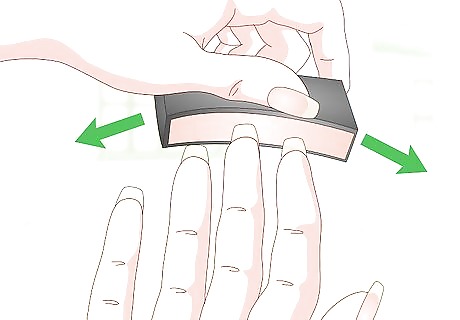
Use a buffer to smooth the surface of your nails. Rub a nail buffer horizontally over the surface of your nails with a vigorous back and forth motion. This smoothes out imperfections in the nails that you can’t address with a file. If you’re planning to polish your nails, buffing can help the polish spread evenly across the nails. It would also be helpful to push back your cuticles to ensure smooth polish applications. If you aren't planning to use nail polish, consider putting a drop of top coat on your nail before you buff. This will create a natural-looking luster.
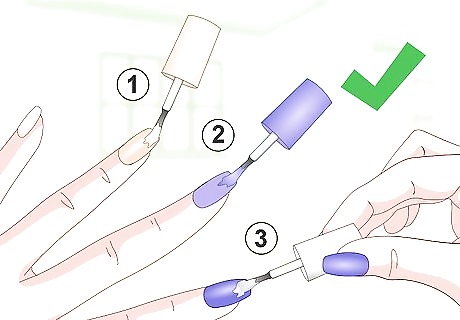
Polish your nails with base coat, color, and topcoat. Apply a thin coat of protective base coat to your first nail and allow it to dry while you polish your other nails. 2 coats of nail polish in your favorite color, waiting 5 minutes in between coats. Finish with a layer of strengthening top coat. Wait 20-30 minutes for your nails to completely dry. If you don’t want to use color, you can apply only the base coat and top coat layers, which will protect your nails and give them a glossy appearance.


Comments
0 comment