
Using Wood Putty or Filler Sticks
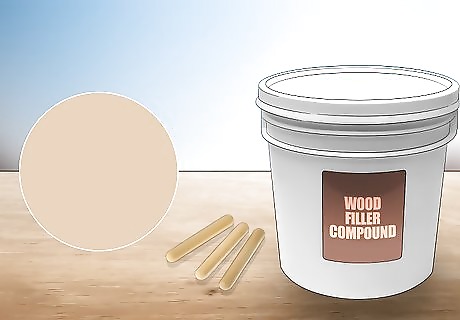
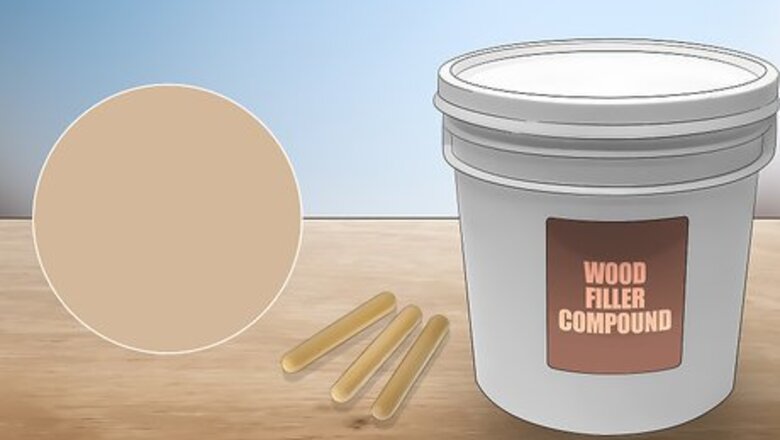
Purchase a filler compound that’s the same color as the wood. Look for crayon-shaped wood filler sticks or wood putty. These products, purchased from home improvement stores or ordered online, come in a variety of colors. Pick the one that blends in best with the wood you’re treating. If you can’t find the exact shade you need, you can buy different colors and mix them together to create different shades. If you wish to color the wood later, make sure the label says the product is stainable. It’ll take on the color of the stain, blending in with the wood.
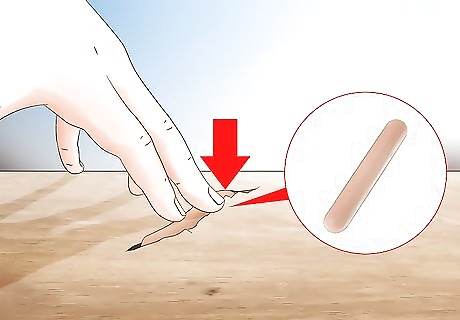
Push the filler into the hole with your finger. If you’re using a filler stick, simply rub the stick over the crack. You can then use your finger to spread it more as needed. When using putty, a putty knife or chisel can help spread the material over the crack.
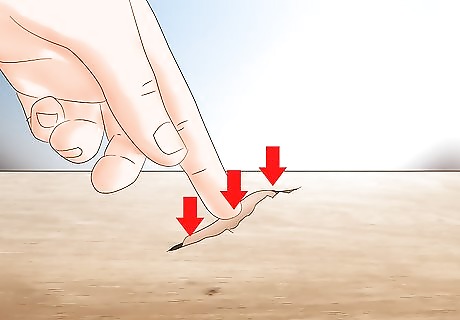
Overfill the crack with filler material. Continue applying filler until it comes out the top of the crack. When you smooth and sand the filler later, it’ll blend the crack more effectively because of the overfill.

Smooth the filler with a putty knife. Before the material dries on the wood, flatten it out as much as possible. If you don’t have a putty knife, run a clean rag or your finger over the crack. Make sure the rag is clean to avoid introducing debris.
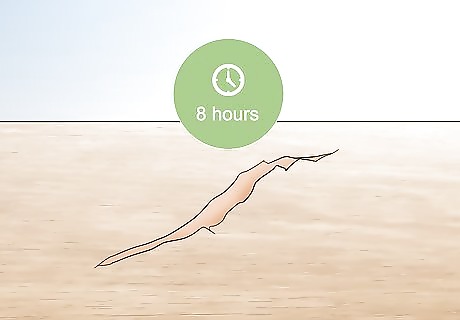
Let the wood filler dry for 8 hours. The amount of time needed for the filler material to dry depends on the product, so check the label for the recommended wait time. To be safe, leaving the wood alone for 8 hours or overnight will ensure the filler dries completely.
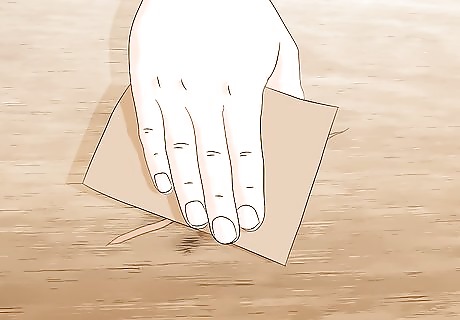
Sand down the excess filler. Blend the cracked area with a plane or fine grit sandpaper. Aim for a sandpaper grit between 120 and 220. Wear away the filler until it’s as flat against the wood as you can make it. When finished, the crack shouldn’t stand out as a discolored patch. If it does, lightly go over it with a matching color stain.
Filling Cracks with Glue and Sawdust

Get sawdust that matches the type and color of your wood. Sawdust is used to cover the white glue and blend the crack, so it needs to match the wood you’re treating as much as possible. For the best blend, get some sawdust from the wood by sawing or sanding it. When this isn’t possible, purchase a bag of sawdust from a home improvement store.
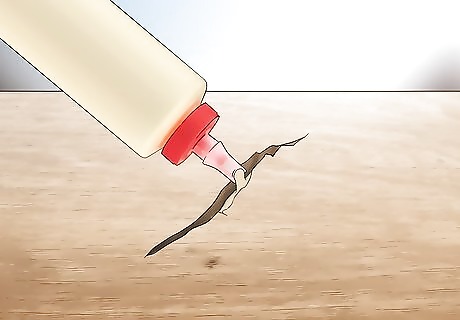
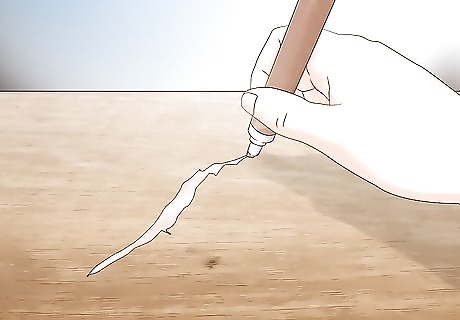
Squeeze wood glue into the crack. Get a bottle of wood glue from the store. Press the nozzle against the crack and squeeze the container until the glue fills the entire space you need to repair. For small cracks, you may also use a syringe to ensure the glue gets all the way down inside the crack.

Cover the glue with sawdust. Layer a lot of sawdust over the glue to completely cover it. Rub your finger over the crack to ensure the glue holds the sawdust in place. When you’re finished, the sawdust should hide the glue from view, blending in with the rest of the wood.

Let the glue dry overnight. Leave the glue to rest until the next day. When the glue is completely dried, the crack should be hard to see. If it’s still visible, reapply the glue and sawdust combination or a different filler.

Sand the crack smooth. Go over the crack with a piece of fine grit sandpaper that's between 120 and 220 grit. Carefully rub down the treated area until the filler is flat and unnoticeable.
Fixing Cracks with Epoxy

Wear a respirator mask and work in a well-ventilated area. Epoxy isn’t something you want to breathe in, so stay safe by putting on a mask before you begin. Working outdoors is your safest option, and make sure pets and family members aren’t near your work area.
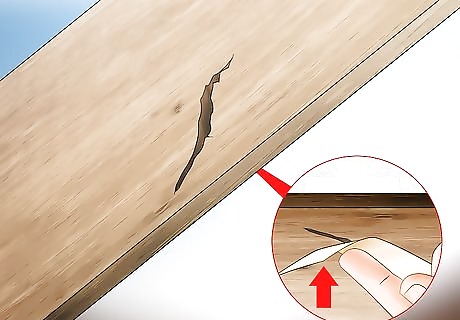
Cover the crack with masking tape if it goes through the wood. If the crack goes all the way through the wood, tape over one side. The tape will hold the liquid epoxy in place long enough for it to solidify. Epoxy is better for treating large cracks than the other filler methods.
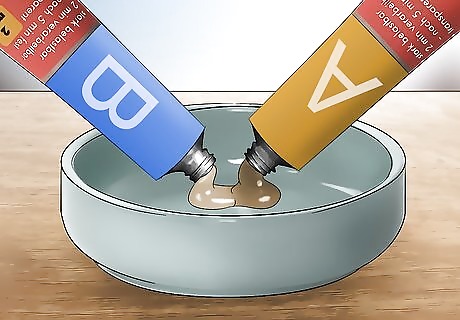
Squirt equal parts of epoxy components into a bowl. Epoxy consists of two parts packaged together, resin and hardener. Estimate how much you’ll need to fill the crack. Add them to the bowl, but don’t mix them yet. The epoxy immediately begins to harden when the parts are combined. You’ll have about 5 minutes to get it into the crack, so start with a small batch. Bob Flexner Bob Flexner, Wood Finishing Expert When dealing with cracks and splits in wood, start by thoroughly cleaning out any debris so the filler can form a strong bond. For narrow cracks, cyanoacrylate glue is excellent for stability and strength. Wider cracks are best filled with epoxy thickened with wood flour or sawdust — adding tinting pigments allows you to match the surrounding wood color.

Add a drop of wood-colored dye to the epoxy. At home improvement stores you can usually find all sorts of epoxy coloring dyes, powdered pigments, or metallic powders. Pick one that matches your project, then use a drop of dye or sprinkle of powder to color the epoxy. You can even mix in a scoop of coffee grounds to turn the epoxy black.

Stir the epoxy immediately. Grab a spoon or stirring stick and quickly mix the epoxy parts together, along with any added coloring. After a few seconds it’ll turn into a paint-like substance ready to be spread over the crack.

Spoon the mixture into the crack. Transfer the epoxy to the crack using the stirring spoon or stick. Push it as far into the crack as possible. Most of it will flow down to the bottom. If you don’t have enough to fill the entire crack, simply make more. Use a needle to pop any bubbles that appear when pouring the epoxy.

Mix more epoxy to fill larger cracks. The epoxy hardens within minutes, so you’ll know right away whether or not you need to mix another batch. Continue mixing equal amounts of resin and hardener until you’ve filled the entire crack.

Let the epoxy dry overnight. After 2 to 4 hours, the epoxy will have dried significantly. Press your fingernail into it. If you leave a dent, it’s not ready. Letting it dry overnight is always preferable and, in cool weather, is necessary to ensure that the epoxy stays in place.
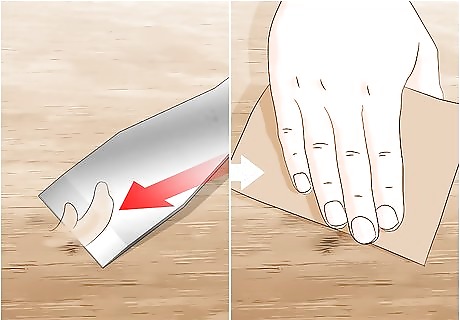
Level the epoxy with sandpaper. First, cut away any excess epoxy with a putty knife. Then get some fine grit (120-220) sandpaper or a file to carefully flatten the epoxy-treated area until it’s level with the rest of the wood. If you have a block plane, it’ll make this part easier and can prevent you from sanding off part of the wood.
Color in white specks with a felt tip marker. When you’re finished, you may see some undyed flecks of hardened epoxy. These can be colored in with any marker that’s a similar color to the dye you used. You won’t even know the crack was there and can move on to the rest of your project.


Comments
0 comment