
Growing Adenium from Seeds
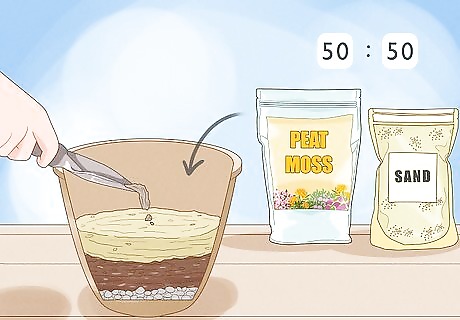
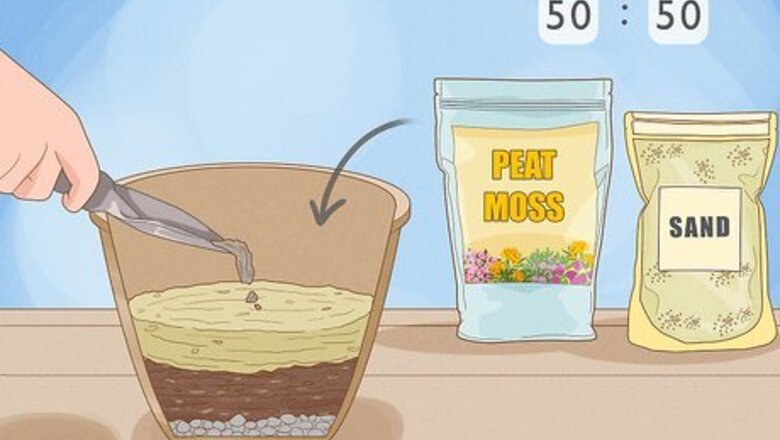
Fill a pot or tray with a potting mixture of 50% peat moss and 50% sand. Since adeniums originate from a desert climate, it is recommended to use a potting solution other than clay and compost. Mixing peat moss and sand keeps the soil well-drained while also retaining moisture. You can also use a soil mixture made for cacti and succulents. Fill a tray or pot with 2 to 4 inches (5.1 to 10.2 cm) of depth with the mixture. Line the bottom of the tray or pot with gravel for added drainage. You can substitute perlite instead of sand.
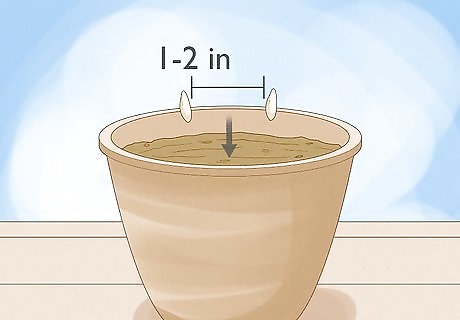
Put the seeds in holes 1 to 2 inches (2.5 to 5.1 cm) apart from one another. Push the tip of a ballpoint pen into the potting mixture and plant a seed in each hole. Cover the seeds with a layer of sand ⁄8 to ⁄2 inch (9.5 to 12.7 mm) deep.

Place the pot or tray in a spot with 6 hours of indirect sunlight each day. Keep the pot in a well-lit windowsill, but out of direct sunlight. For best results, put the adenium on a south-facing or west-facing wall.
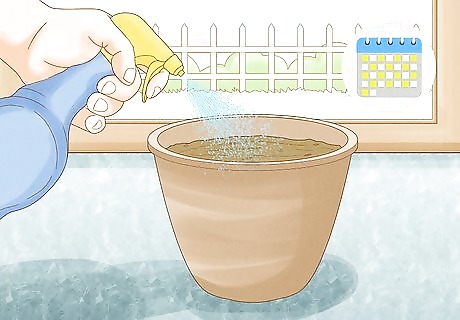
Spray the growing medium with water every other day. Adeniums do not require a lot of water, but the seeds should stay moist while germinating. Use a spray bottle to saturate the surface of the potting mixture, being careful not to overwater. The growing medium should be damp to the touch, but there shouldn’t be standing water on the surface.
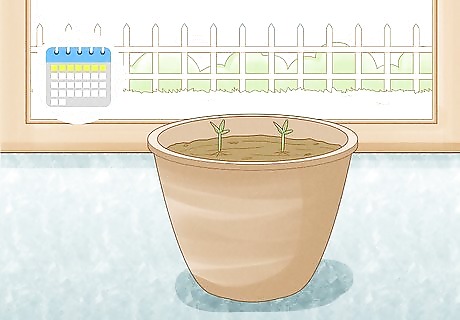
Watch for sprouts within 7 days. Between 7 and 10 days, you should start green sprouts coming out from the soil. Continue to mist the seedlings every other day to keep them lightly covered in water.

Move the seedlings to individual pots after 1 month. Fill the individual pots with the same potting mixture. Use a transplant tool or a wooden ruler to dig out the seedling, ensuring the root structure stays intact. When replanting, place the adenium 1 inch (2.5 cm) higher in the soil so ⁄2 inch (13 mm) of the root is above ground. This will ensure a thick caudex forms above ground. Since adeniums cannot survive in the freezing temperatures of winter, it’s recommended that you keep them in planters or pots so they can easily be moved inside.
Propagating Adenium from Cuttings
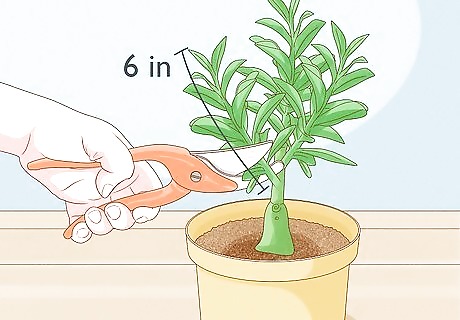
Cut off a piece of stem 6 inches (15 cm) long. Pick a healthy stem at least 6 inches (15 cm) long. Use a sharp pair of pruning shears to cut the stem where it where it connects to the trunk. One pruning session can result in many stems that you can propagate into their own adenium plants!

Dry the cutting for 48 hours in a warm, dry place. Lay the cut stems on a newspaper or paper towel and keep them out of direct sunlight. Store them in a place that is warm but is not humid. They should be dried out and ready to use within 2 days.
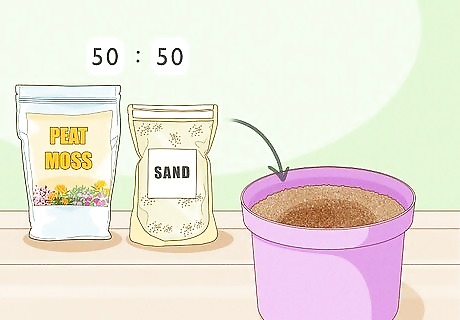
Fill a pot with half peat moss and half sand. Peat moss and sand create a well-draining planting medium. You can substitute the sand with fine gravel or perlite for a similar effect. Lay a thin layer of gravel on the bottom of the pot so the pot drains more efficiently. You can use a store-bought mixture meant for cacti or succulents if you do not want to mix your own.

Dip the stem in rooting solution and poke it 2 inches (5.1 cm) into the soil. Using a rooting powder or solution will promote the growth of roots from the stem and can be purchased at gardening stores. The cut end of the stem will be what goes in the ground. Bury only 2 inches (5.1 cm) so the exposed end has a starting point for leaves. Propagated stems will not form an above-ground caudex. The roots will grow underground, but can eventually be exposed after the cutting grows.
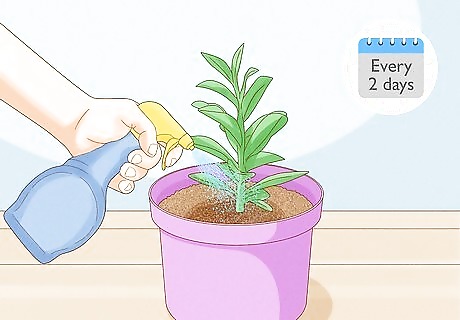
Mist the stem with a spray bottle every 2 days. Keep the planting medium moist, but don’t let it become waterlogged. The planting mixture should feel damp to the touch. When they dry, water them again. Waterlogged adeniums can develop root rot if there is too much water present.

Put the pot in a location with 6 hours of indirect sunlight per day. The cuttings can be kept indoors or outdoors as long as they stay in a warm and bright place, but keep them out of direct sunlight. As they begin to sprout new leaves, you can begin moving the adeniums into more direct sunlight. If you keep the adenium indoors, turn the pot 180° every 2 days so it will evenly get sunlight.
Caring for Adenium
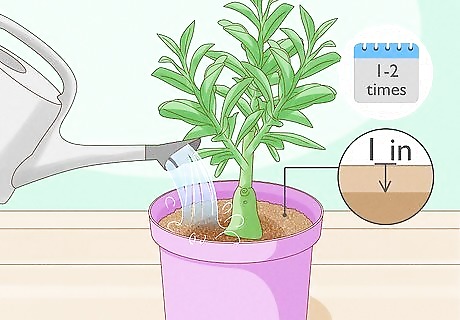
Water the adenium when soil 1 inch (2.5 cm) deep is dry to the touch. Stick your finger in the dirt to determine if the soil is moist 1 inch (2.5 cm) deep. If it is not, you should water your adenium. This usually equates to about 1-3 waterings per week, though they can survive droughts without affecting their health. The more light an adenium gets, the more water it will use.
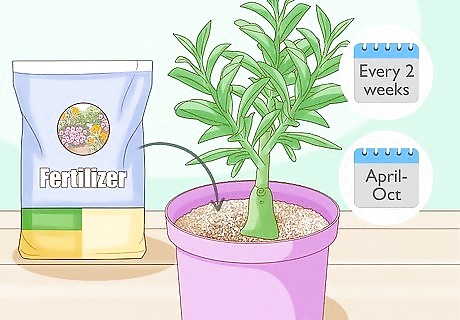
Fertilize adeniums every 2 weeks between April and October. When adeniums take in water from the potting mixture, they also pull much of the nutrients. Lay a thin layer of general purpose fertilizer on top of the soil once every 2 weeks so the adenium flourishes. Mix the fertilizer at half the recommended strength, and only apply it during the growing season, which is between April and October.
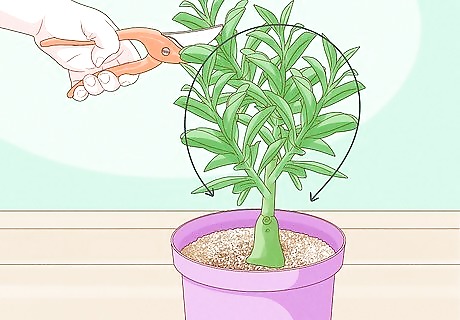
Shape the plant with a pair of pruning shears when necessary. Adeniums are quick to grow and pruning may be necessary to maintain their shape and health. Prune at the end of the blooming season in early autumn. Use a sharp pair of pruning shears and cut where an unhealthy or unshapely stem connects to the other. Sterilized pruning shears will help prevent fungus or rot on the exposed cuts. Save the healthy stems you prune to propagate more adenium plants!
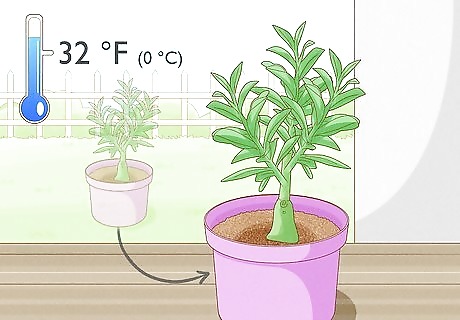
Bring adenium indoors when temperatures drop below 32 °F (0 °C). Adeniums are from warm climates, so they will freeze and die if they are left outside. Bring any pots or containers into the house or a covered porch to keep them warm and growing. Plants will drop their leaves and go “dormant” at the end of the growing season. Continue providing them with light and small amounts of water so that they will bloom next season.

Repot adenium when it outgrows its pot. Adeniums will grow noticeably larger with enough light and water. Remove the plant from its pot and break away as much of the potting mixture as you can. Place them in a larger pot, making sure not to plant them deeper than what they were in the previous pot. This way the caudex will continue to form above ground. Fill the pot with more potting mixture and water the adenium. Some of the roots may distort plastic pots or break through clay once they grow too large. You may need to use a hammer to break adeniums out of a tight-fitting pot.


Comments
0 comment