views
Picking and Securing the Curtains
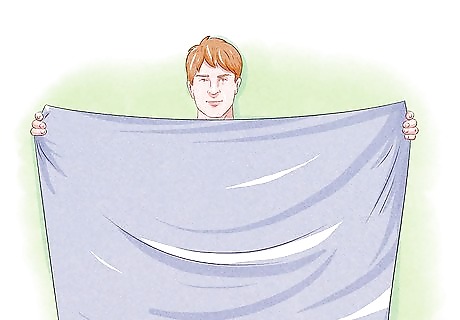
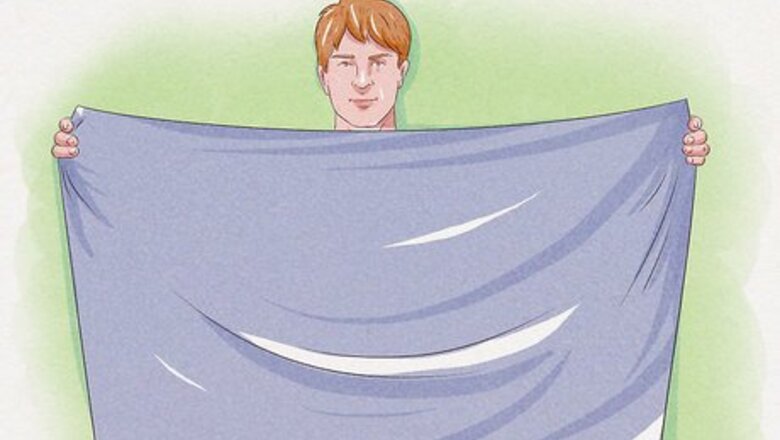
Pick curtains that are twice the length of the pole or track. Use a measuring tape to measure the length of your pole or track. The width of the curtains you choose should be double the length of the pole or track. If the curtains are not wide enough, they will not fit the pole once they are scrunched. For example, if the pole is 2 feet (0.61 m), then pick curtains that have a width of 4 feet (1.2 m).
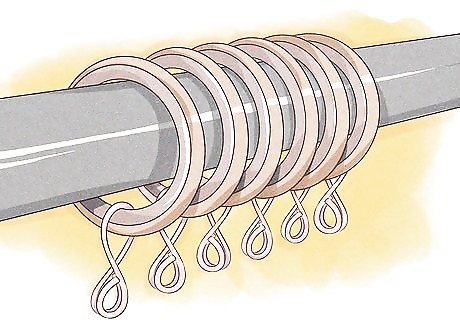
Place the curtain rings on the pole. Remove one side the curtain pole and slip on the curtain rings. Use an even amount of rings. This way, each curtain will have the same amount of rings. You will need to purchase the curtain rings separately. Choose rings that match the curtain pole. If you have a curtain track instead of a pole, attach an even amount of gliders to the track.
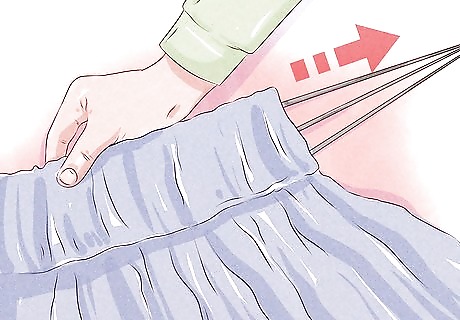
Tie the cords into a knot to secure one end of the heading tape. The heading tape is the top section of the curtain that contains 3 cords, which are used to scrunch the curtains into pleats. Gather the 3 cords at one end of the heading tape. Tie a knot by looping the cords and pulling the loose ends through the loop. Pull tightly to secure the knot. Some curtains may already have one end of the cords sewn into the heading tape. If yours do, then you can skip this step. It does not matter which end you tie the curtains off at. However, most people like to tie the knot at the leading edge, i.e., the edge that meets the other curtain in the middle of the pole.
Gathering the Fabric
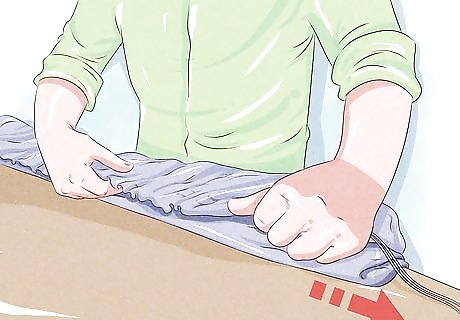
Scrunch the curtain until it is half the length of the pole. Hold the untied, loose cords with one hand. Pull the cords to start scrunching the curtain. Use your other hand to gently pull the curtains along the cords. Keep scrunching and pulling until the curtain is half the length of the pole. For example, if the pole is 2 feet (0.61 m), then scrunch the curtain until it is 1 foot (0.30 m).
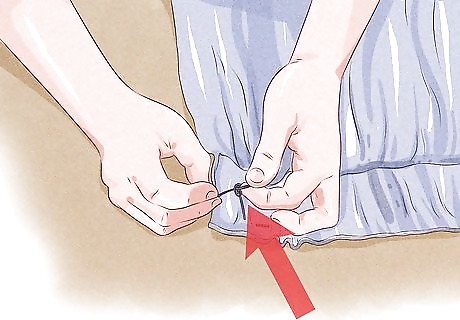
Use a slip knot to tie off the loose cords. Hold the loose cords with one hand. Loop the cords around your fingers. Pull the cords through the loop, but not all the way. At this point, the cords will resemble an ear or a loop. Tighten the string around the loop to create a slip knot. Tuck the cords into the pocket between the curtain and the heading tape. If your curtains do not have a pocket, then tuck the cords underneath one of the pleat strings. Using a slip knot will make untying the knot easier when you take the curtains down to clean them.
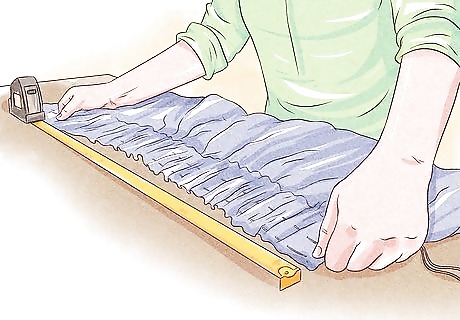
Even out the pleats once the curtain is secured. Some pleats may look larger or smaller than others. Even out the pleats by gently pulling the curtain along the string. Pull the curtain until all of the pleats along the heading tape are uniform in width and shape.
Installing the Curtains
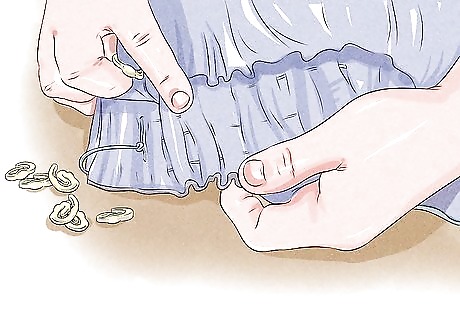
Choose which row to fasten the hooks onto the heading tape. The heading tape contains 3 rows of pockets located at the top, middle, and bottom. If you want the pole or track to be visible, then choose the middle or top row. If you do not want the pole or track to be visible, then choose the bottom row. You will need to purchase the curtain hooks separately.
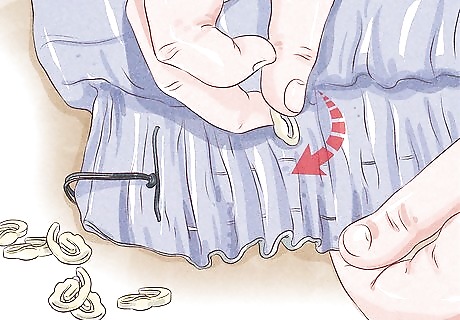
Attach the hooks to every 4th or 6th pocket. Divide the number of rings on the pole by 2. This number is the number of hooks that you need to attach to each curtain. Starting at the outside edge, slip and loop the hooks into every 4th or 6th pocket, depending on the width of the curtain. Make sure the hooks are spaced evenly apart. Make sure to attach the hooks to the pockets instead of the cords. If you have too few hooks, then the curtain will sag in between. If you have too many hooks, this will restrict the curtain.
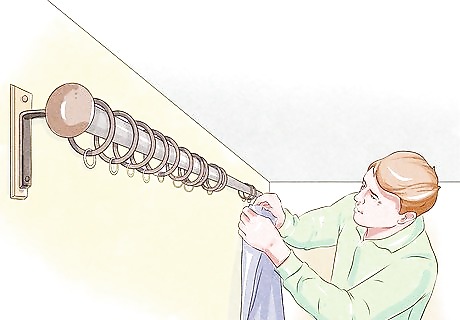
Hang the curtain up. Drape the bottom of the curtain over your forearm while you attach the hooks. Your forearm will support the curtain’s weight while you hang it. Attach each hook to their designated ring. Use a ladder or stool to hang the curtains if you cannot reach the pole or track. Repeat this process for the other curtain.



Comments
0 comment